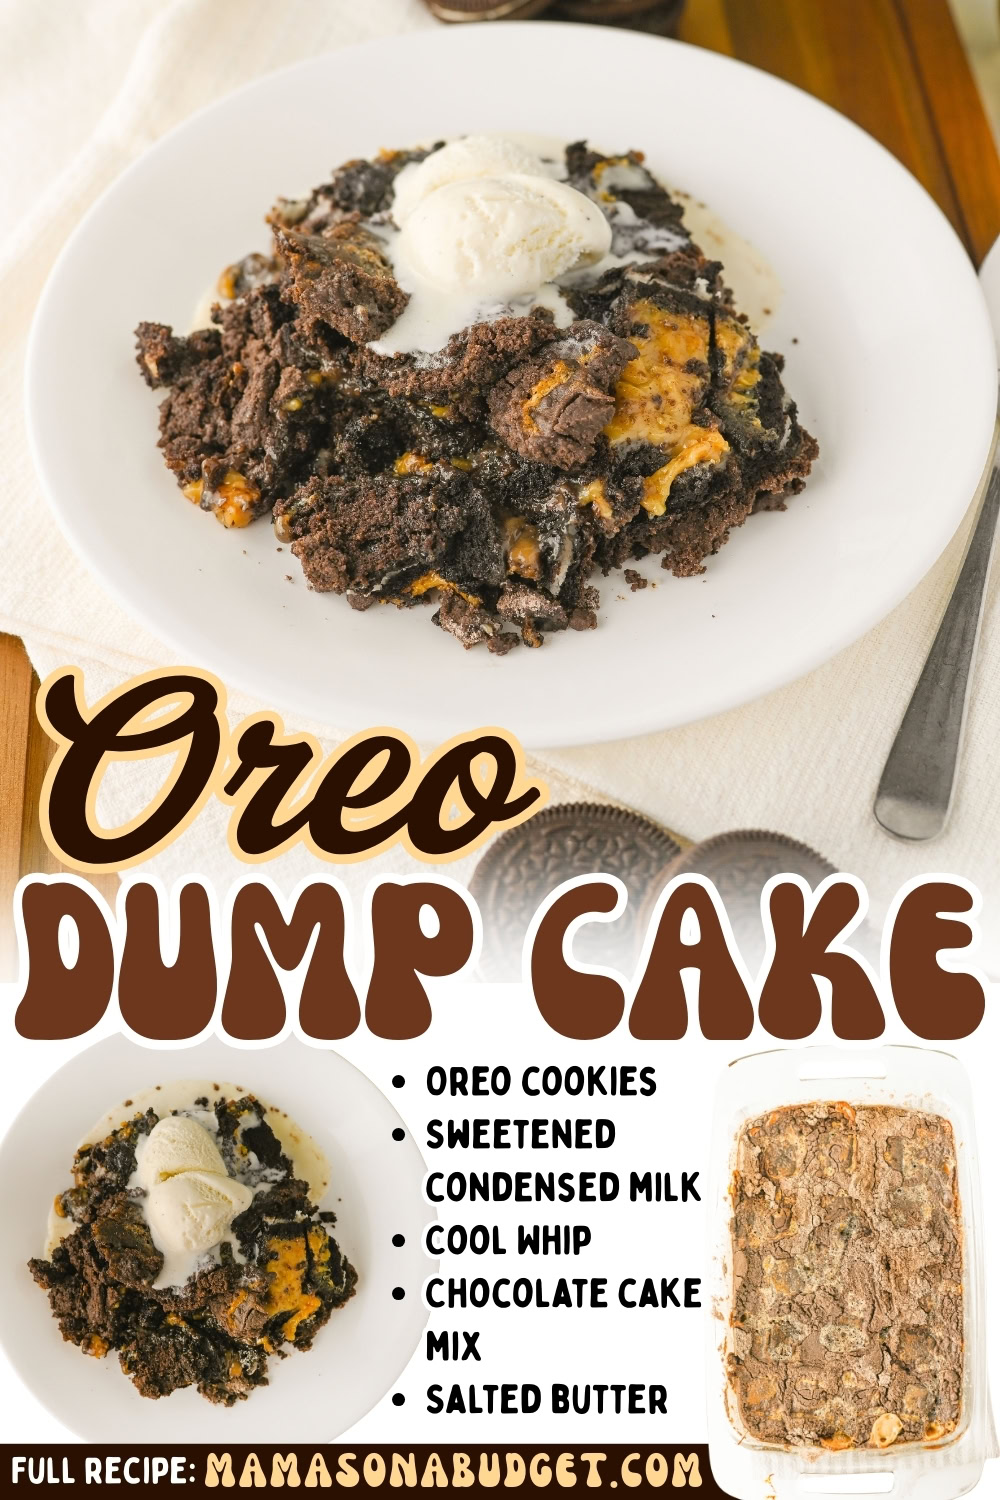
Oreo Dump Cake Recipe
If you need a rich, chocolatey dessert that comes together in minutes, this Oreo Chocolate Dump Cake is about to be your new best friend. This cookies and cream dump cake is an easy layered dessert with Oreos, creamy filling, and cake mix. It’s one of those easy, layer-it-and-bake-it recipes that tastes like you spent all afternoon in the kitchen, but really, you barely broke a sweat.
Would you like to save this?
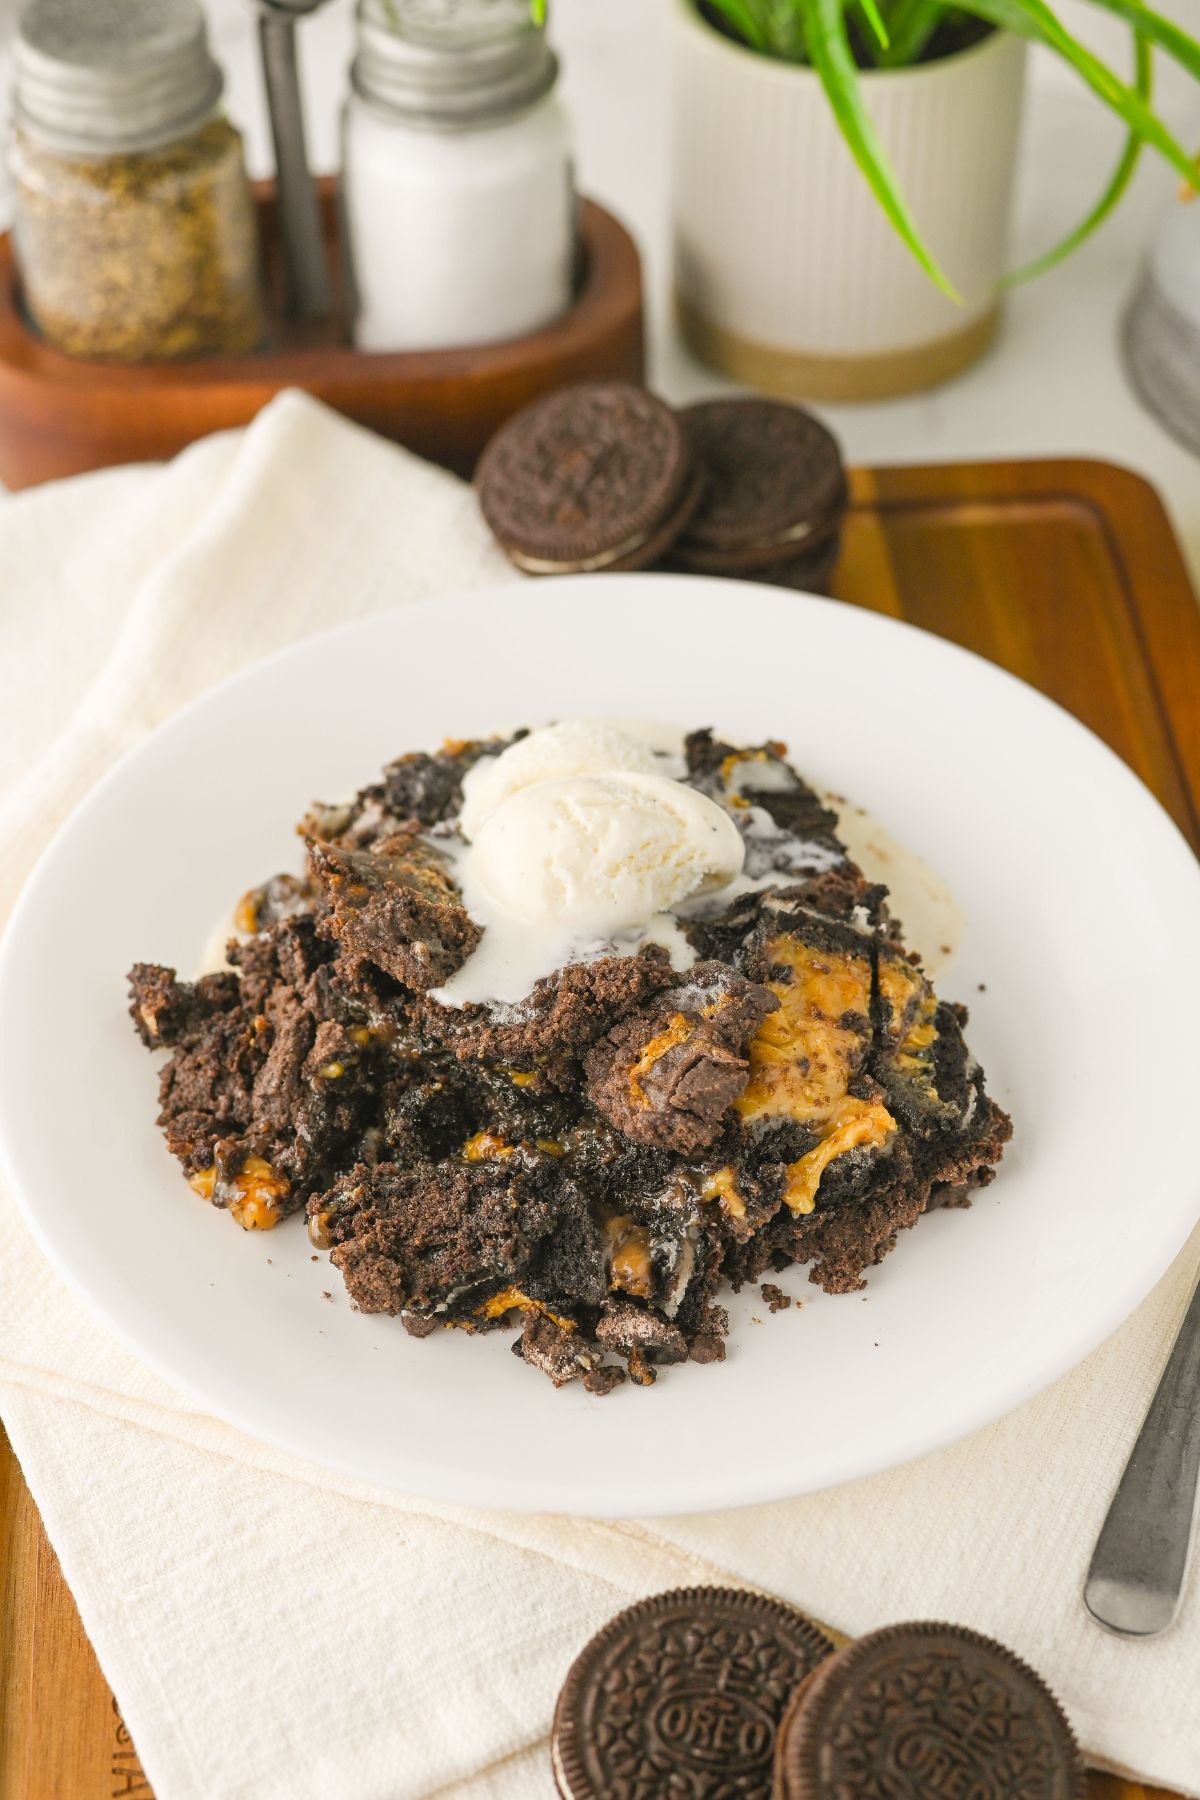
I make this when I need something quick for potlucks, church dinners, or when my kids start circling the kitchen asking for “something sweet.” It’s budget-friendly, made with simple pantry staples, and always disappears fast. And let me tell you, warm with a scoop of ice cream? Mercy. It’s dangerous.
If you love easy desserts like this, you’ve got to try my other simple Butter Pecan Cake Mix Cookies, Nutella Dessert Pizza, and Funfetti Oreo Truffles. They’re perfect for busy weeknights, last-minute company, or when you just need a little chocolate therapy.
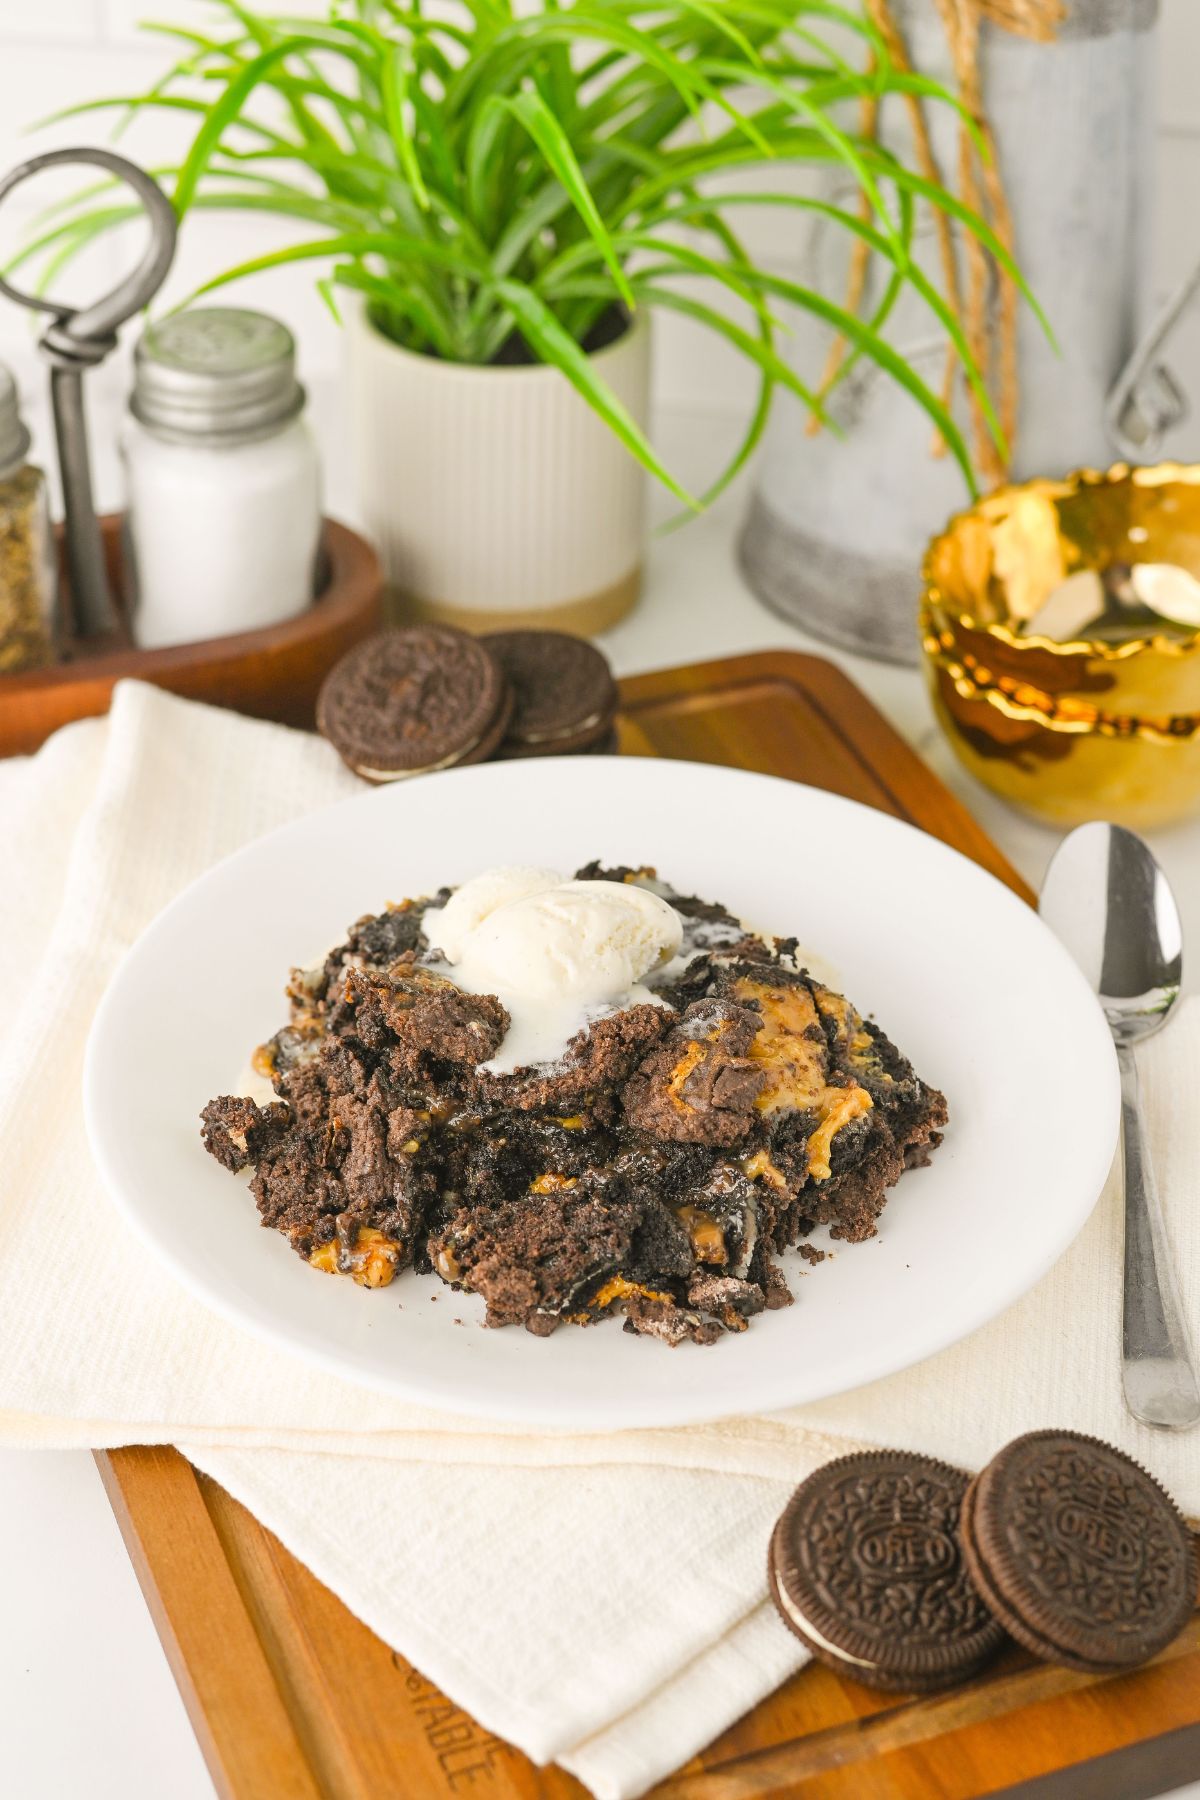
Why You’ll Love This Recipe
- Ridiculously Easy: No mixing bowls required, just layer and bake.
- Budget-Friendly Ingredients: Everything is affordable and easy to keep on hand.
- Ultra Chocolatey: Oreos + chocolate cake mix = rich, gooey goodness.
- Perfect for Feeding a Crowd: A 9×13 pan goes a long way at parties and family gatherings.
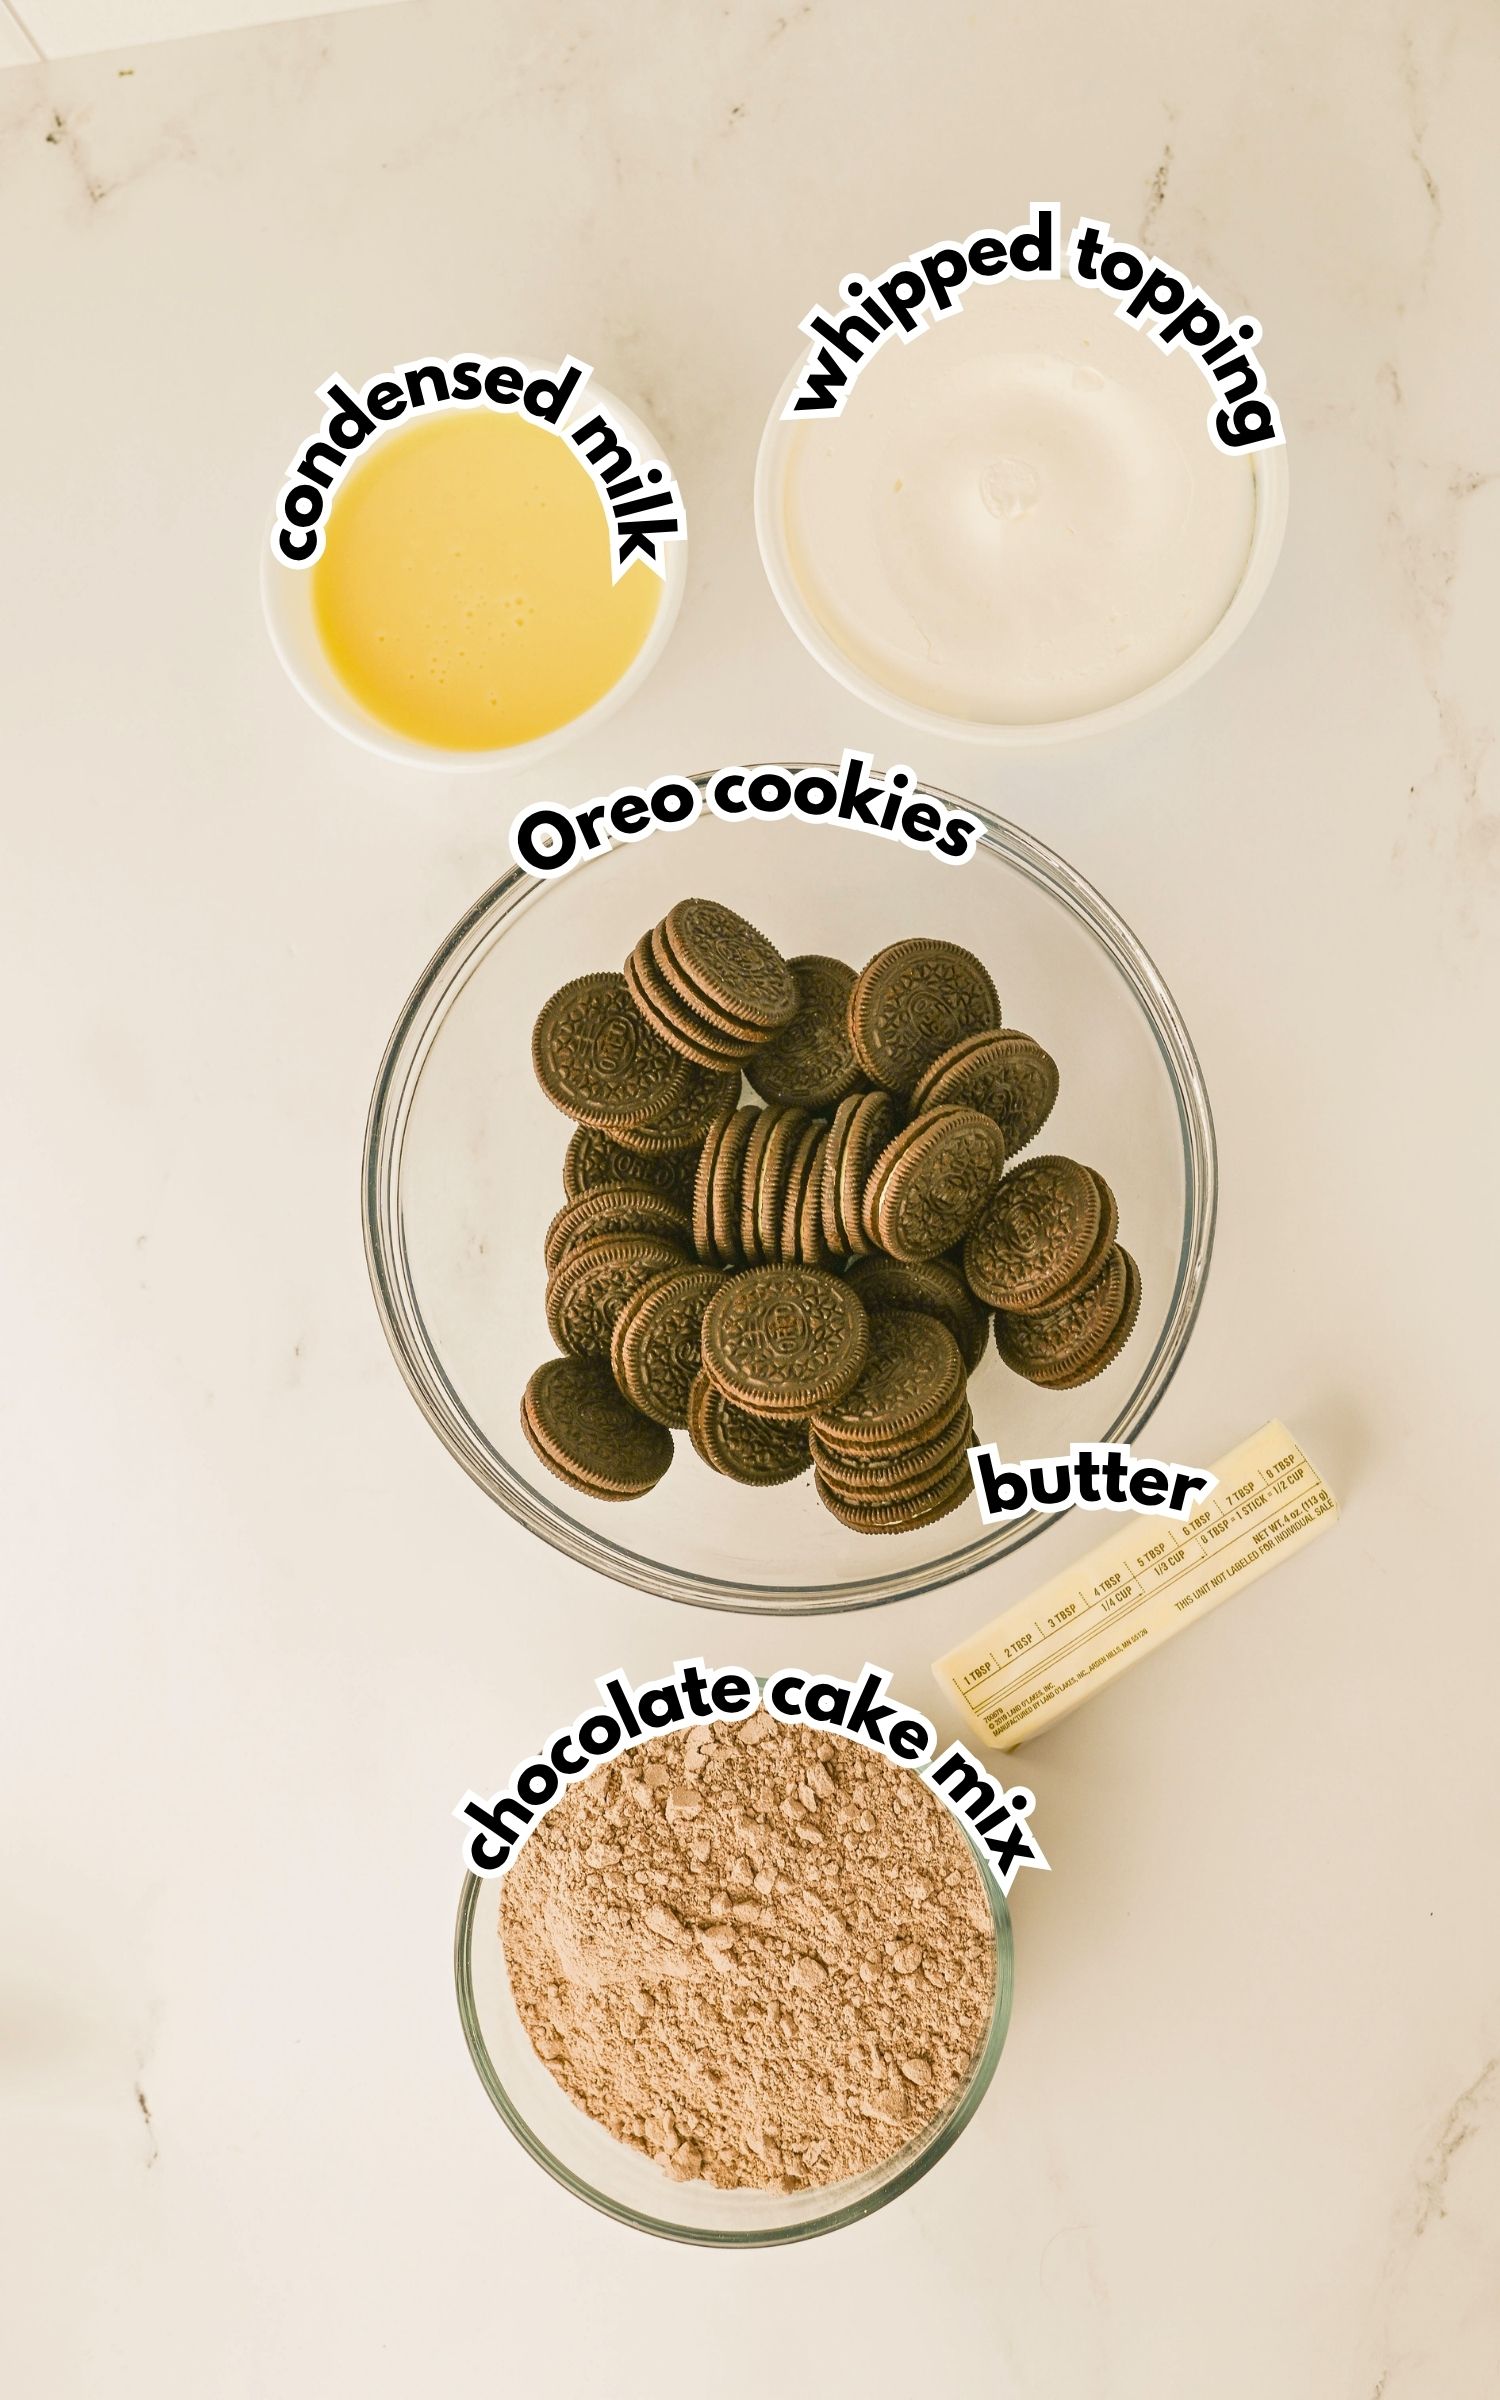
Ingredients
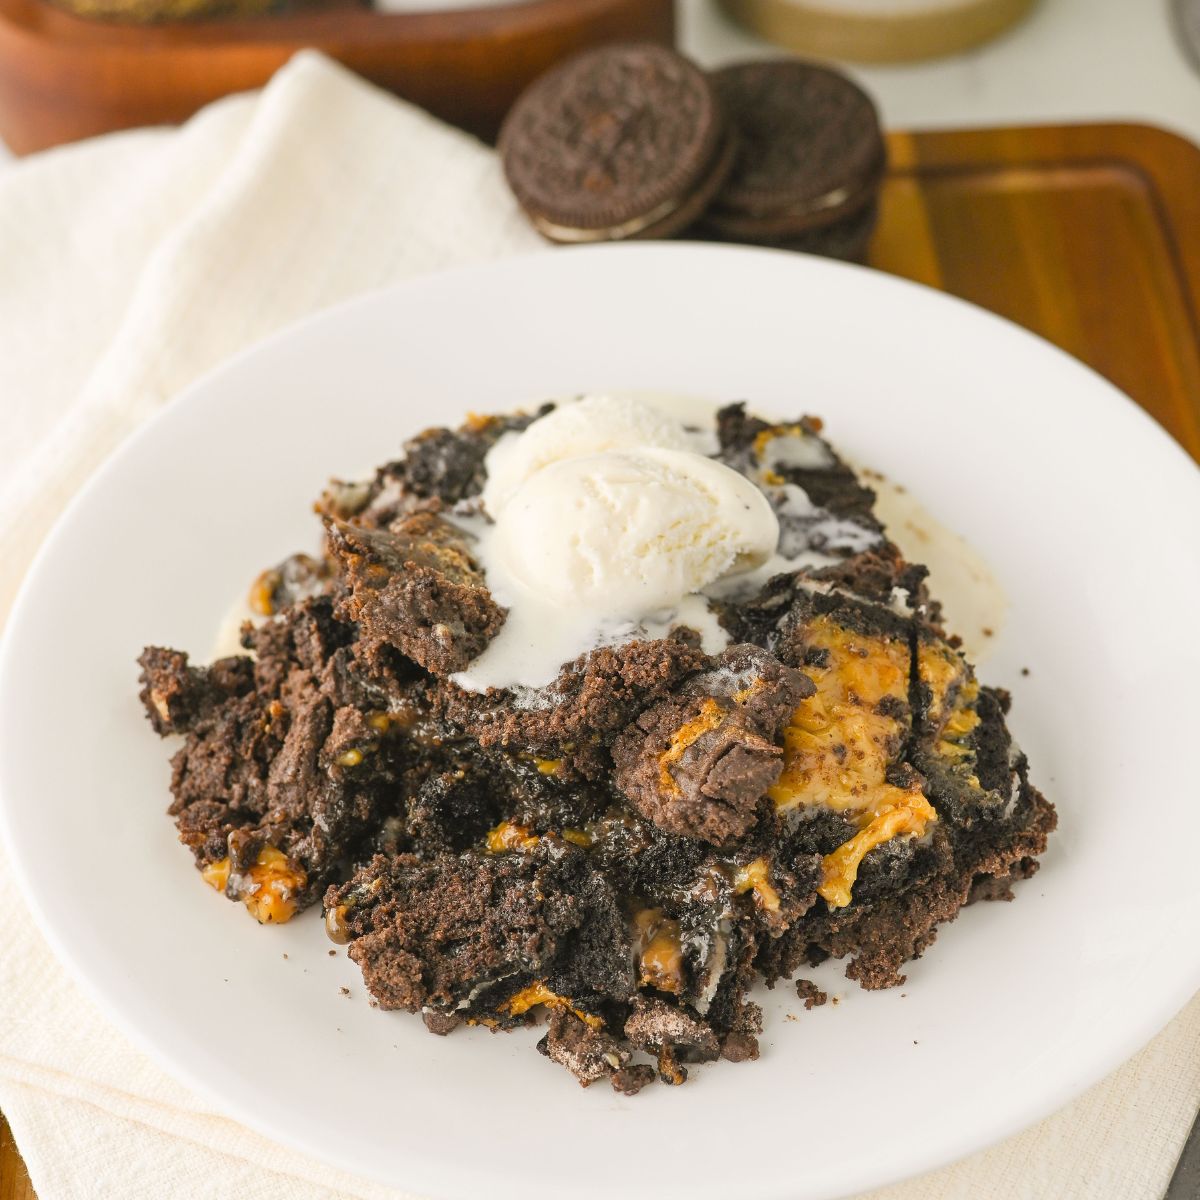
Oreo Dump Cake
Equipment
- 9×13 inch baking dish
- Non-stick cooking spray
- Measuring cup
- Knife (for slicing butter)
- Oven
Ingredients
- 20 Oreo Cookies
- 14 ounces sweetened condensed milk
- 8 ounces cool whip thawed
- 15.25 ounces chocolate cake mix
- ½ cup salted butter
Instructions
- Spray a 9×13 inch baking pan with non-stick spray and preheat your oven to 350 degrees Fahrenheit.
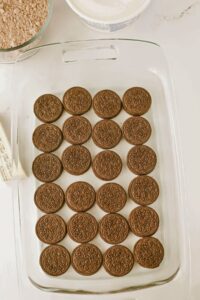
- Layer the Oreo cookies in the bottom of the baking dish.

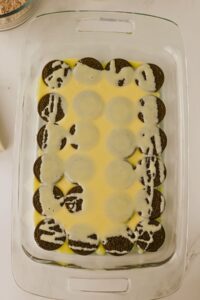
- Pour the sweetened condensed milk over the Oreos.
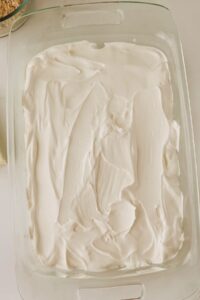
- Spread the cool whip over top in an even layer.
- Sprinkle the cake mix evenly over top of the cool whip.
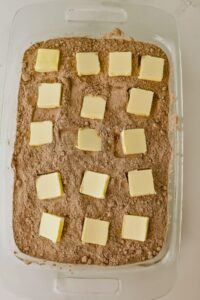
- Cut the salted butter into tabs, and place evenly over top of the cake mix.
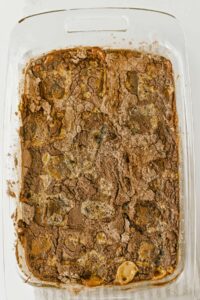
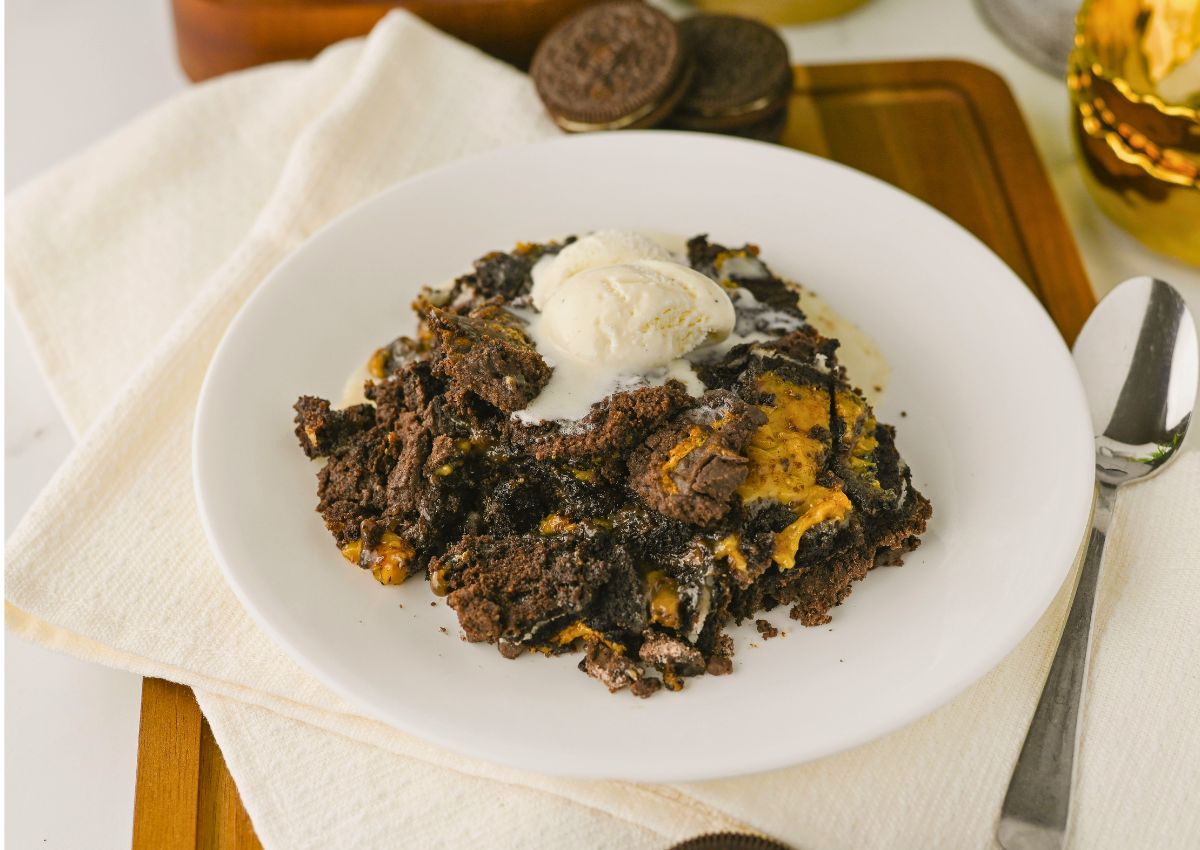
- Bake 36-38 minutes, and serve warm with ice cream.
Notes
- Arrange cookies in a single even layer for consistent texture.
- Pour the condensed milk slowly to help it spread evenly.
- Distribute butter pieces across the entire surface for proper browning.
- Let the cake rest 5–10 minutes before serving so it sets slightly.
Storage
Storage:Cover tightly and store at room temperature for up to 2 days or refrigerate for up to 4 days. Reheating:
Warm individual portions in the microwave for 20–30 seconds until heated through. Freezing:
Wrap tightly and freeze for up to 2 months. Thaw overnight in the refrigerator and warm before serving.
Disclaimer:
Any nutritional data I provide is an approximation and actual dietary information can vary based on ingredients and proportion sizes.
Nutrition
Wendy’s Tips
- Spread the cake mix as evenly as possible so you don’t end up with dry patches.
- Slice the butter into thin, even tabs to help it melt and cover more surface area while baking.
- Don’t press the layers down, keeping them loose helps create that gooey texture.
- Bake until the top looks set and slightly crisp but still soft in the center.
- Variation: Swap regular Oreos for Double Stuf for extra creaminess.
- Variation: Add a handful of chocolate chips or chopped nuts on top before baking for added texture.
- Cake mix note: Chocolate cake mix gives this recipe its rich flavor. For a classic cookies-and-cream twist, swap in yellow cake mix; dark chocolate or devil’s food mix creates a deeper chocolate flavor. Use your preferred 15.25-ounce brand. Some call this an Oreo cobbler instead of a dump cake—it’s the same easy layered dessert, just a different name.
FAQ
Do you have questions about this recipe? Here are the answers to the most commonly asked questions.
Absolutely! Devil’s food, dark chocolate, or even a brownie mix would be delicious.
The top should look set and slightly golden around the edges, and the butter should be fully melted. The center will still be soft but not liquidy.
You can, but the layers will be thicker and it may need a few extra minutes to bake through.
Yes! Layer everything the same way and cook on low for about 2–3 hours. Keep an eye on it toward the end so it doesn’t overcook.