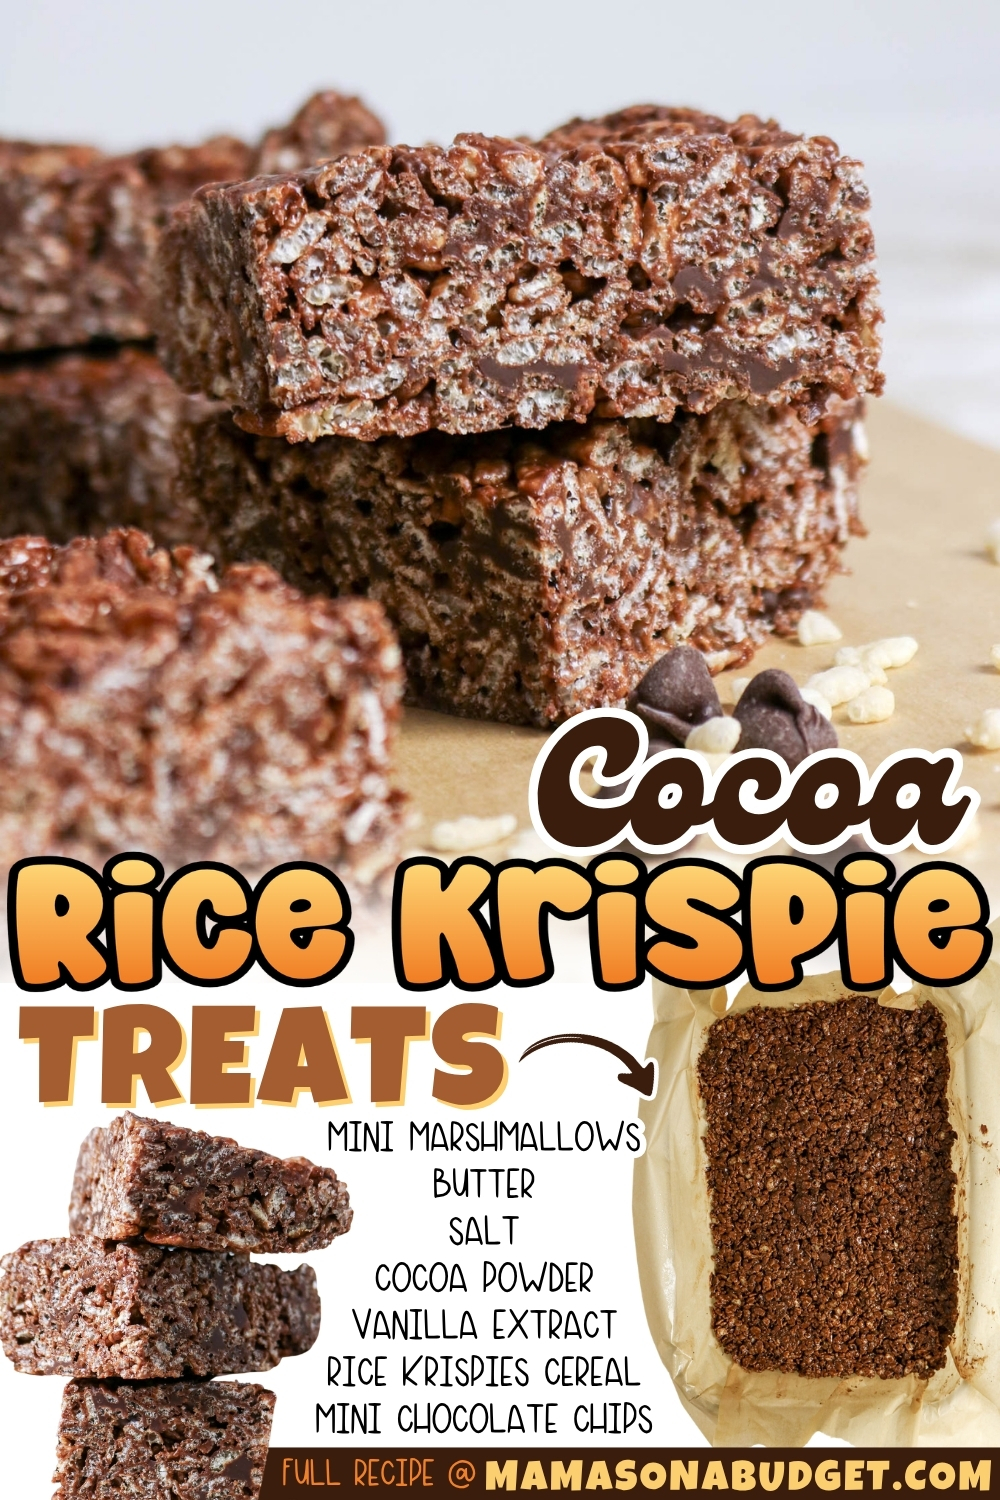
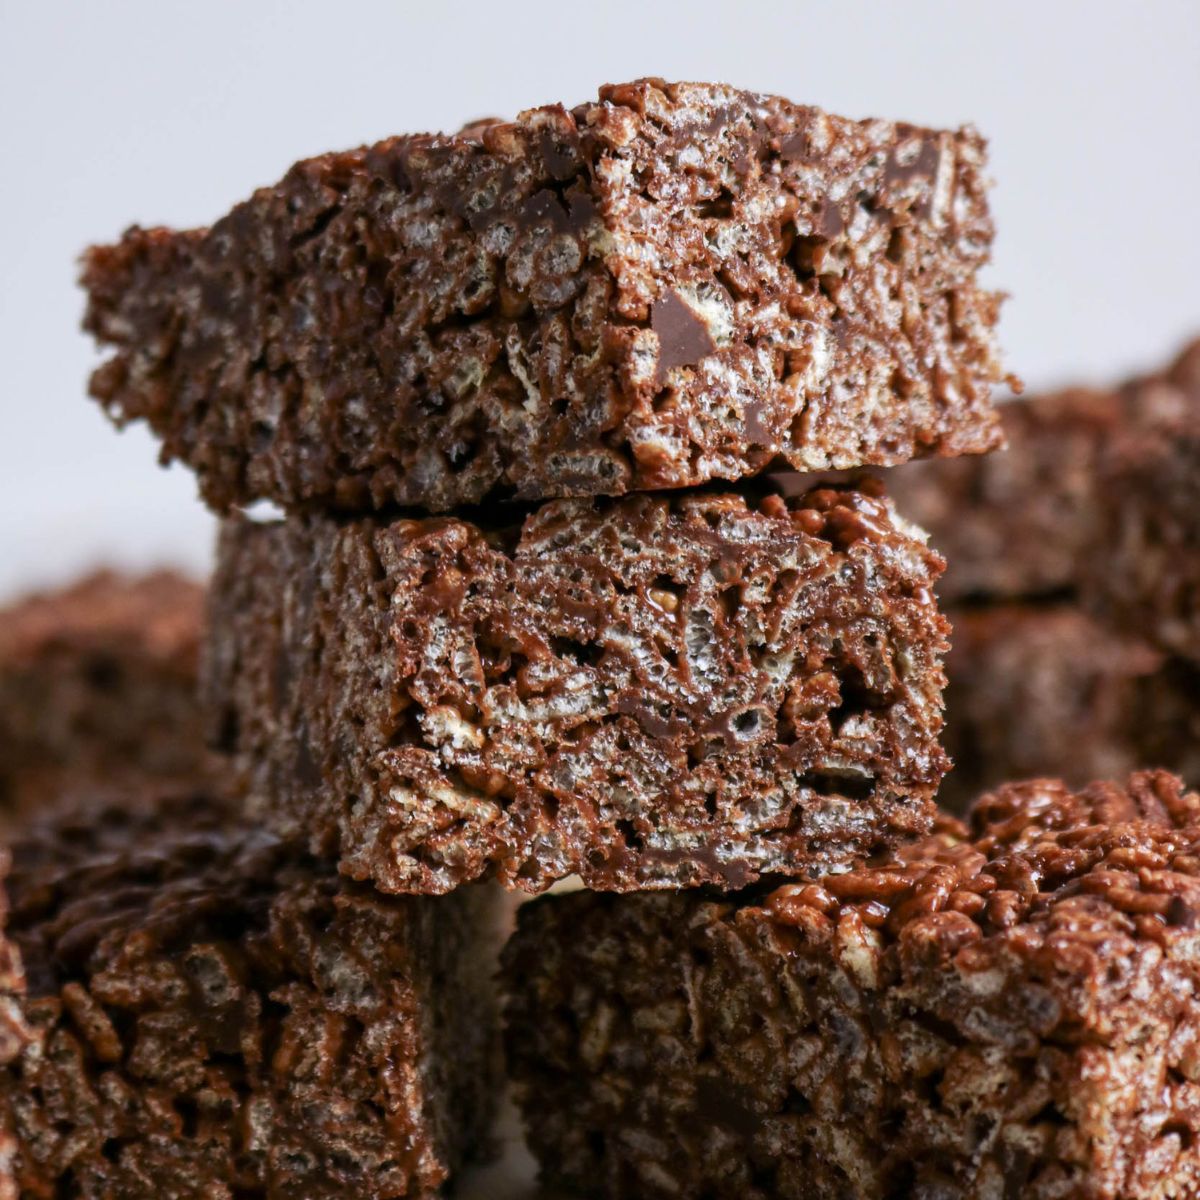
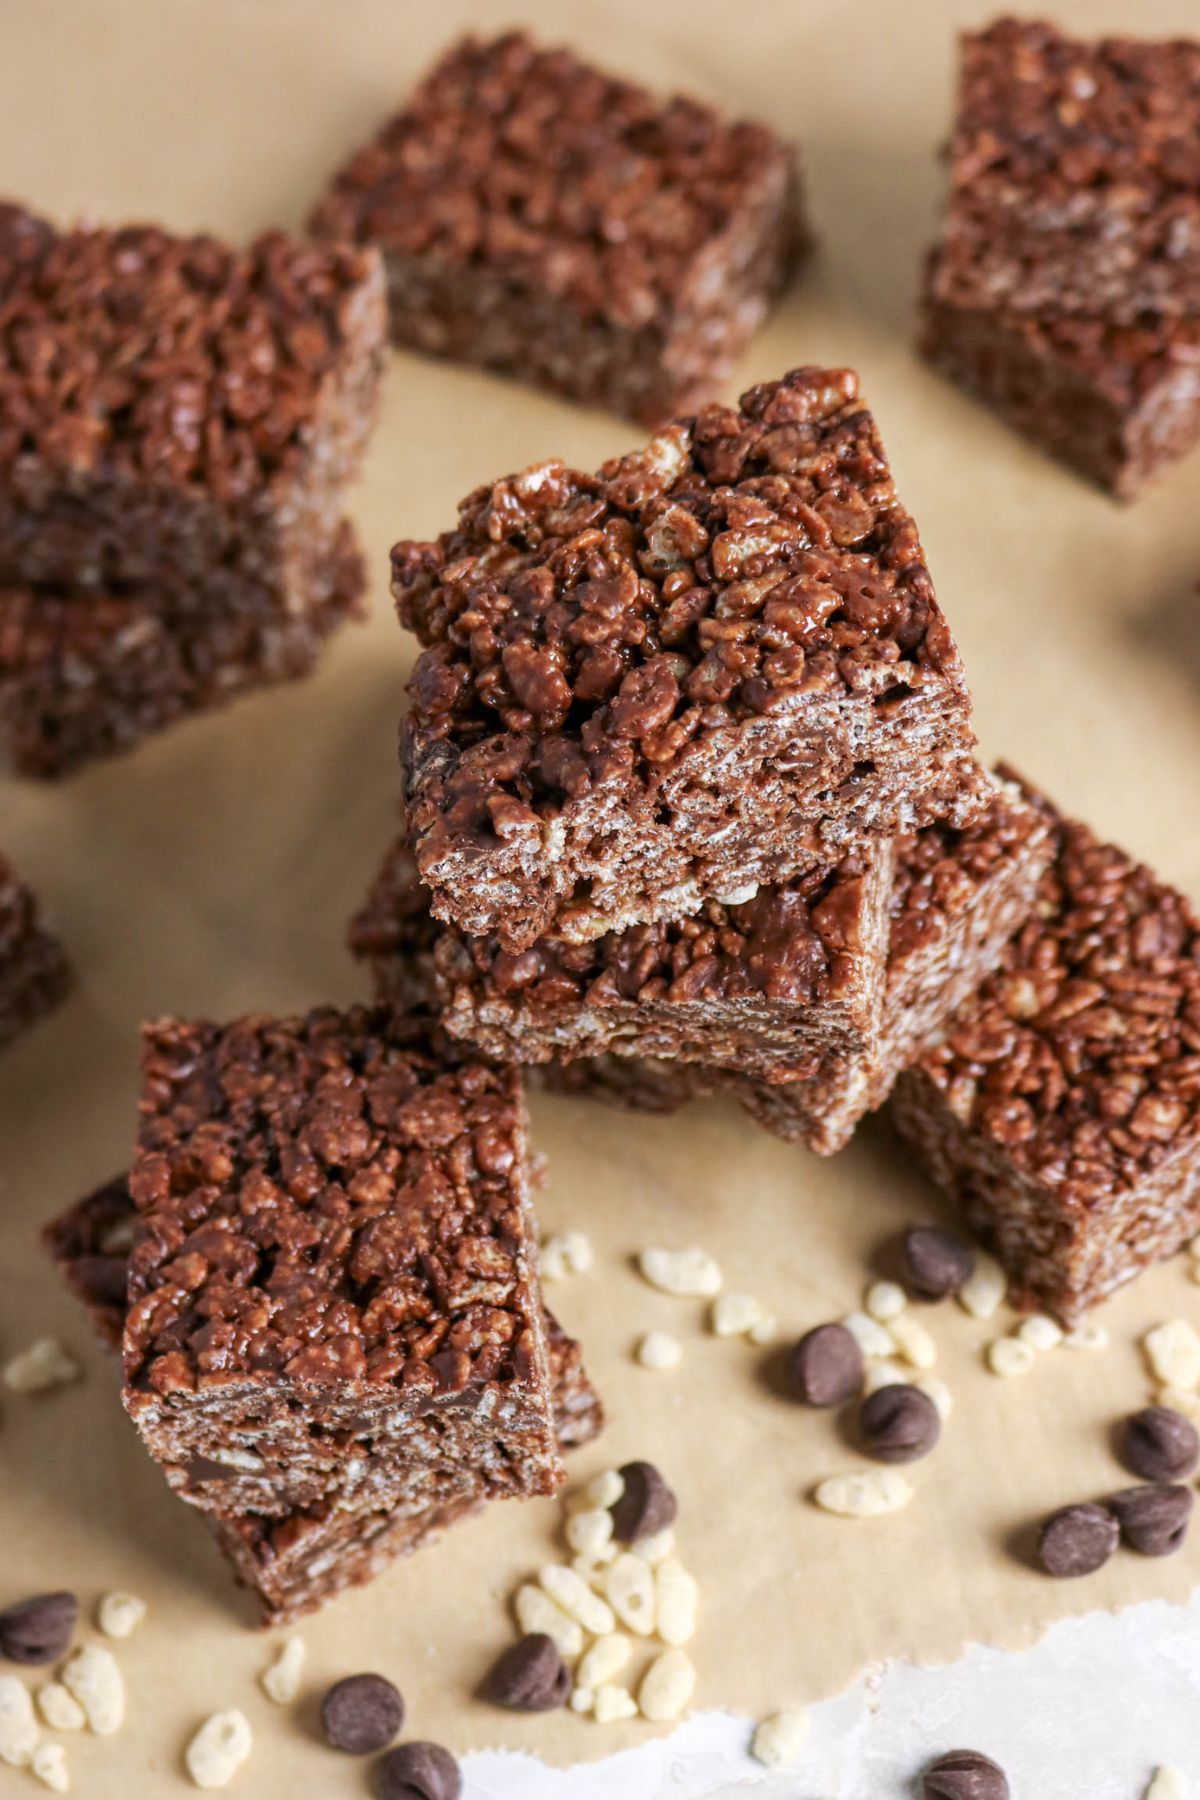
Cocoa Rice Krispie Treats
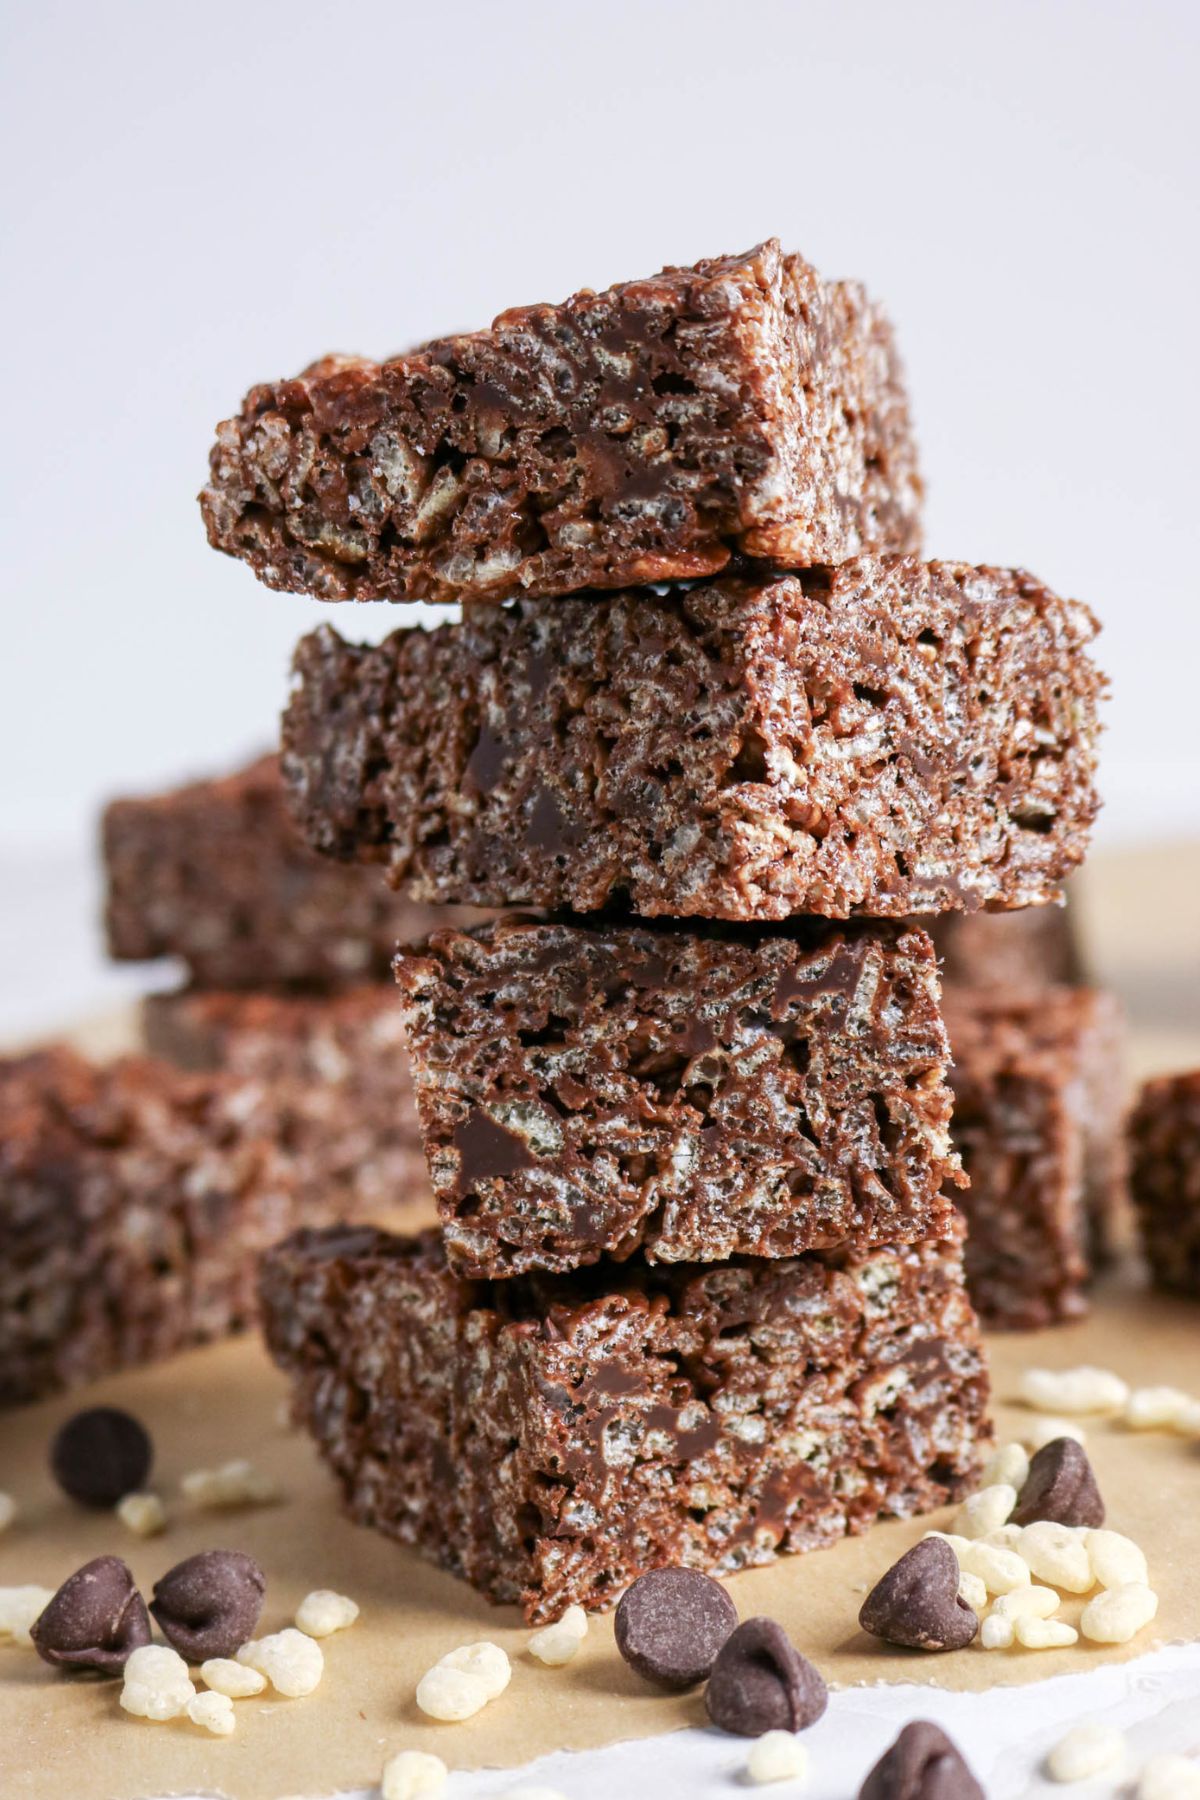
Cocoa Rice Krispie Treats are one of those easy, no-fuss desserts I keep in my back pocket for busy days. They’re rich, gooey, and come together in minutes with simple pantry staples, perfect when you need something sweet without turning on the oven.
Would you like to save this?
I started making these when I wanted a little twist on the classic version, and let me tell you, adding cocoa powder takes them to a whole new level. My kids think they’re getting a fancy dessert, and I’m just over here smiling because they were so simple (and budget-friendly) to make.
If you love quick treats like this, you might also enjoy no-bake banana pudding, M&M Rice Krispie Treats, or even cherry Rice Krispies Treats. They’re all easy wins when time is tight and sweet cravings hit.
Why You’ll Love This Recipe
- Quick & Easy: Comes together in under 15 minutes with minimal cleanup.
- Budget-Friendly: Uses simple, affordable ingredients you probably already have.
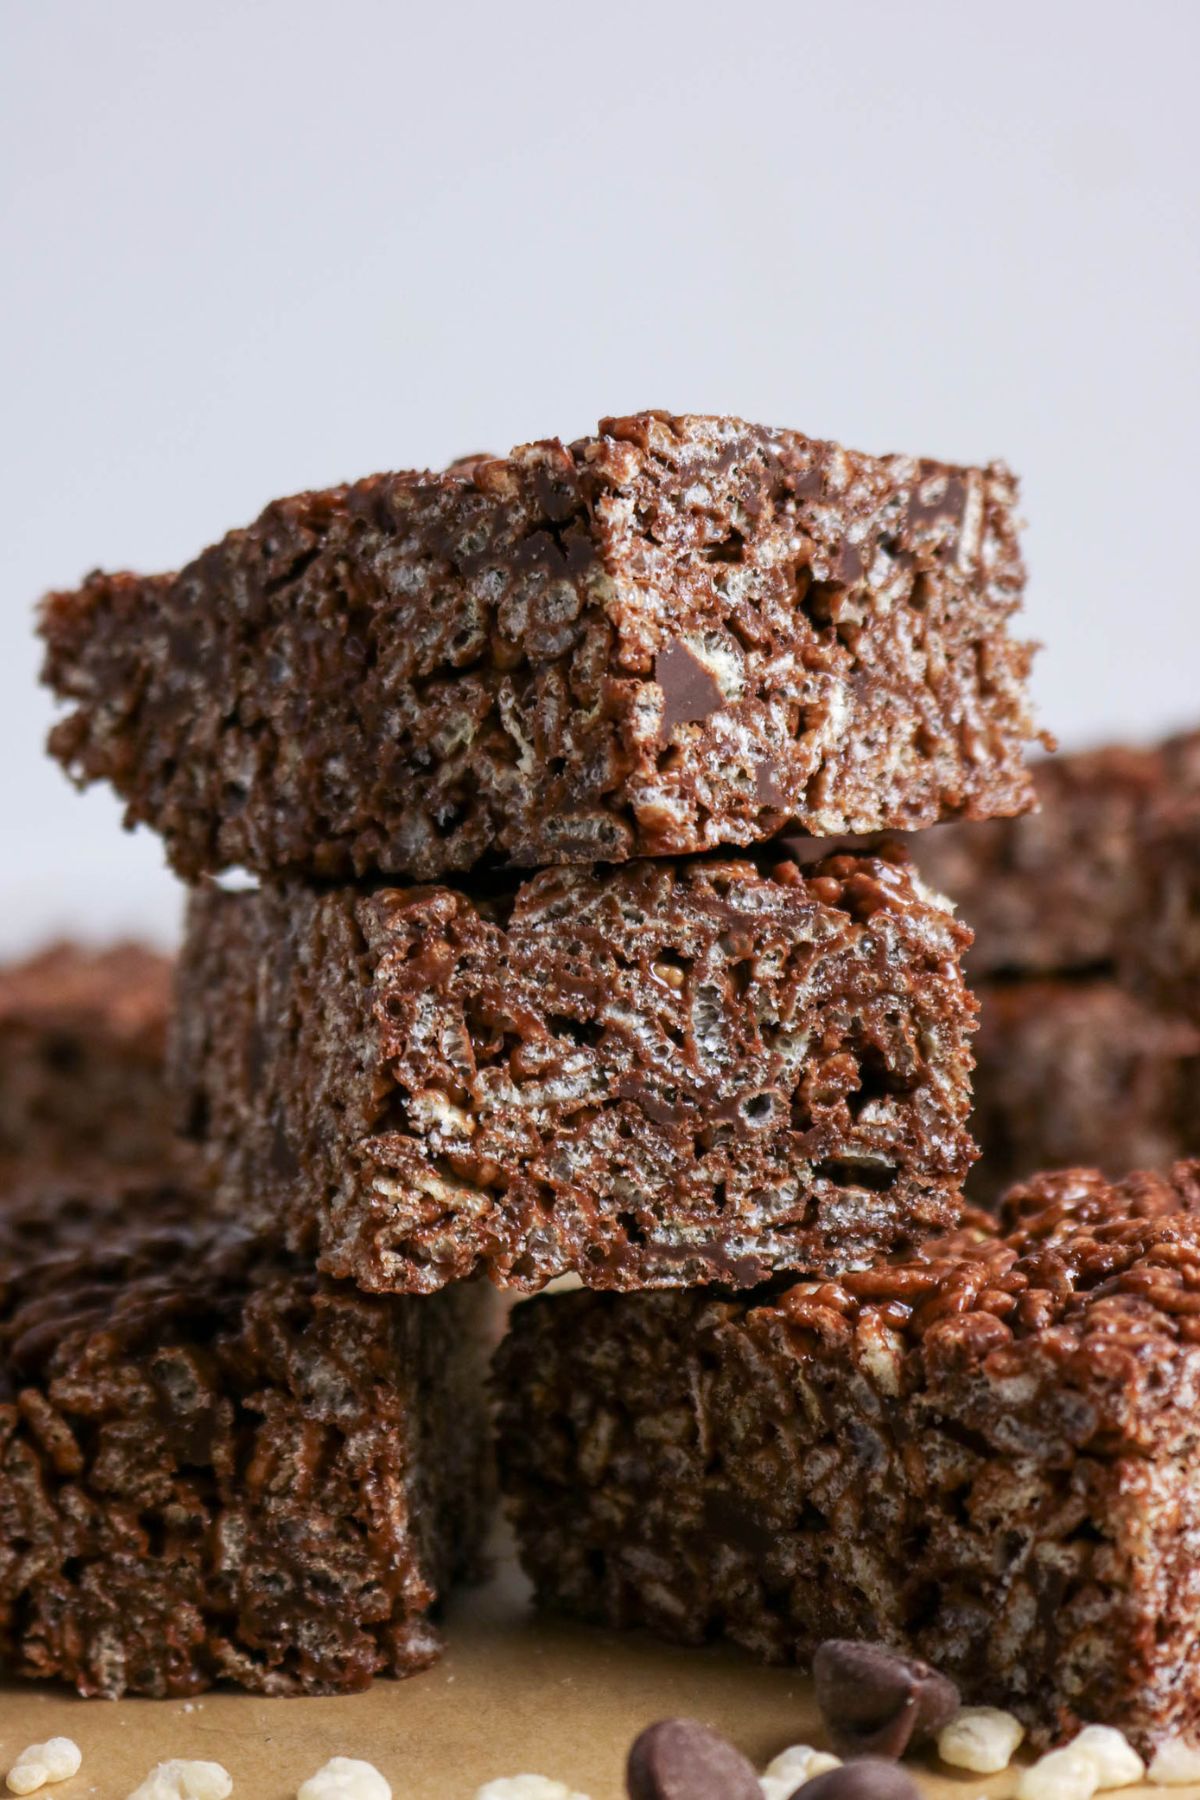
- Chocolatey Upgrade: A fun twist on the classic with rich cocoa flavor.
- Kid-Approved: Perfect for lunchboxes, after-school snacks, or bake sales.
Ingredients
Cocoa Rice Krispie Treats
Equipment
- large pot
- wooden spoon or spatula
- 9×13 inch baking pan
- Parchment paper, optional
- measuring cups and spoons
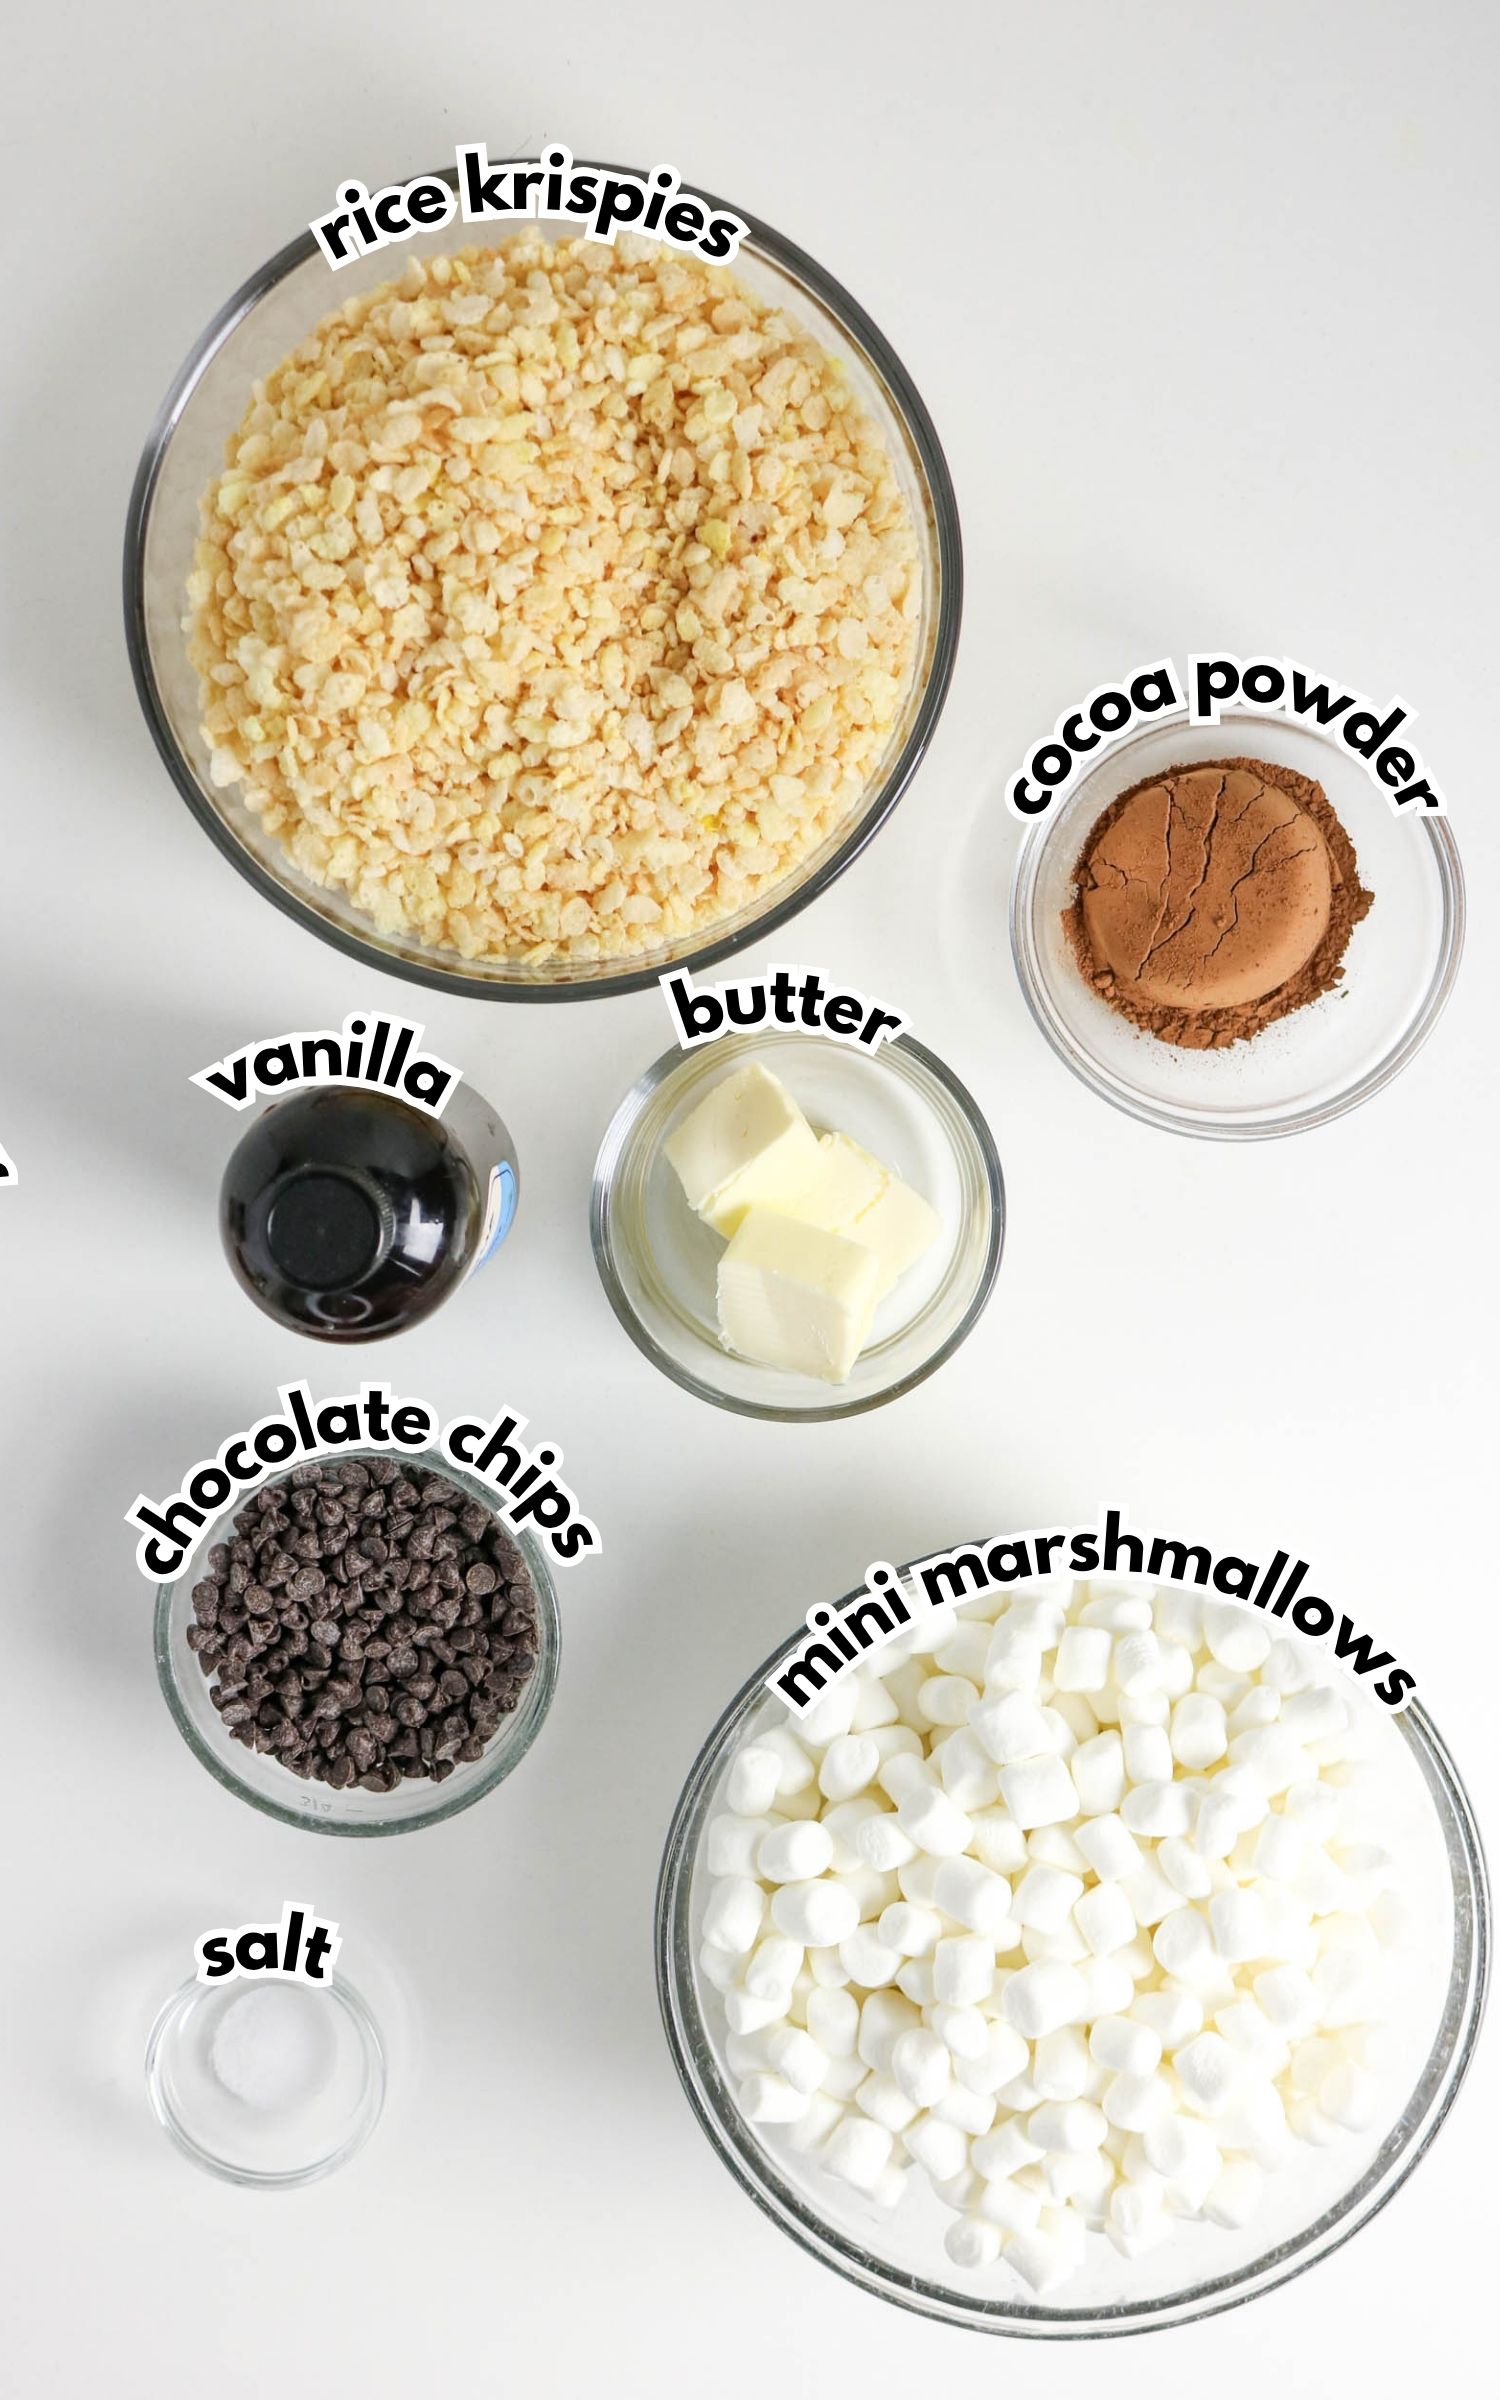
Ingredients
- 3 tablespoons butter
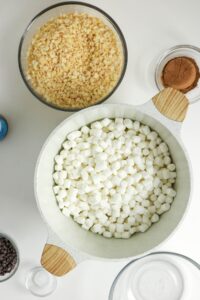
- 10 ounces mini marshmallows
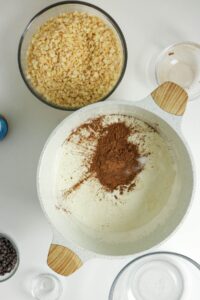
- ¼ cup unsweetened cocoa powder
- 1 teaspoon vanilla extract
- 5 cups Rice Krispies cereal
- ¼ teaspoon salt
- ½ cup mini chocolate chips optional
Instructions
- Line a 9×13-inch baking pan with parchment paper or lightly grease it.
- Melt the butter in a large pot over low heat. Add the marshmallows and stir continuously until completely melted and smooth.
- Whisk in the cocoa powder and salt until fully incorporated, then stir in the vanilla extract.
- Remove from the heat and immediately add the Rice Krispies cereal, folding gently until all of the cereal is coated with the chocolate marshmallow mixture.
- If using chocolate chips, allow the mixture to cool for about 2 minutes and then fold them in so they do not melt completely.

- Press the mixture evenly into the prepared pan using a buttered spatula or parchment paper.
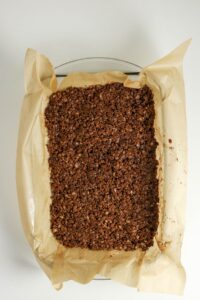
- Let the treats cool at room temperature for about 30 minutes before cutting into squares.
Notes
- Melt ingredients slowly to keep the texture soft.
- Mix cereal in quickly before the marshmallow sets.
- Don’t press too firmly into the pan to keep treats light.
- Add chocolate chips after slight cooling to prevent melting.
Storage
Storage:Store in an airtight container at room temperature for up to 3 days. Reheating:
No reheating needed, but you can microwave for 5–10 seconds for extra gooey texture. Freezing:
Wrap tightly and freeze for up to 6 weeks. Thaw at room temperature before serving.
Disclaimer:
Any nutritional data I provide is an approximation and actual dietary information can vary based on ingredients and proportion sizes.
Nutrition
Wendy’s Tips
- Use low heat when melting the marshmallows to avoid a stiff mixture.
- Stir constantly so nothing burns on the bottom of the pot.
- Let the mixture cool slightly before adding chocolate chips so they hold their shape.
- Lightly butter your spatula or hands to prevent sticking when pressing into the pan.
- For a fun variation, mix in chopped nuts or drizzle melted chocolate on top.
- Swap mini marshmallows with large ones—just measure by weight for accuracy.
FAQ
Do you have questions about this recipe? Here are the answers to the most commonly asked questions.
Yes! This recipe is designed for stovetop use—just keep the heat low and stir often.
They should be completely melted and smooth with no lumps before adding other ingredients.
Absolutely, just use the same total weight (10 ounces).
This usually happens if the heat was too high or the mixture was pressed too firmly into the pan.