No Cook Peanut Butter Fudge
Delight your friends and family with this delicious No Cook Peanut Butter Fudge! This easy-to-make treat requires just a few simple ingredients. It doesn’t require turning on the oven. With just a little bit of stirring, you can create a delightful four-ingredient dessert that will have everyone begging for more!
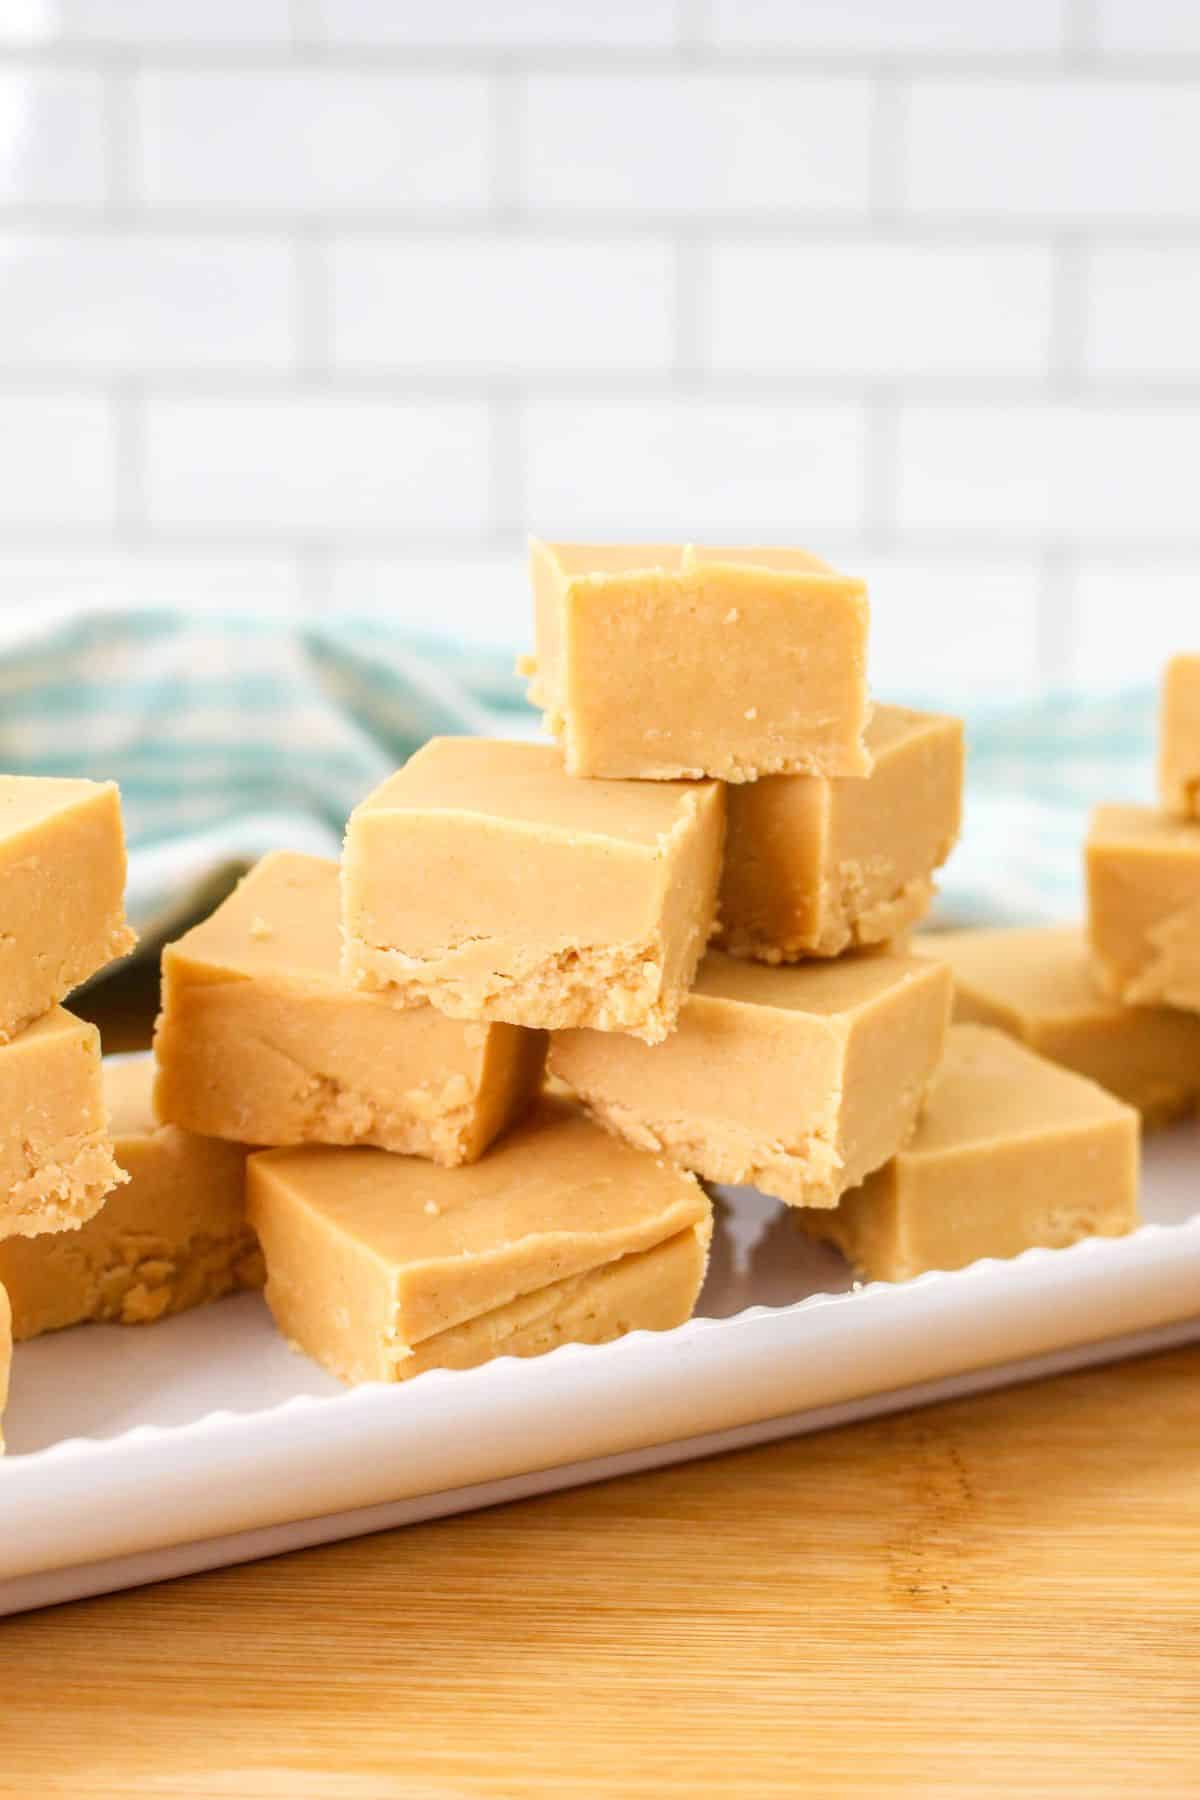
Would you like to save this?
Everyone loves this recipe because it is incredibly easy to make. It requires no cooking or baking, so even novice bakers can have success with it.
Plus, the combination of peanut butter and sugar creates an irresistible flavor that everyone loves. And with just four ingredients, it’s an affordable way to make delicious treats for family and friends!
Love fudge? Red Velvet Fudge and Twix Fudge are two more of my favorites!
Ingredients
You will need a handful of simple ingredients to help you make this rich and peanut buttery fudge recipe. Gather these ingredients and get ready to enjoy this sweet treat.
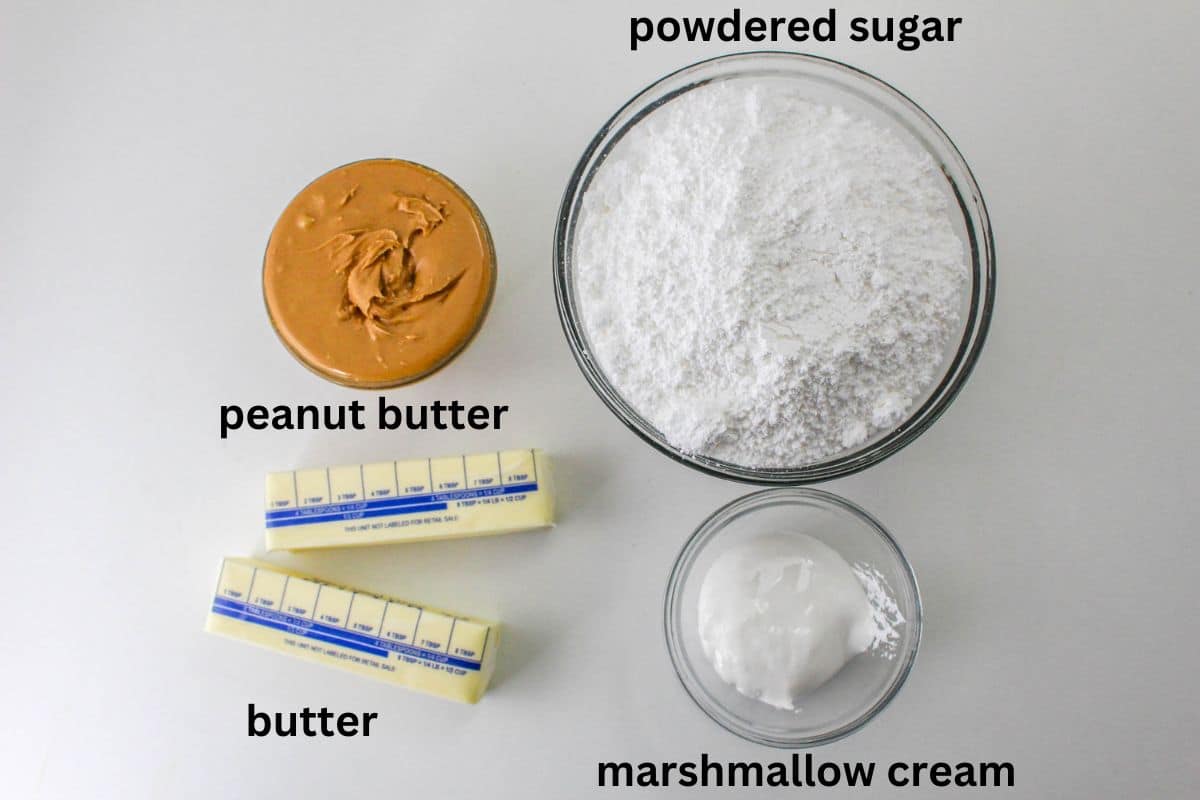
- Butter – You will need some salted butter to make this creamy homemade fudge recipe. Make sure that you use real butter and not margarine for best results.
- Peanut Butter – You will need your favorite brand of peanut butter to make this fudge. If if you are using natural peanut butter, make sure that is not separated.
- Marshmallow cream – This fluffy sweet treat helps your fudge set up correctly, so don’t skip this ingredient.
- Powdered sugar – Sometimes called confectioners sugar or icing sugar you will need this fine powder sugar to make this fudge sweet and firm.
See recipe card for quantities.
How to Make No Cook Peanut Butter Fudge
Making this homemade peanut butter fudge is no simple. Just follow the directions below and you will have rich fudge that will wow your friends and family in no time at all.
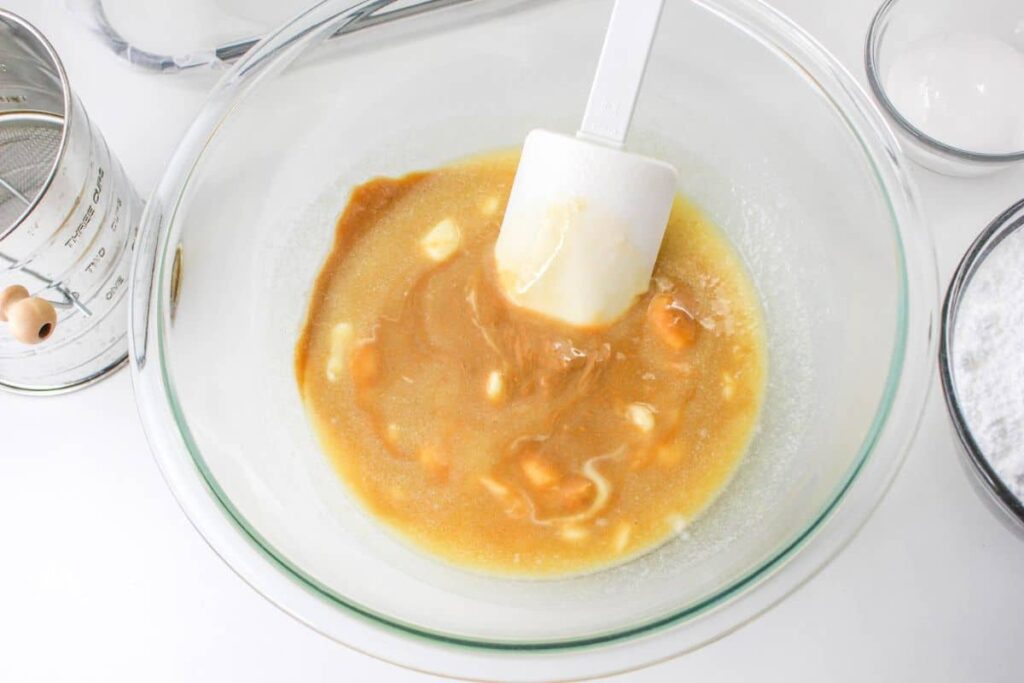
In a large microwave-safe bowl, add the butter and peanut butter. Heat in the microwave on high for 1 minute or until the butter has melted. Stir to combine.
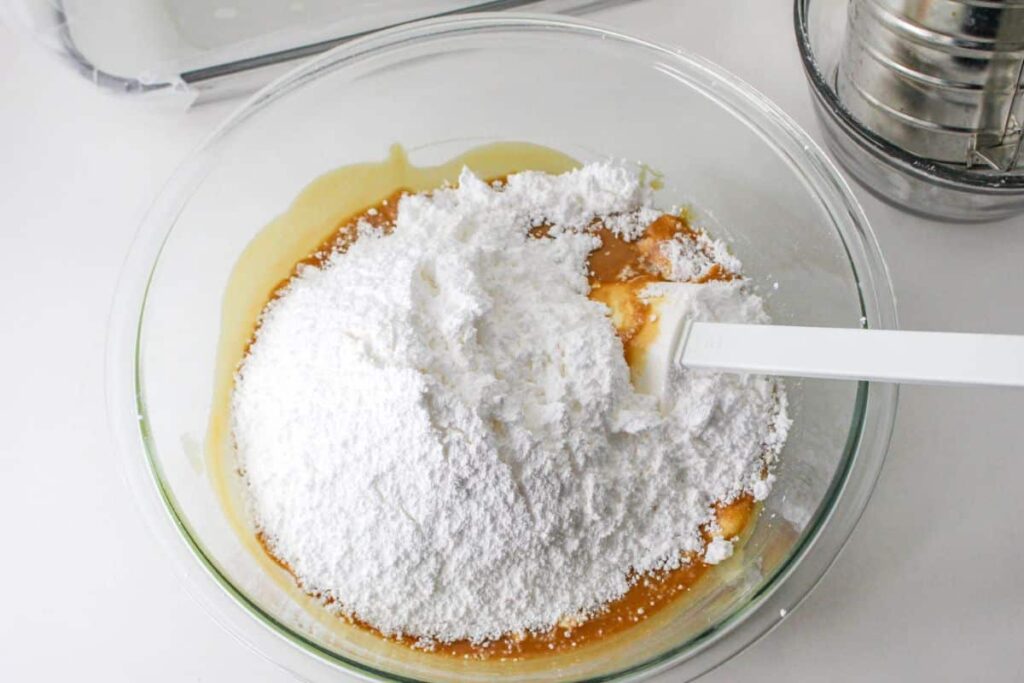
Add the marshmallow cream and powdered sugar to the peanut butter mixture, stirring until blended. The mixture will be very thick.
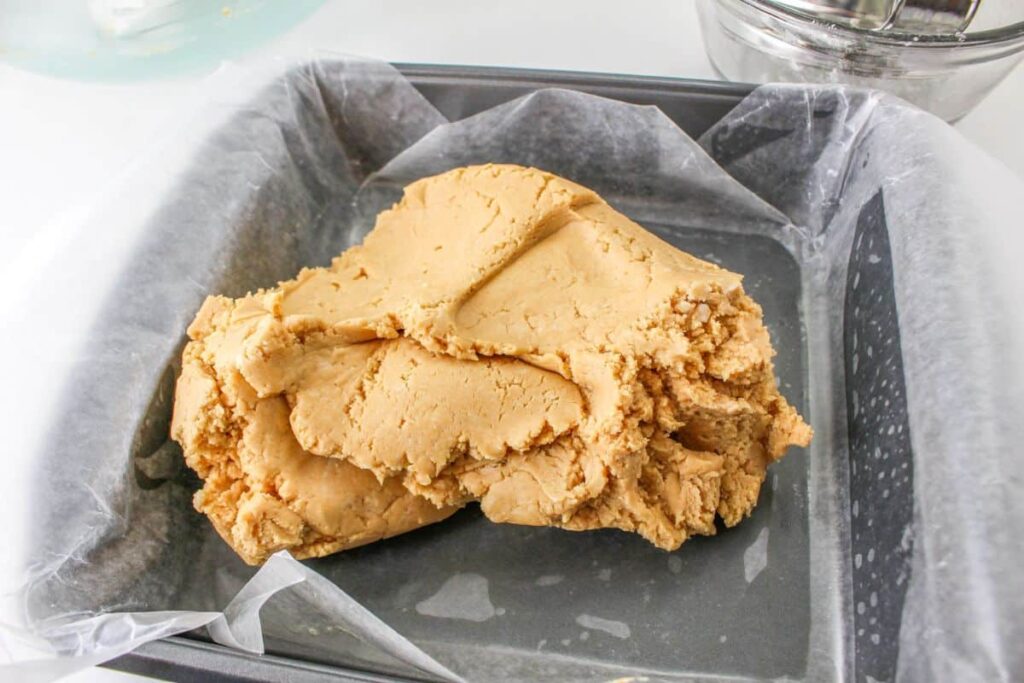
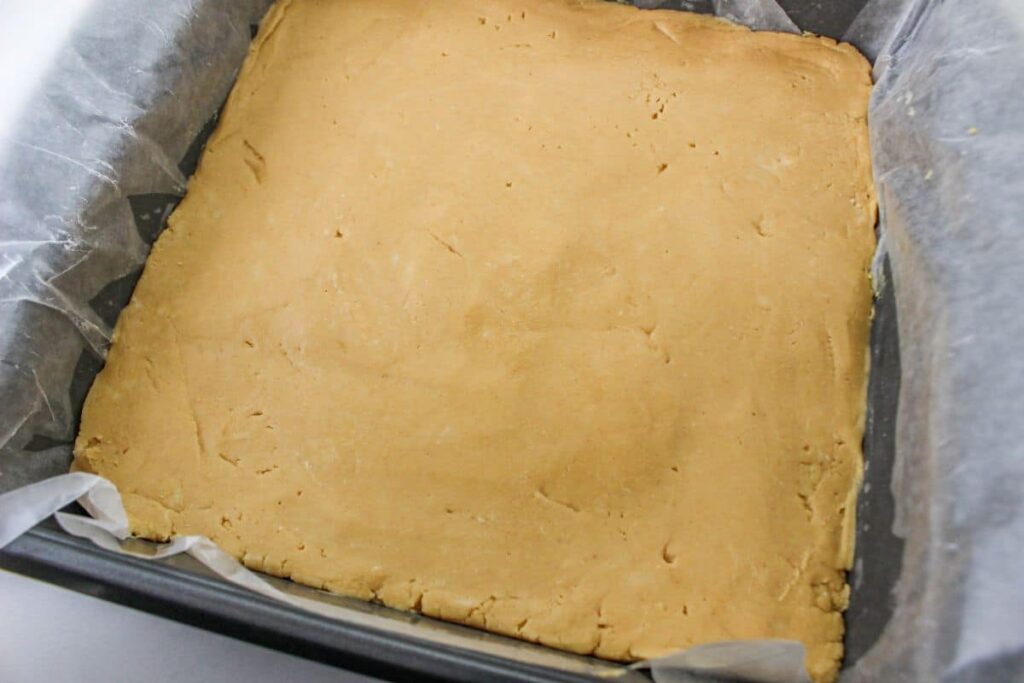
Pour the fudge mixture into your prepared baking dish and smooth out the fudge and press it down.
Chill the fudge for at least two hours before slicing and serving.
Variations
Here are 3 variation options for this no cook peanut butter fudge recipe:
- Replace the sugar with honey for a subtly sweet flavor.
- Add chopped nuts or chocolate chips to the fudge for some crunch and texture.
- Swap in your favorite nut butter, like almond or cashew butter, for a unique twist on the classic recipe.
See this Funfetti Fudge for another fudge idea to go with the family!
Equipment
- square baking dish
- parchment paper
- microwave safe large bowl
- rubber spatula
Storage
Leftovers – Store leftovers in an airtight container in the refrigerator for up to 2 weeks.
Freezing – Uncut fudge can be frozen in an airtight container or freezer bag for up to 3 months. Thaw overnight in the fridge before using.
Pro Tips
- Be sure to measure the ingredients precisely, as slight variations in quantities can have a big impact on the final product.
- Line your pan with parchment paper or aluminum foil to make it easy to remove the fudge after it has set.
- Stir the mixture until it is completely smooth, before pouring it into the prepared pan.
- Refrigerate the fudge until it’s firm enough to cut and serve, at least 2 hours but preferably overnight.
- Cut into bite-sized portions and enjoy!
FAQ
Do you have questions about this recipe? Here are the answers to the most commonly asked questions for this recipe.
If your peanut butter fudge won’t harden, it could be due to a few different reasons. One possible reason is that the mixture may have been overheated during stirring, which causes it to become too runny and not firm up. Another potential cause is that there may not have been enough time for the fudge to set properly in the refrigerator before serving.
The secret to good fudge is all in the technique. Start by measuring ingredients precisely, and strive for a perfectly smooth mixture. Make sure to line your pan before you pour the mixture in, and let it sit for 3-4 hours (or overnight) in the refrigerator so that it can properly set. Finally, be sure to use high-quality ingredients like real butter and fresh cream for the best flavor!
Fudge can become firmer by cooling it in the refrigerator. The colder temperature causes the fat and sugar molecules to bind together, which is what gives the fudge its thick, creamy texture. Adding more butter or cream can also help make the fudge firmer. My favorite tip is: adding a bit of cornstarch or powdered sugar can give it an extra boost and help it form nicely.
Related Recipes
Here are a few of my other recipes that you may enjoy.
Recipe Card
Want to make this delicious recipe? Print the recipe card below, or pin it so that you can come back to it later.
No Cook Peanut Butter Fudge
Equipment
- Baking Dish
- Parchment Paper
- microwave-safe bowl
Ingredients
- 1 cup salted butter or two sticks of butter
- 1 cup creamy peanut butter
- 2 tablespoons marshmallow cream
- 16 ounces powdered sugar
Instructions
- Prepare an 8×8 or 9×9 baking dish by lining it with waxed paper.
- In a large microwave-safe bowl, add the butter and peanut butter. Heat in the microwave on high for 1 minute or until the butter has melted. Stir to combine.
- Add the marshmallow cream and powdered sugar to the peanut butter mixture, stirring until blended. The mixture will be very thick.
- Transfer the fudge into the prepared dish and smooth into an even layer.
- Refrigerate for at least 2 hours prior to slicing and serving.
Notes
- You can store this fudge in the fridge for up to two weeks. It also freezes well for about 2-3 months.
- Lining your baking dish with parchment paper helps you remove them fudge from the pan so don’t skip this step.
- Don’t skimp on the chill time, make sure you chill for at least for two hours.
Disclaimer:
Any nutritional data I provide is an approximation and actual dietary information can vary based on ingredients and proportion sizes.





Don’t understand 1 cup 2 sticks mean. Is that like 6 sticks butter.
It means you need one cup of butter or two sticks of butter if you are in America, where are sticks of butter of 1/2 cup each.
It says NO COOK, but you’re using a microwave!!!! Brilliant!!!
In my opinion, you don’t “cook” in the microwave, you only heat up. I gave it the no cook name because it doesn’t require standing over the stove making sure it doesn’t scorch or stick.