Hershey Pie Recipe
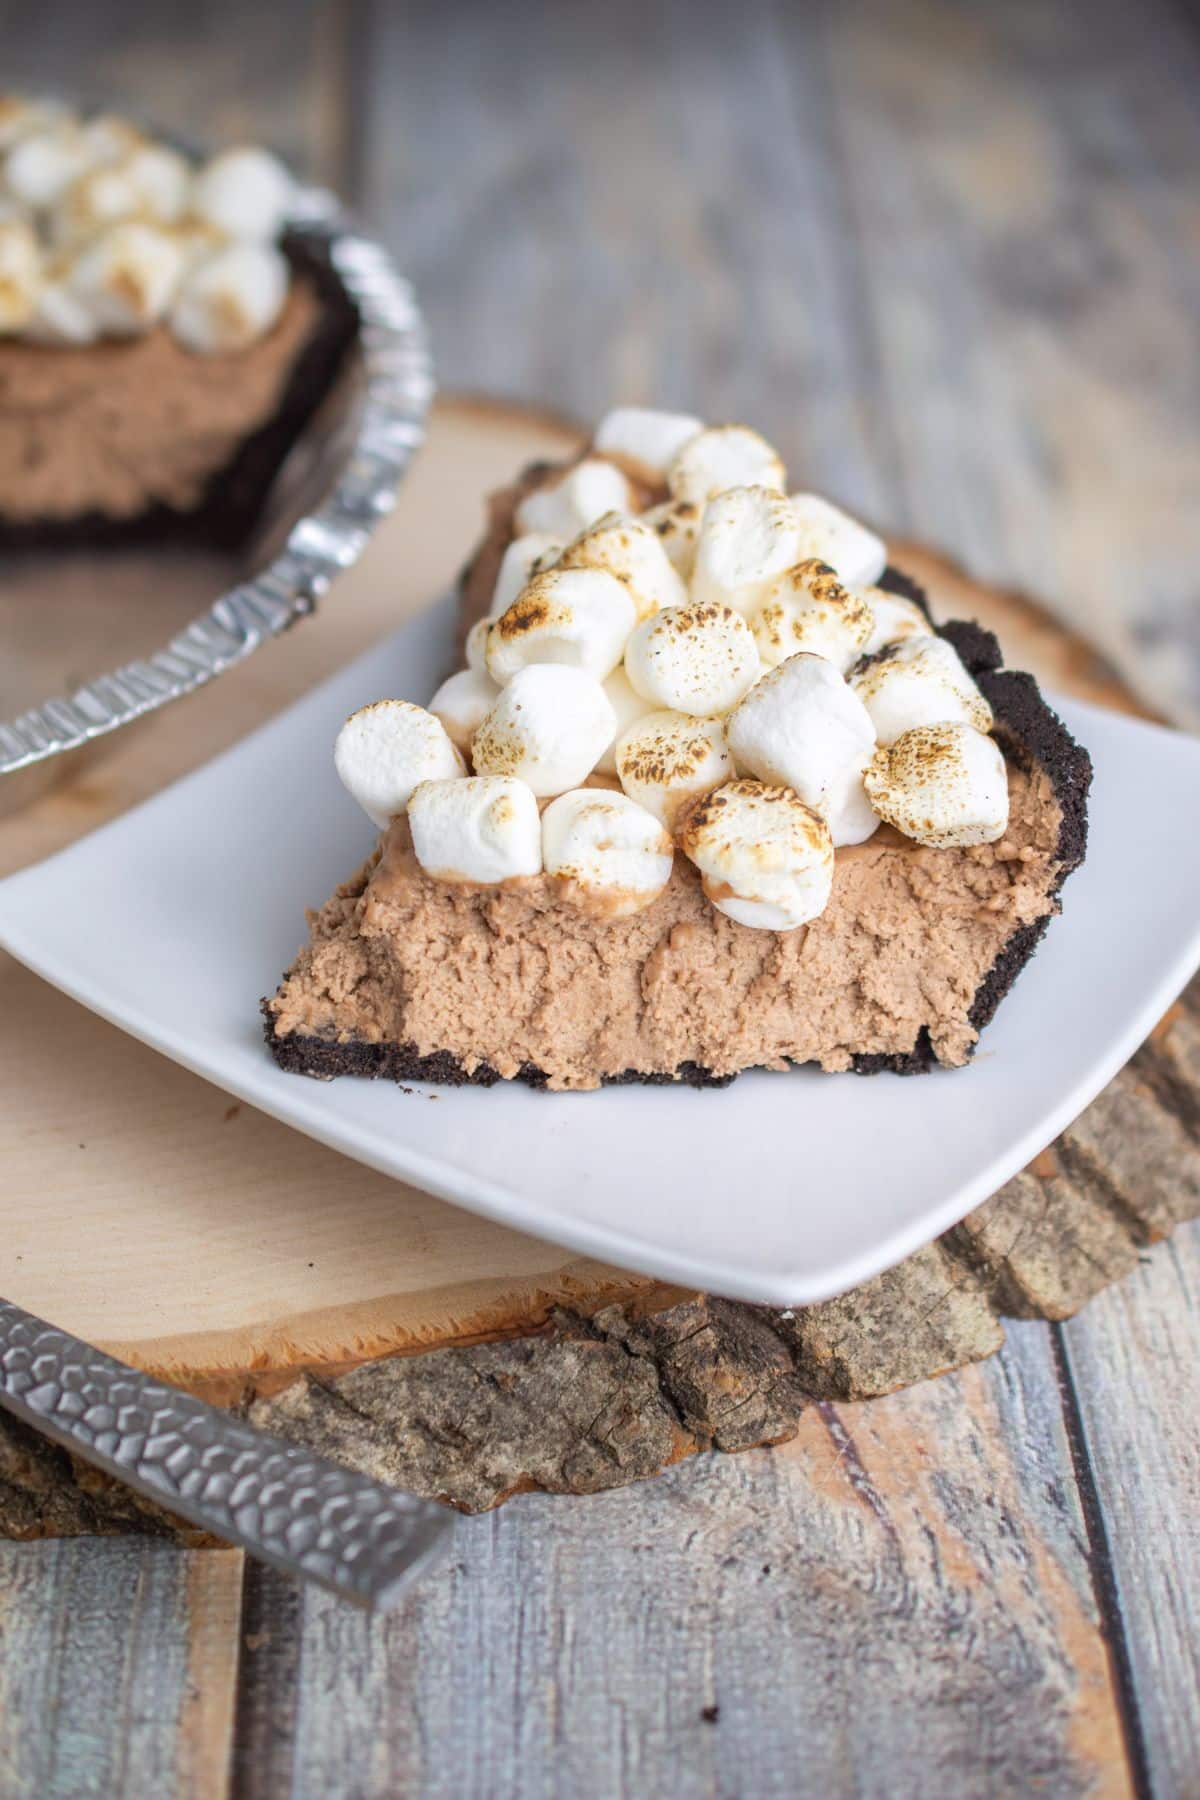
Whip up this Hershey Pie recipe for a delicious and easy no-bake dessert. This is a chocolate lover’s dream. You can’t go wrong with the chocolate cookie crust, creamy chocolate layer, and roasted marshmallows on top.
Would you like to save this?
This pie comes together in no time, and you will have a decadent dessert to serve up to your family or friends. Serve at parties, potlucks, holiday gatherings and more.
Why I Love This Recipe
- No bake
- Easy Prep
- Simple ingredients
- Prepare ahead of time
- Chocolate lovers dessert.
If you love pies then I recommend giving this Old Fashioned Peanut Butter Pie recipe a try next time. It’s full of peanut butter and chocolate flavor. I have to admit it’s one of my favorite pies.
Ingredients
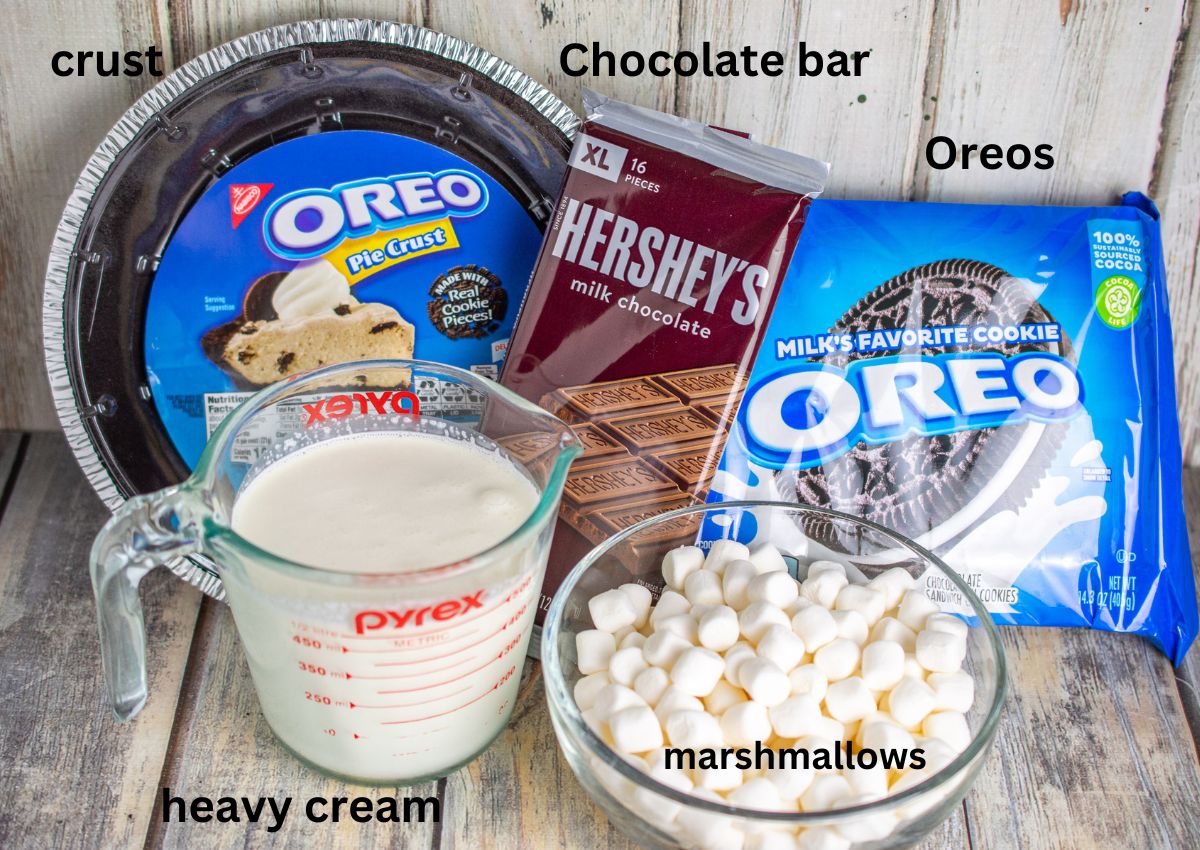
Variations / Options / Add-Ins
- Crust: Instead of an Oreo crust you could do a pre-made graham cracker crust to make it not as rich.
- Topping: Skip the mini marshmallow topping if you want. You could dust the top of the pie with cocoa powder instead.
- Whipped Topping: Use a piping bag to pipe Cool Whip or stabilized whipped cream to decorate the top of this no bake Hershey pie recipe instead of the marshmallows.
How to Make This Hershey Pie Recipe
Here are the steps to making this sweet dessert recipe. Follow the steps below and you will a delicious chocolate pie that will wow your friends and family in no time at all.
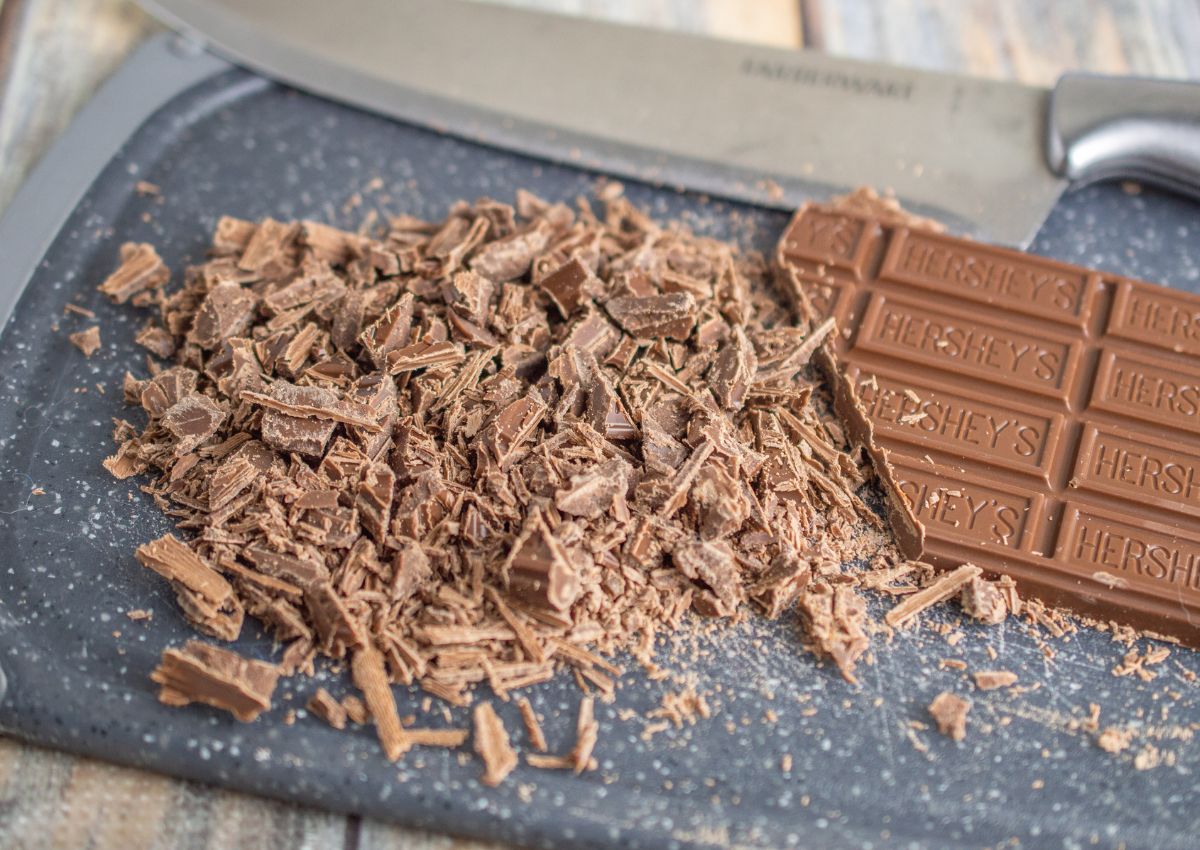
- Chop up the chocolate bar into small pieces.
- Place into a metal or glass bowl. Set aside.
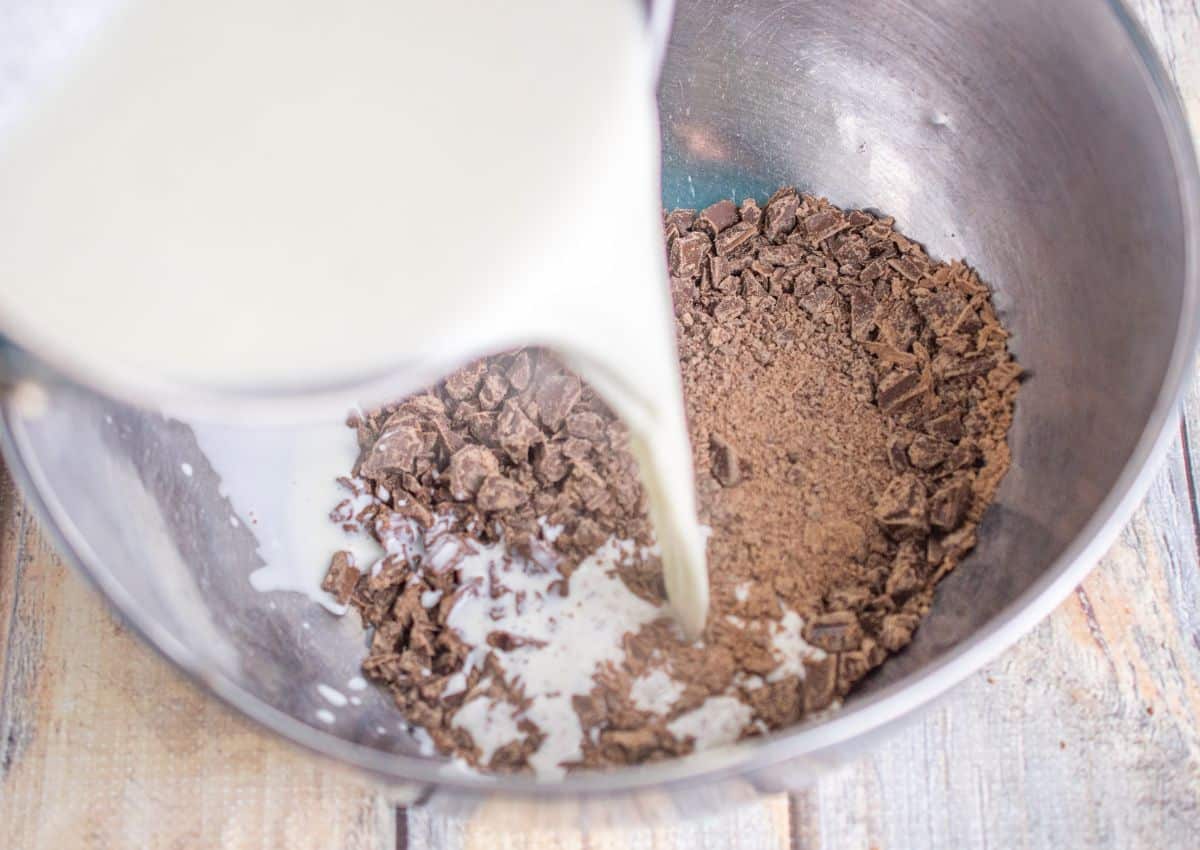
- In a small saucepan, warm up the cream over medium heat, just before it boils turn it off.
- Pour the hot cream over the chopped chocolate and set aside for 10 minutes. Don’t mix.
- Once 10 minutes have passed, use a whisk to stir chocolate and cream together until combined.
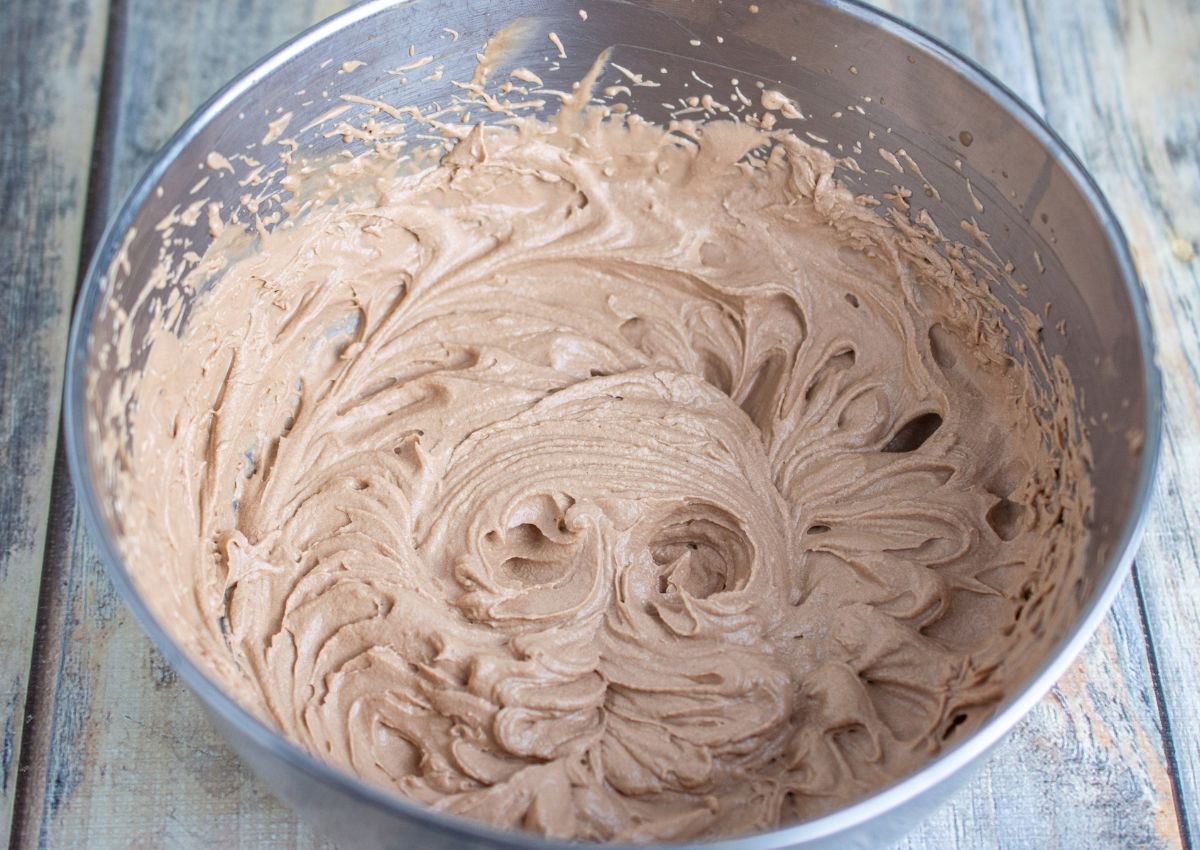
- Place in the refrigerator for 1 hour.
- Once an hour has passed, use an electric hand mixer to beat the mixture on medium/high until it almost doubles and is fluffy, like whipped cream. This will take a few minutes.
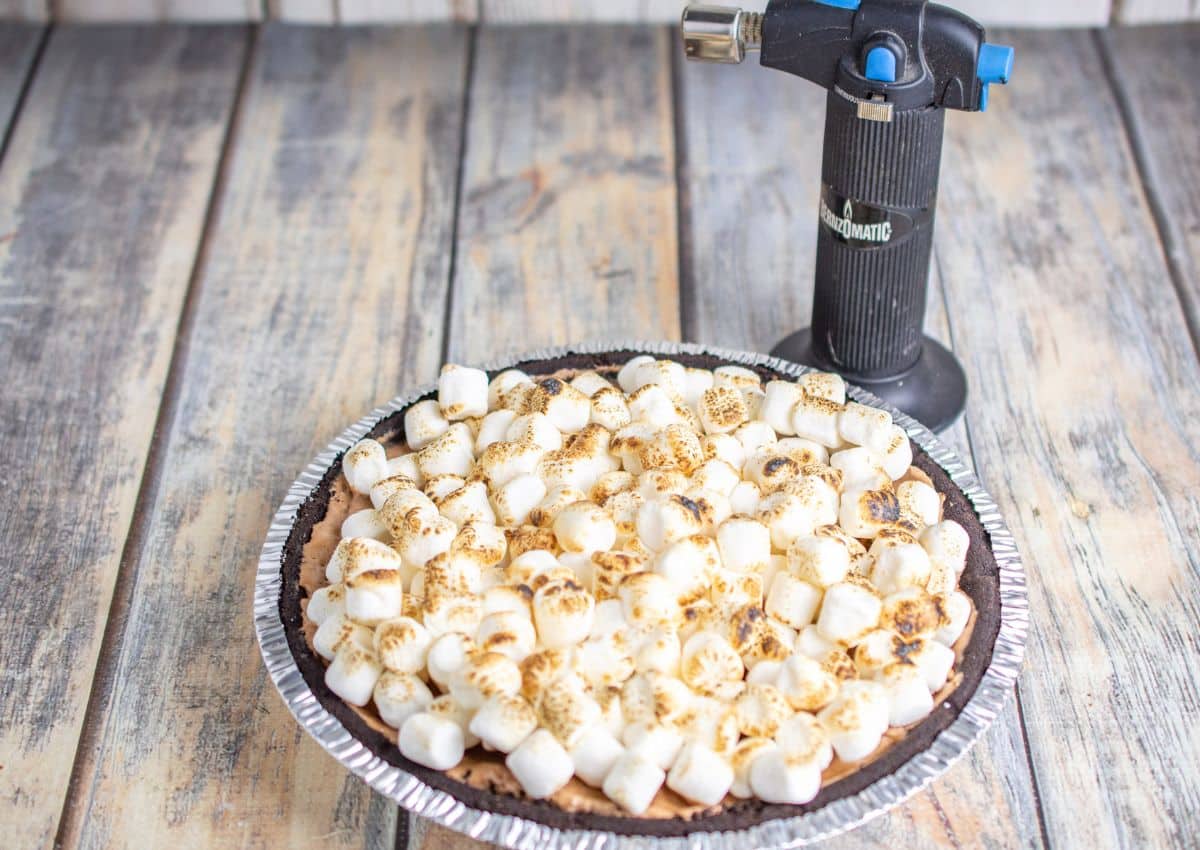
- Pour into pie shell.
- When ready to serve, add marshmallows to the top.
- Use a kitchen torch to toast the top of the marshmallows.
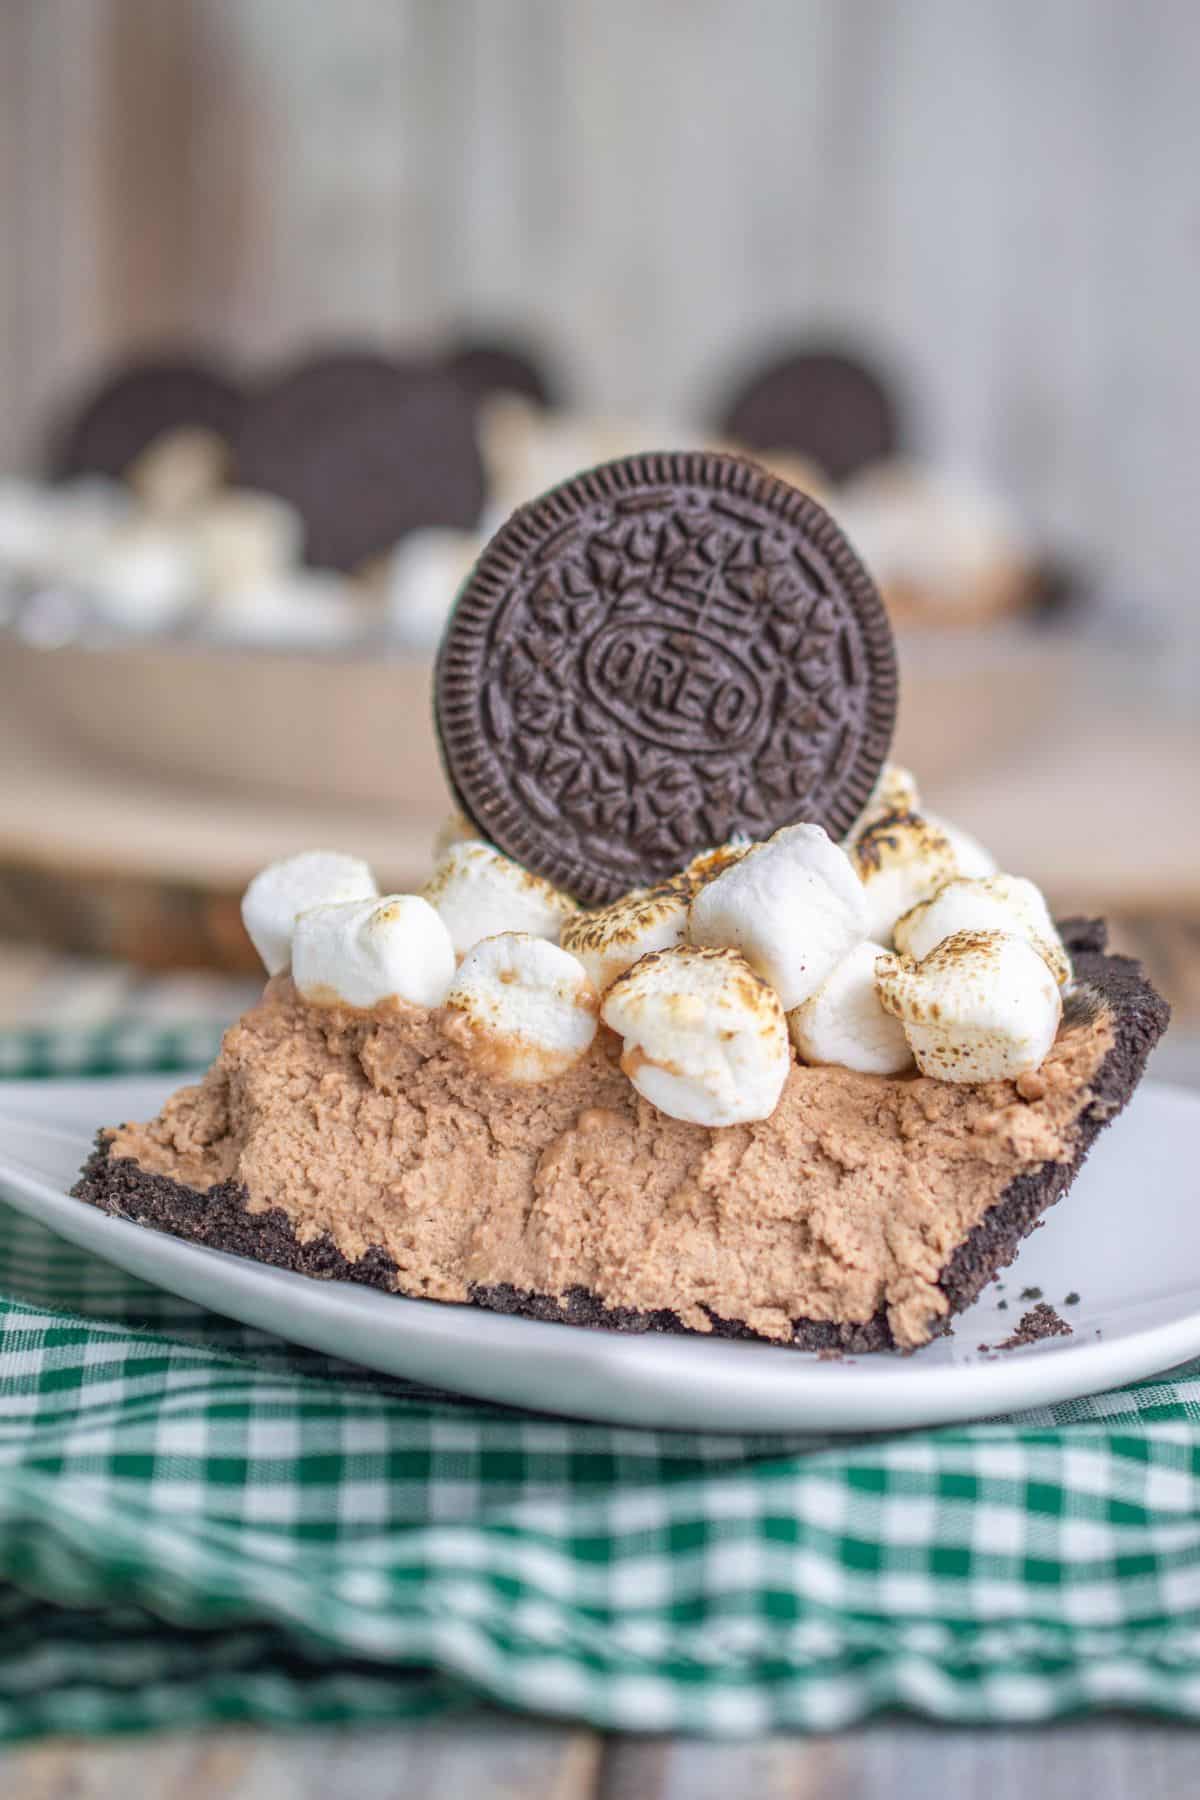
- Top with Oreo cookies.
Serving Suggestions
Balance out the sweetness with this Dr. Pepper meatballs recipe. Or even try this chicken cordon bleu.
Pro Tips
- When you are heating up the heavy cream make sure to not allow it to boil fully. And make sure o stir or it will burn.
- Another thing is allowing your pie to set up in the fridge, as it will thicken a bit and make the slicing and holding shape better.
- If you are using real whipped cream on top of this chocolate dessert, make sure that you only apply it to the slices that you planning to eat right away.
- If you don’t want to chop up the milk chocolate bars by hand, you can use a cheese grater, food processor, or a storage bag and a rolling pin to break them up.
- Add some chocolate shavings to this delicious pie for even more flare.
- I used the XL Hershey Bars. If you are using smaller size bars, make sure you measure out the candy bars so that you get the same weight.
- I used the lid for the pie crust on this no bake pie. If yours cracks or you are using a homemade pie crust, wrap your pie in plastic wrap for adding it to the fridge.
- Use a sharp knife to cut this pie so you get even slices.
Storage
Fridge – You will want to cover and refrigerate your pie for up to 5 days. Just cover with foil or place in an airtight container.
Freezer – You may also freeze leftover pie. Just cover tightly and freeze for 1-3 months. Then thaw in the fridge overnight.
FAQs
Do you have questions about this Hershey bar pie recipe? Here are the answers to the most commonly asked questions about this no bake chocolate pie recipe.
Hershey’s chocolate has a distinct flavor. I find this pie does taste best with Hershey chocolate but you could swap it out with another variety of quality chocolate.
Of course, you can place cupcake liners in a cupcake tin. Then press in some Oreo crust and then add the chocolate filling. These would work great.
Reach for a dark chocolate candy bar instead of milk chocolate to richen up the flavor of the pie. Just use the same amount of chocolate.
More No-Bake Dessert Recipes
If you like this no-bake dessert, give these recipes a try:
Want to make this delicious recipe? Print the recipe card below, and pin this recipe so you can find it later.
Hershey Pie Recipe
Equipment
- Large bowl
- small saucepan
- kithcen torch optional
Ingredients
- Oreo pie crust
- 1 cup Heavy Whipping Cream
- 4.4 ounces Hershey Milk Chocolate Bar
- 2 cups mini marshmallows
- 8 Oreo cookies optional
Instructions
- Chop up the chocolate bar into small pieces.
- Place into a metal or glass bowl. Set aside.
- In a small saucepan, warm up the cream over medium heat, just before it boils turn it off.
- Pour the hot cream over the chopped chocolate and set aside for 10 minutes. Don’t mix.
- Once 10 minutes has passed, use a whisk to stir chocolate and cream together until combined.
- Place in the refrigerator for 1 hour.
- Once an hour has passed, use an electric hand mixer to beat the mixture on medium/high until it almost doubles and is fluffy, like whipped cream. This will take a few minutes.
- Pour into pie shell.
- When ready to serve, add marshmallows to the top.
- Use a kitchen torch to toast the top of the marshmallows.
- Top with Oreo cookies.
Notes
- When you are heating up the heavy cream make sure to not allow it to boil fully. And make sure o stir or it will burn.
- Another thing is allowing your pie to set up in the fridge, as it will thicken a bit and make the slicing and holding shape better.
- If you are using real whipped cream on top of this chocolate dessert, make sure that you only apply it to the slices that you planning to eat right away.
- If you don’t want to chop up the milk chocolate bars by hand, you can use a cheese grater, food processor, or a storage bag and a rolling pin to break them up.
- Add some chocolate shavings to this delicious pie for even more flare.
- I used the XL Hershey Bars. If you are using smaller size bars, make sure you measure out the candy bars so that you get the same weight.
- I used the lid for the pie crust on this no bake pie. If yours cracks or you are using a homemade pie crust, wrap your pie in plastic wrap for adding it to the fridge.
- Use a sharp knife to cut this pie so you get even slices.
Disclaimer:
Any nutritional data I provide is an approximation and actual dietary information can vary based on ingredients and proportion sizes.

