Halloween Sprinkle Cookies
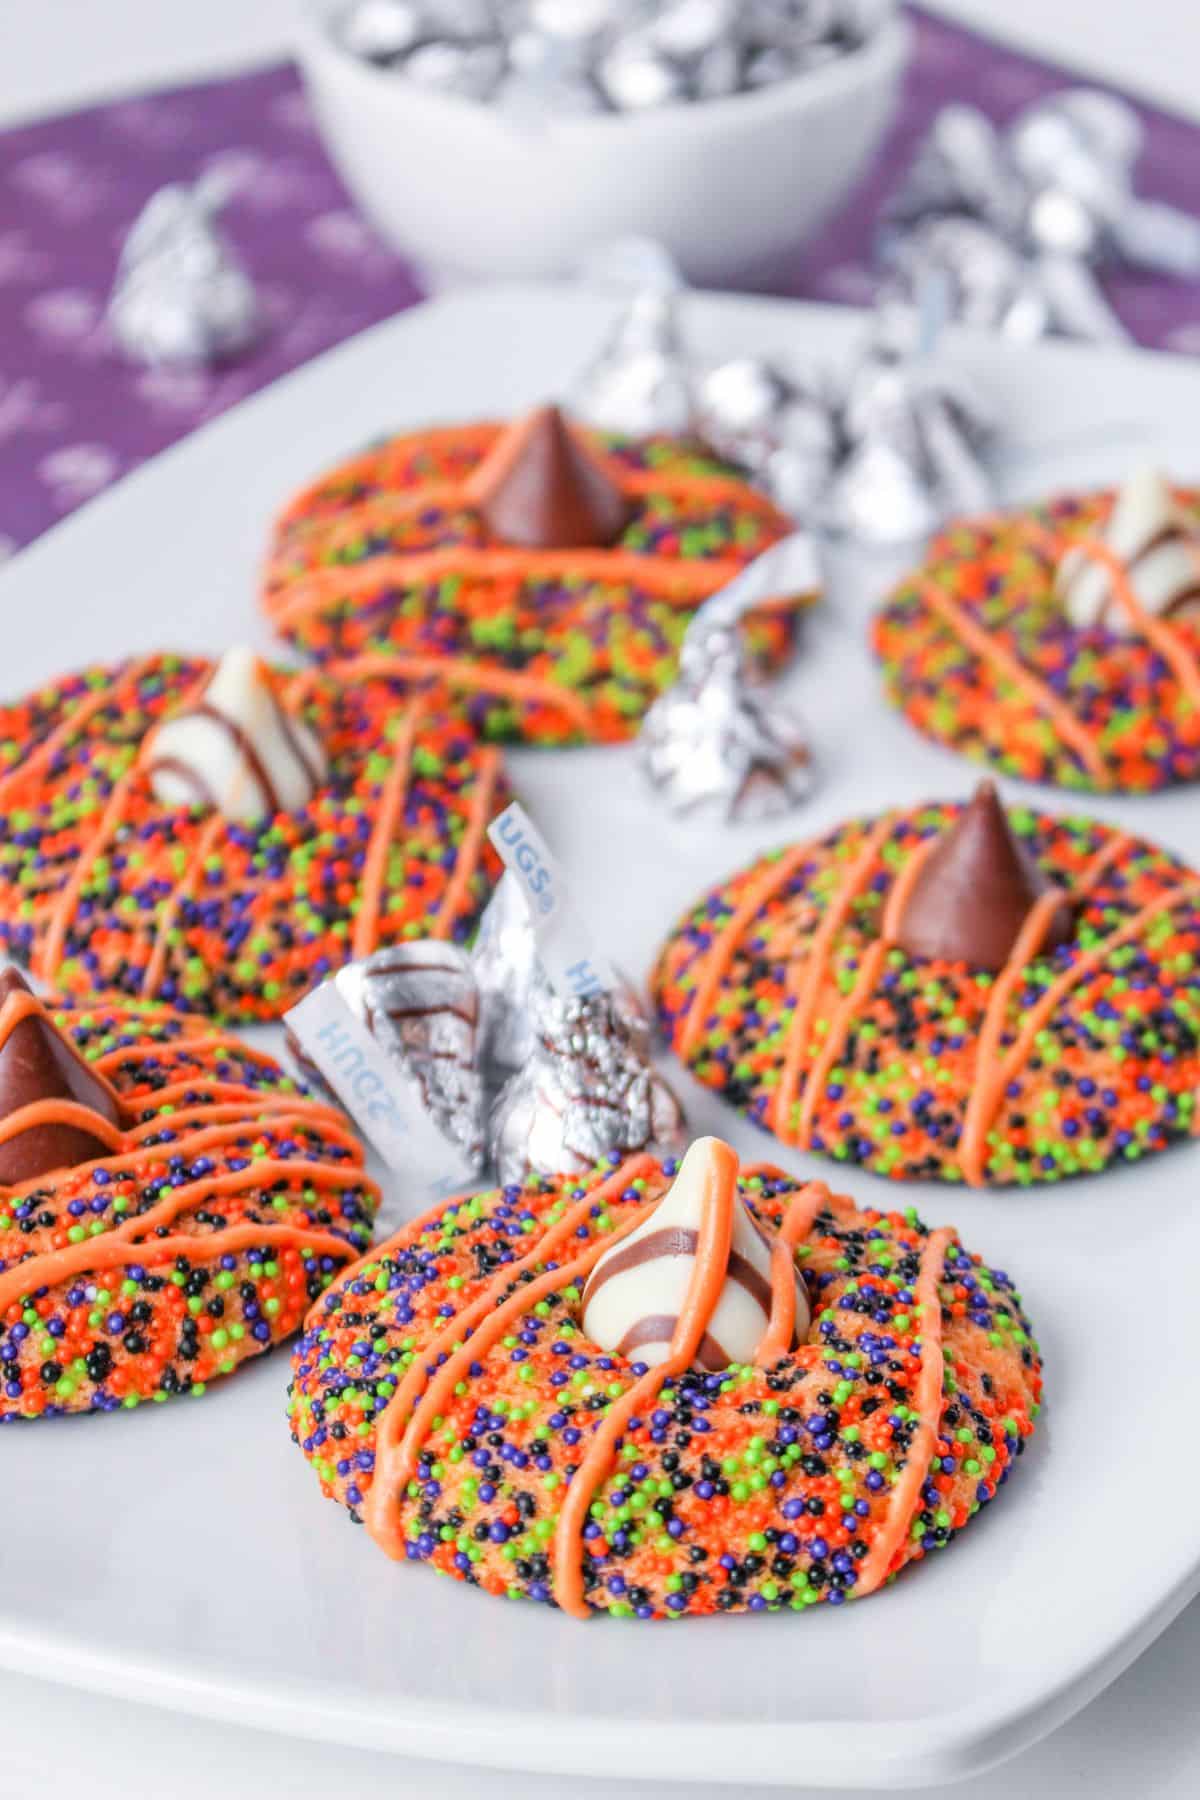
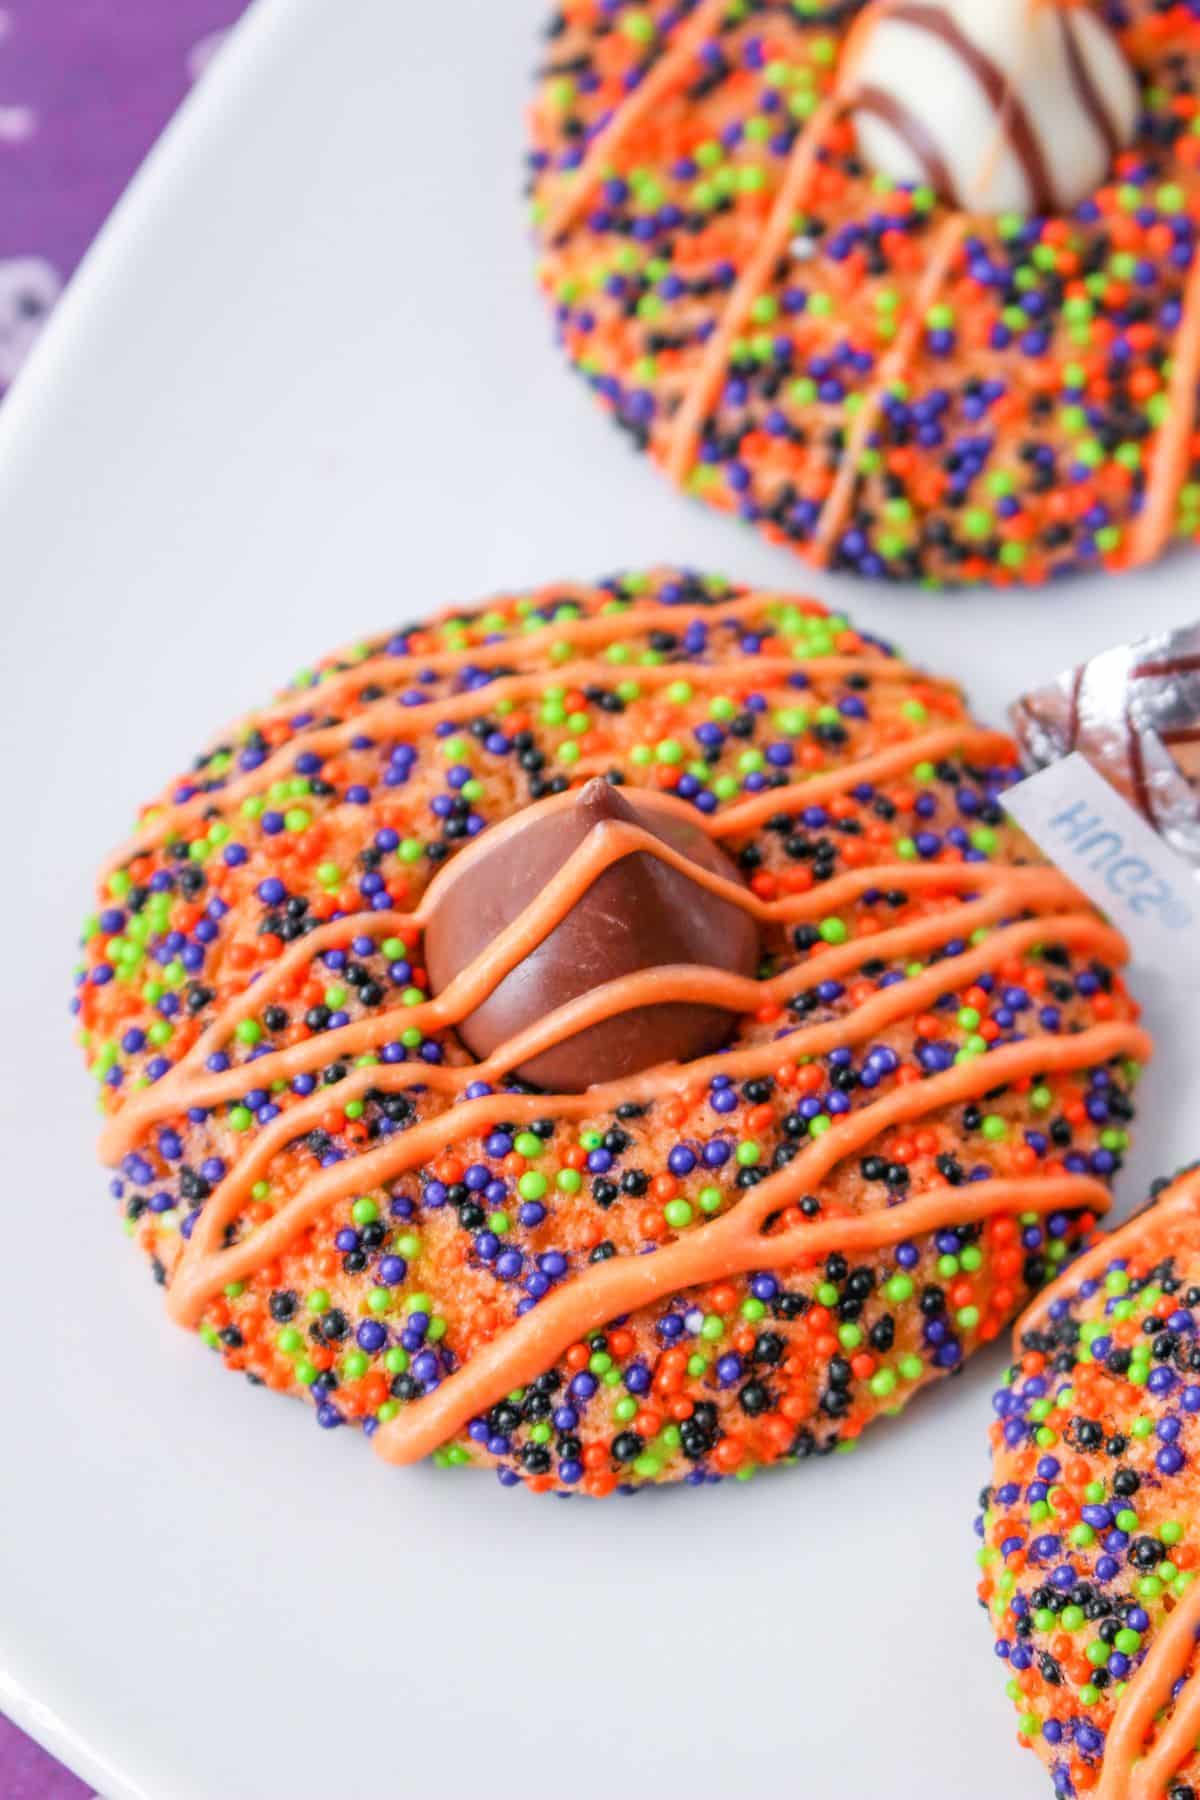
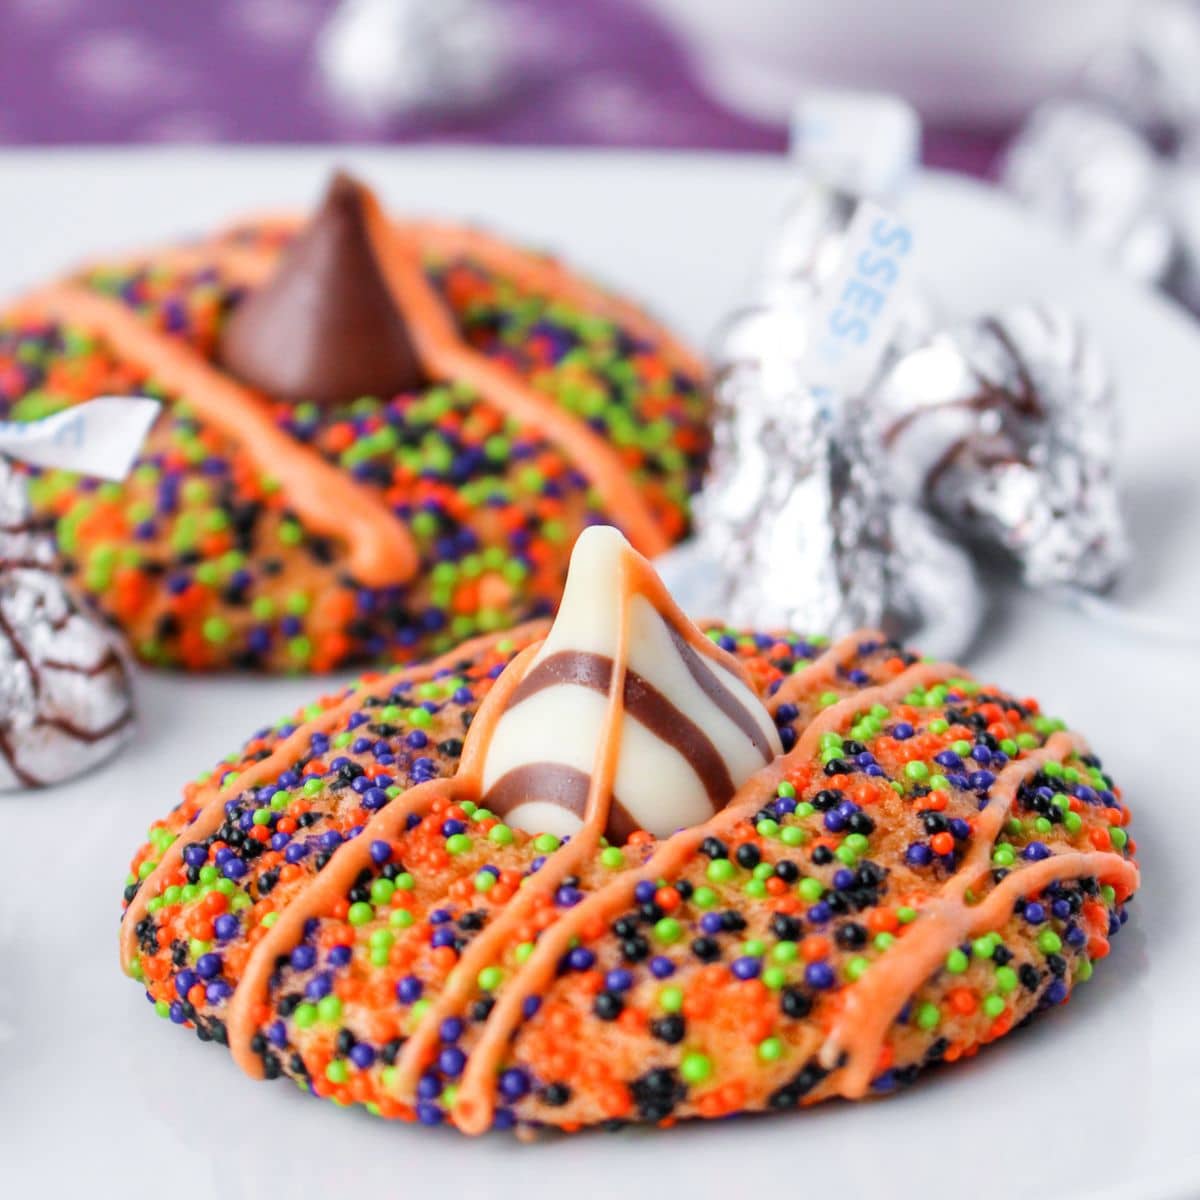
These Halloween Sprinkle Cookies are soft chewy blossom cookies that are rolled in festive sprinkles and topped with a sweet Hershey’s Kiss. These cookies are perfect for your Halloween party this year.
Would you like to save this?
Why I Love This Recipe
- The smell of freshly baked cookies will fill your house.
- Festive and fun for Halloween dinner.
- The kids will love to help you make this easy recipe.
If you love Halloween cookie recipes, then you may also enjoy this Spider Cookies recipe.
Ingredients
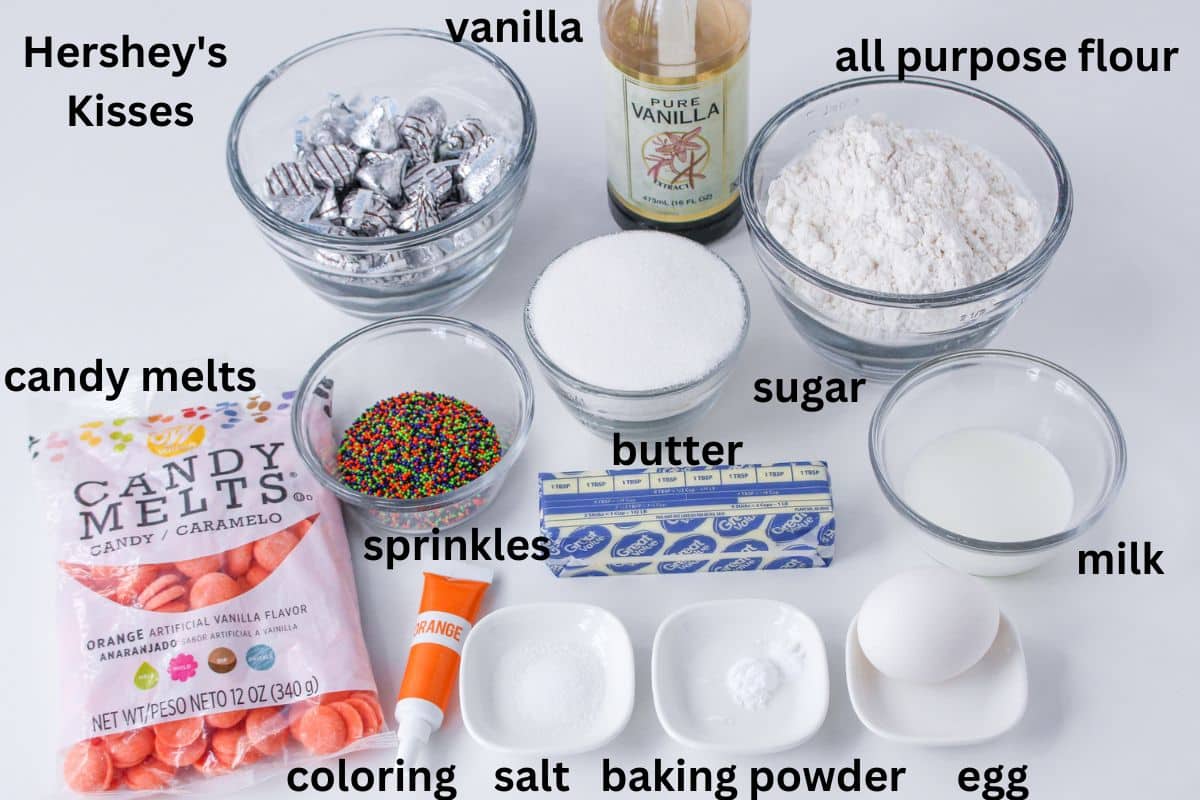
You only need a few simple ingredients to help you make this delicious recipe. Most of these ingredients should be in the pantry or kitchen already.
- all purpose flour – you will want to use all purpose or plain flour for this recipe.
- Hershey’s Kisses and/or Hug candies – I used a mix of both but you can use the one that you prefer.
- Candy melts – Orange candy melts look the best on these cookies
- Coconut oil or vegetable shortening – This is used to temper the candy melts. No need to melt it first since you will stir it into the melted candy melts.
You can find the full list of ingredients and quantities in the recipe card below.
Substitutions
Chocolate: You can use white chocolate that you color with orange food coloring instead of orange candy melts if you prefer.
Kisses: Kisses work best for this recipe, but you can use chocolates like Dove chocolates instead.
Variations
Here are a couple of ways that you can use to personalize this recipe. One of the best things about these Halloween cookies is that they are easy to customize.
- Sprinkles: I used multi-colored sprinkles, you can use just orange or any other Halloween color that you prefer.
- Drizzle: I love the drizzle being orange, but you can use chocolate instead of candy melts if you prefer.
How to Make Halloween Sprinkle Cookies
- Preheat the oven to 350 degrees. Prepare a large baking sheet with parchment paper.
- Whisk together the flour, baking soda, and salt. Set aside.
- Beat the butter and medium speed for 5 minutes. Scrape down the sides. Add the sugar and continue beating for 5 to 7 minutes or until fluffy.
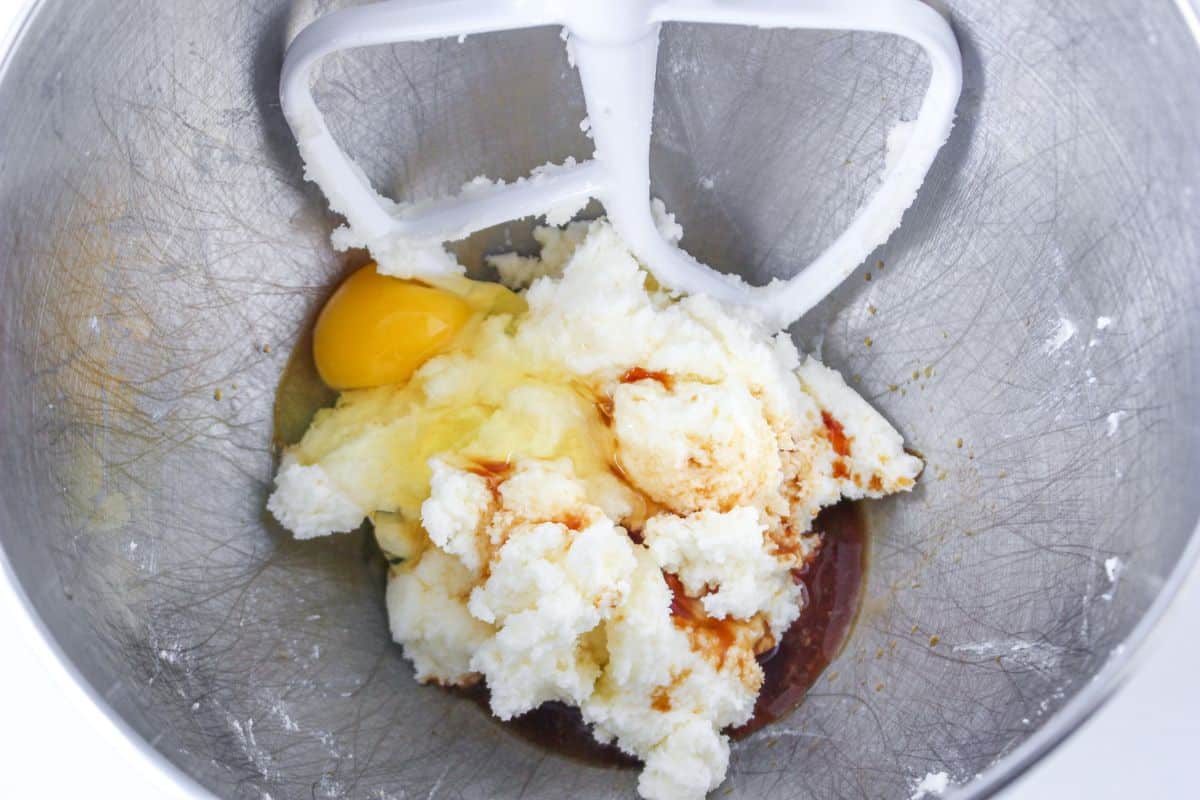
- Next, add the egg and vanilla extract, beating until evenly combined. Add the flour mixture and beat until mixed.
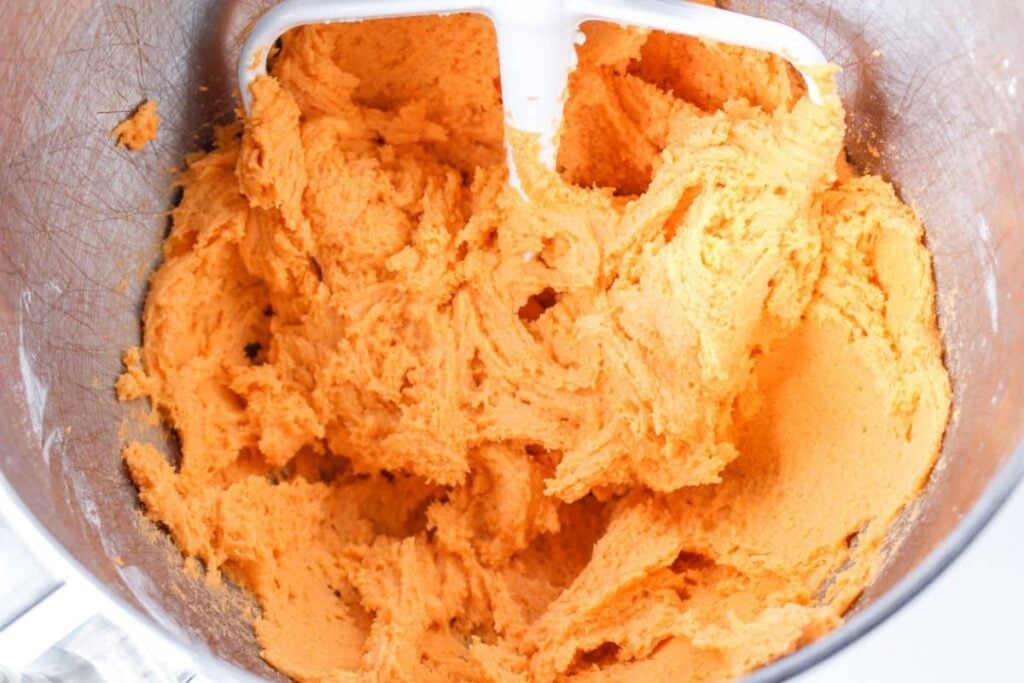
- Slowly add the milk to the dough as the mixer runs, adding just enough to soften the dough.
- Add the food coloring gel a few drops at a time until you get the color that you desire.
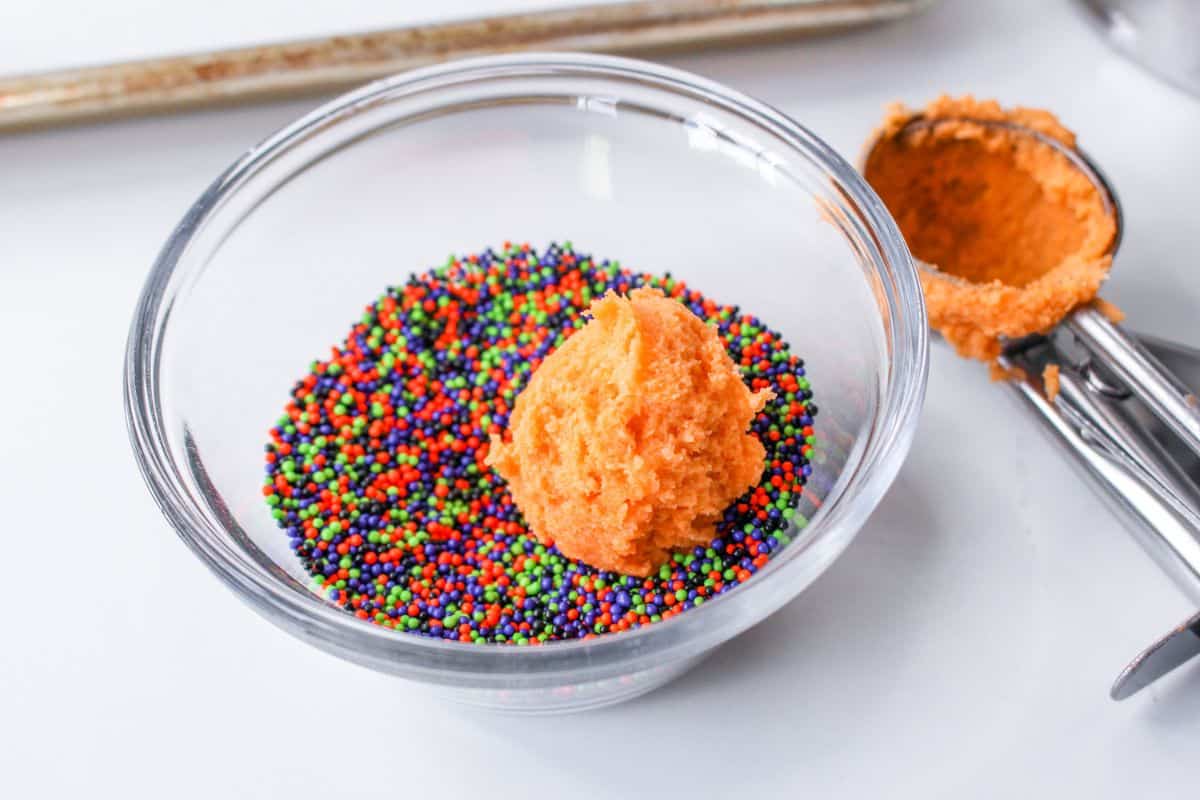
- Using a small (1 tablespoon) cookie scoop, portion the cookie dough and shape it into balls. Roll each ball in the colored sugar or sprinkles, if desired. Place on the baking sheet about 1 inch apart.
- Bake for 8 to 10 minutes or until the cookies are puffed and the edges are set.
- Cool the cookies on the baking sheet for 2 to 3 minutes before pressing one candy into the center of each cookie.
- Transfer to a wire rack and allow the cookies to cool completely. The candies will look like they are melting but do not disturb them and they will resolidify in the correct shape.
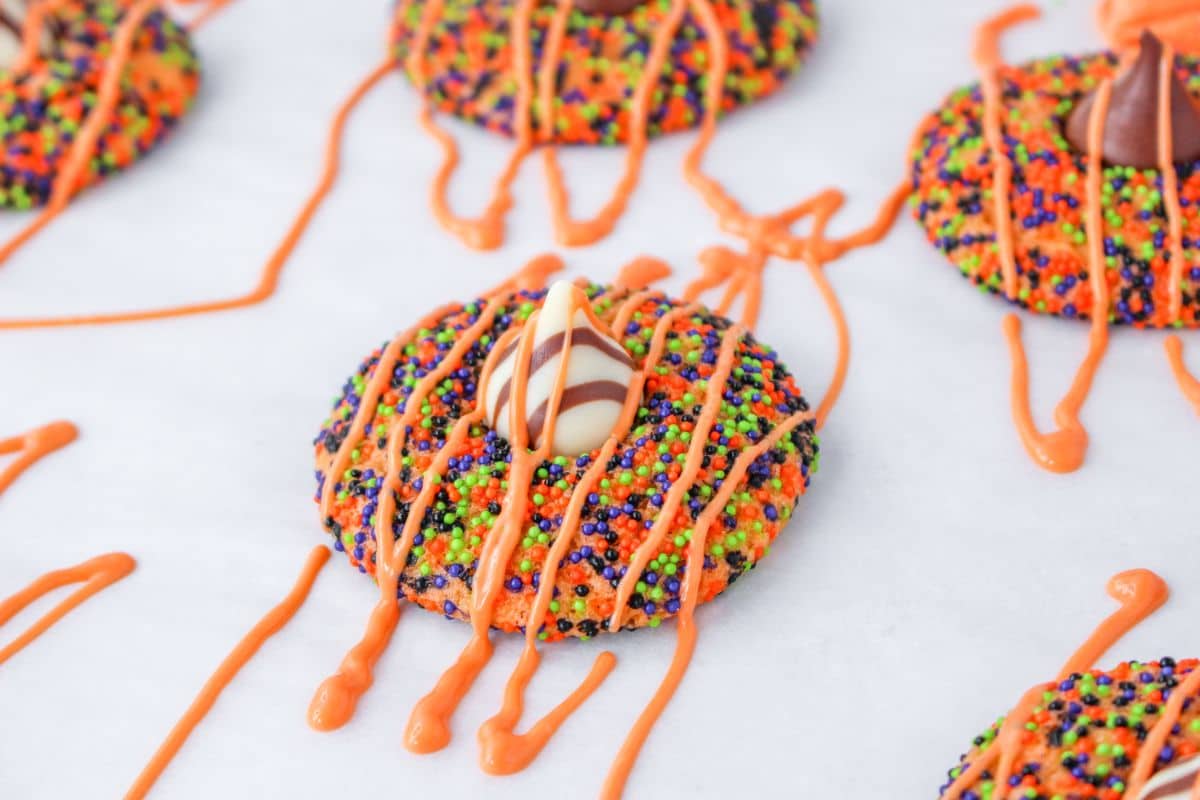
- If desired, place the candy melts in a microwave-safe bowl. Microwave for 1 minute and stir well so the candy continues to melt with the residual heat. If needed, add to the microwave again, stirring vigorously every 15 seconds until melted.
- If the candy melts are too thick, add coconut oil or vegetable shortening a little at a time until you reach your desired consistency.
- Transfer the melted candy into a piping bag and drizzle over the cookies. Allow to set completely before storing.
Serving Suggestions
I like to serve these cookies with Air Fryer Mummy Dogs. They are a family-friendly meal that your whole family will love. You could also pair them with these Tie Dye Halloween Cupcakes.
Pro Tips
Here are a few tips to help you make sure that your cookies turn out perfectly every time.
- It’s important that you start with room temperature butter and eggs when making any type of cookie dough so that the dough mixes smoothly.
- Once you add the dry ingredients to your wet ingredients because do not overmix. Overmixing once you add the flour can cause tough cookies.
- For this recipe, I suggest using small sprinkles. Larger sprinkles will not stick as well to the dough.
- Don’t press the Kisses into the cookie dough until it is cooled slightly, you don’t want the chocolate to melt.
FAQs
Do you have questions about this recipe? Here are the answers to the most commonly asked questions for this recipe.
Yes, sprinkles will only stick to unfrosted cookies if you add them before you bake them.
Sprinkles will melt slightly in the oven but not completely, you may see some coloring bleeding during the baking process depending on the sprinkle.
If the cookies are baked they should be thawed on the counter. Unbaked cookie dough should be thawed slowly in the fridge.
More Halloween Recipes
If you like Halloween recipes, give these recipes a try:
Want to make this delicious Halloween sprinkle cookies recipe? Print the recipe card below, or toggle on Cook Mode to prevent your screen from going dark. Not ready to cook this recipe yet? Pin this recipe so you can find it later.
Halloween Sprinkle Cookies
Equipment
- cookie sheets
- Mixing Bowl
- Electric Mixer
- wire rack
- piping bag
Ingredients
- 2 cups all purpose flour
- ¼ teaspoon baking soda
- ¼ teaspoon salt
- ½ cup unsalted butter room temperature
- 1 cup sugar
- 1 egg
- 1 ½ teaspoon vanilla extract
- 1 to 2 tablespoons milk
- Orange food coloring if desired
- ⅓ cup brightly colored sugar or sprinkles if desired
- 48 Hershey’s Kisses and/or Hug candies unwrapped
- Orange candy melts optional
- 1 tablespoon coconut oil or vegetable shortening, optional
Instructions
- Preheat the oven to 350 degrees. Prepare a large baking sheet with parchment paper.
- Whisk together the flour, baking soda, and salt. Set aside.
- Beat the butter and medium speed for 5 minutes. Scrape down the sides. Add the sugar and continue beating for 5 to 7 minutes or until fluffy.
- Add the egg and vanilla extract, beating until evenly combined. Add the flour mixture and beat until mixed.
- Slowly add the milk to the dough as the mixer runs, adding just enough to soften the dough.
- Using a small (1 tablespoon) cookie scoop, portion the cookie dough and shape into balls. Roll each ball in the colored sugar or sprinkles, if desired. Place on the baking sheet about 1 inch apart.
- Bake for 8 to 10 minutes or until the cookies are puffed and the edges are set.
- Cool the cookies on the baking sheet for 2 to 3 minutes before pressing one candy into the center of each cookie.
- Transfer to a wire rack and allow the cookies to cool completely. The candies will look like they are melting but do not disturb them and they will resolidify in the correct shape.
- If desired, place the candy melts in a microwave-safe bowl. Microwave for 1 minute and stir well so the candy continues to melt with the residual heat.
- If needed, add to the microwave again, stirring vigorously every 15 seconds until melted.
- If the candy melts are too thick, add coconut oil or vegetable shortening a little at a time until you reach your desired consistency.
- Transfer the melted candy into a piping bag and drizzle over the cookies. Allow to set completely before storing.
Notes
- It’s important that you start with room temperature butter and eggs when making any type of cookie dough so that the dough mixes smoothly.
- Once you add the dry ingredients to your wet ingredients because do not overmix. Overmixing once you add the flour can cause tough cookies.
- For this recipe, I suggest using small sprinkles. Larger sprinkles will not stick as well to the dough.
- Don’t press the Kisses into the cookie dough until it is cooled slightly, you don’t want the chocolate to melt.
Disclaimer:
Any nutritional data I provide is an approximation and actual dietary information can vary based on ingredients and proportion sizes.

