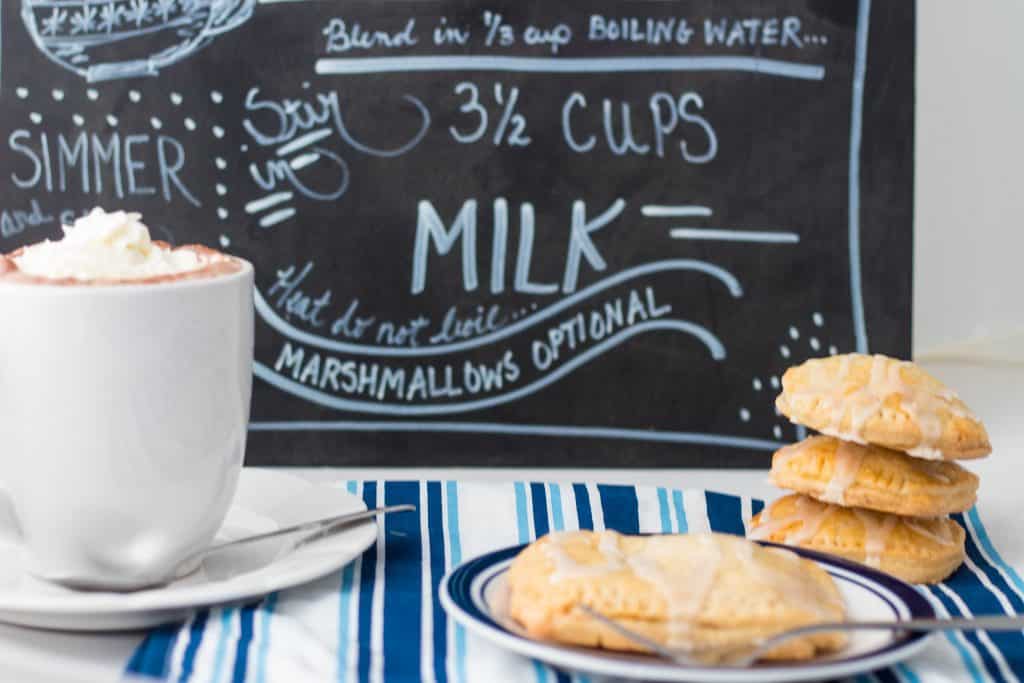
These toaster pastries are flaky, bursting with fruit flavor and bound to please everyone in your house.
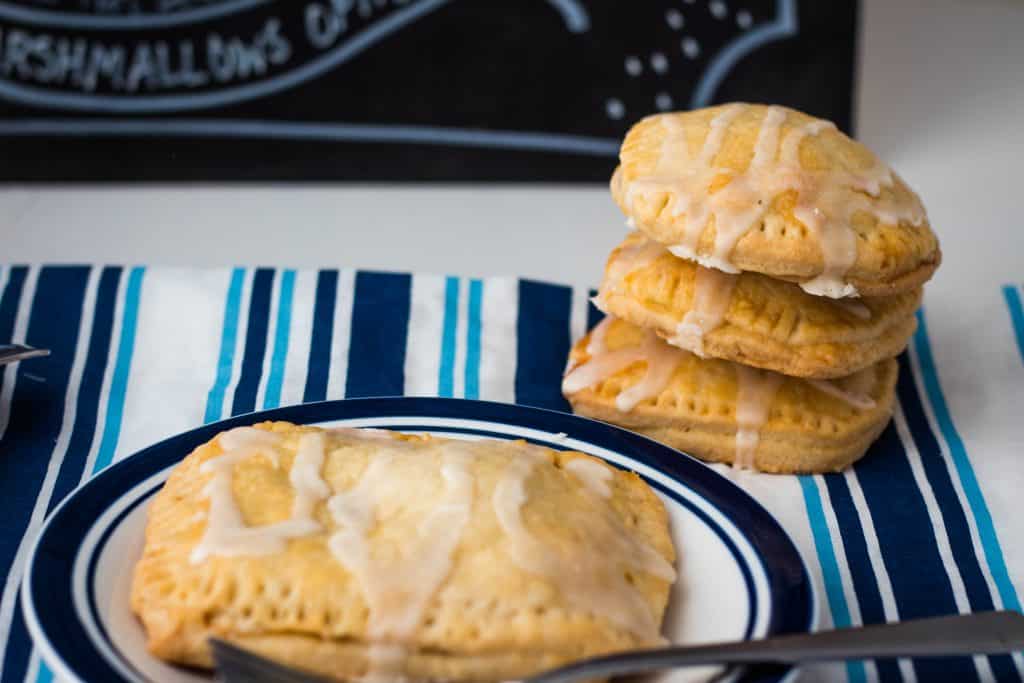
My family loves Pop Tarts but in my quest to eat less processed foods in your house, and reduce our spending as much as possible I needed to find another solution instead of buying them at the store.
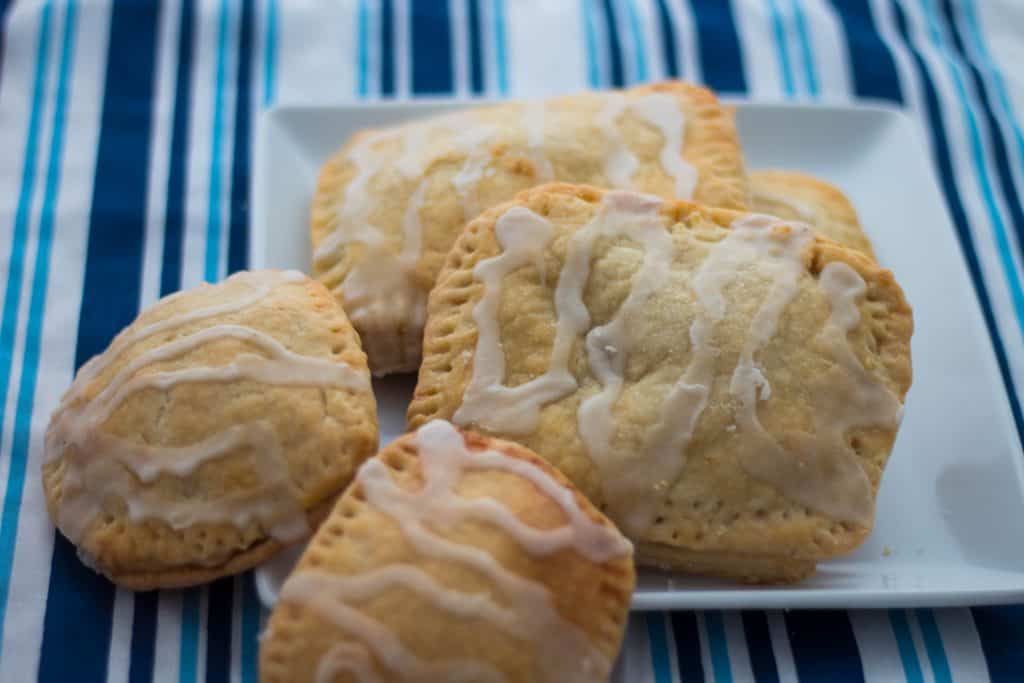
I went in search of a great recipe and I tried a few. Every time, they would be just a little bit off from what I considered ideal so I kept tweaking the recipe until I found one that works the best for our family.
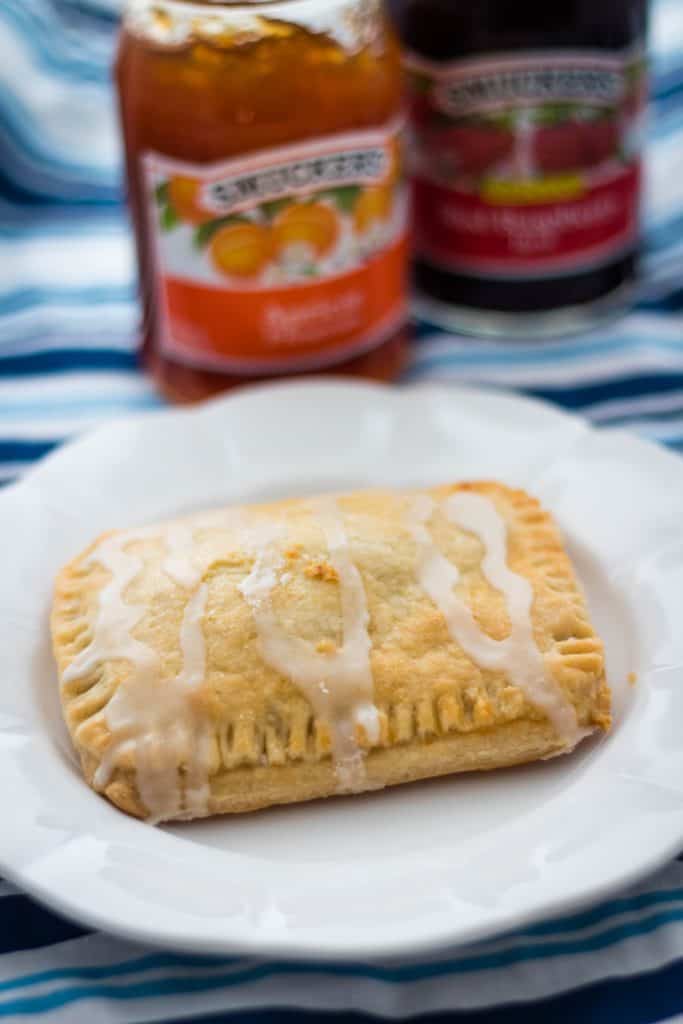
This homemade Pop Tart recipe was a hit with everyone young and old that I tested it on. Everyone raved and gobbled them up quickly.
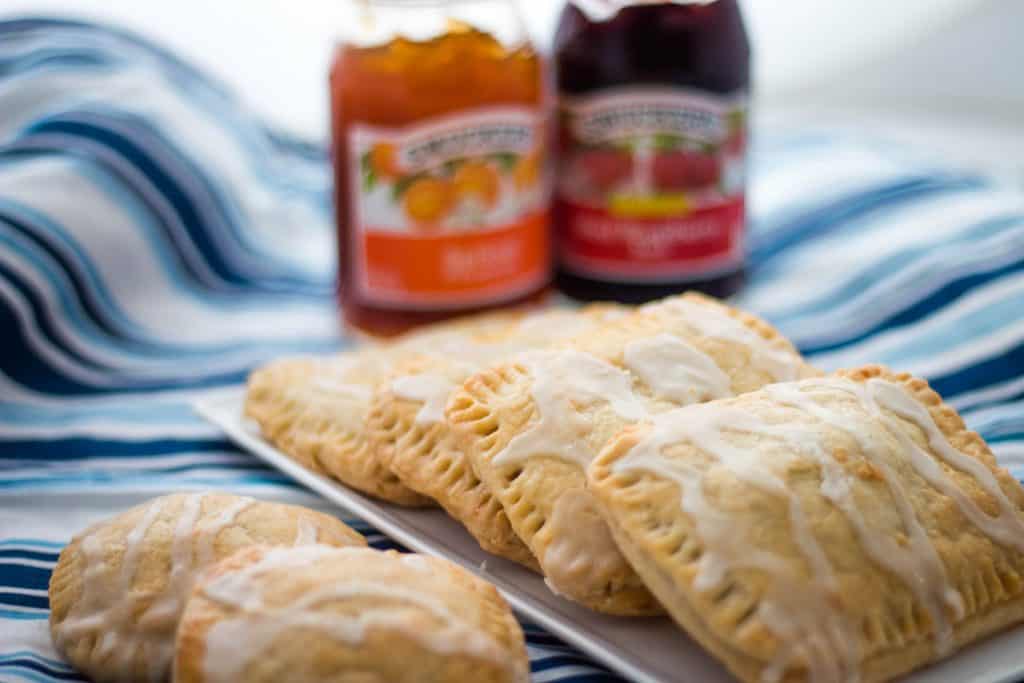
I don’t know about you but I always judge a recipe based on how quickly it disappeared. This one vanished in a blink of the eye so I knew it was a winner.
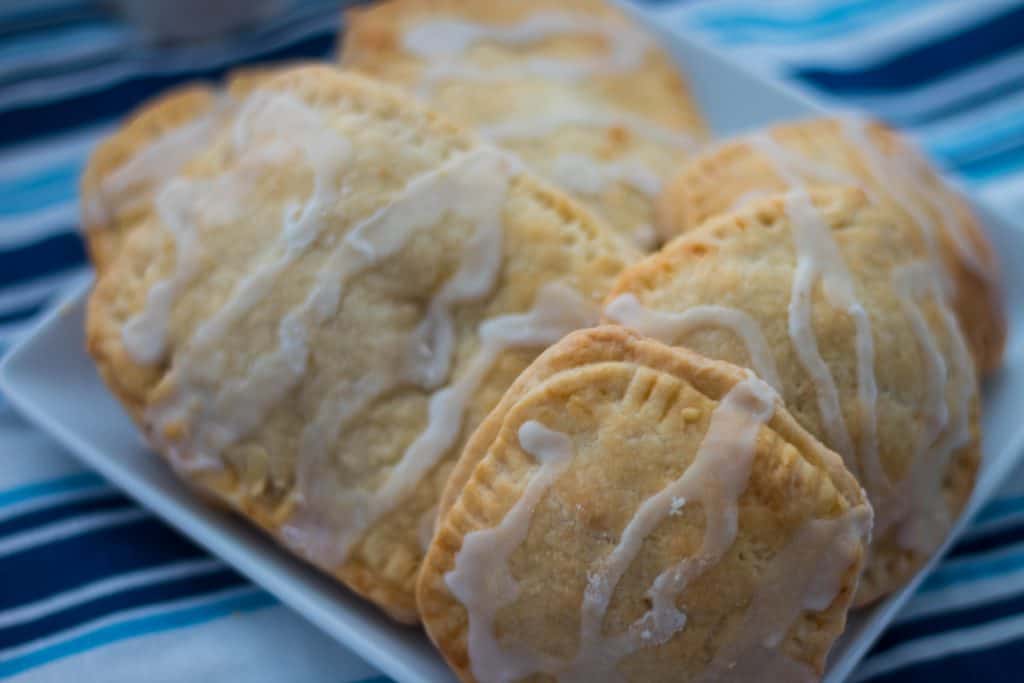
These toaster pastries are best served warm, but no fear you can make them ahead and then toast them in the oven to warm them up. Just don’t frost them if you are making them in advance.
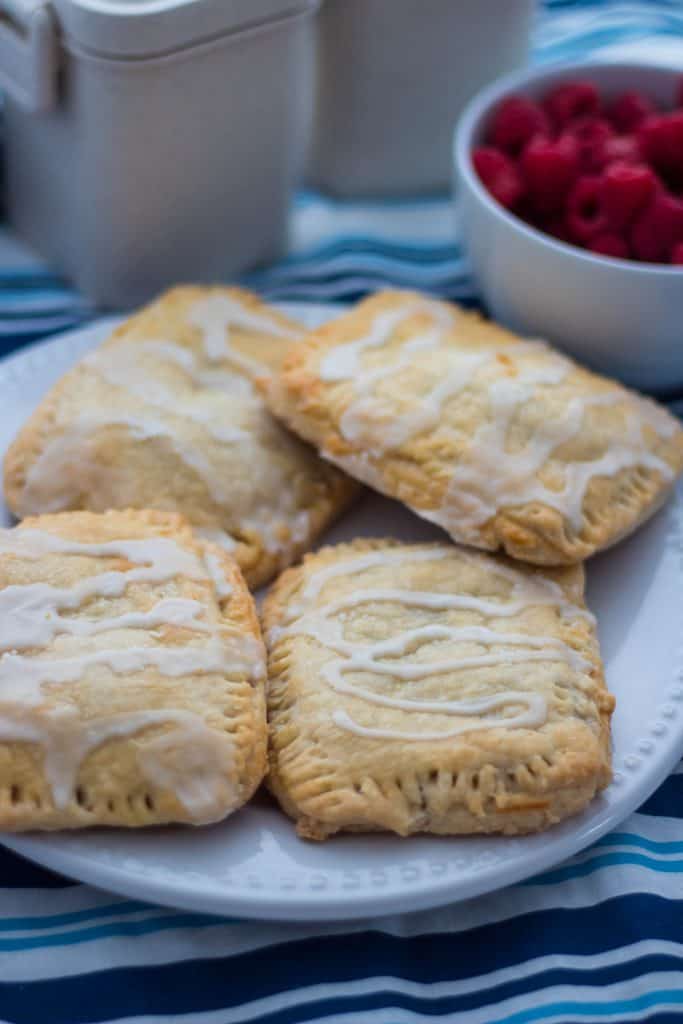
These were a huge hit with my family and I hope that they are a hit for yours also!
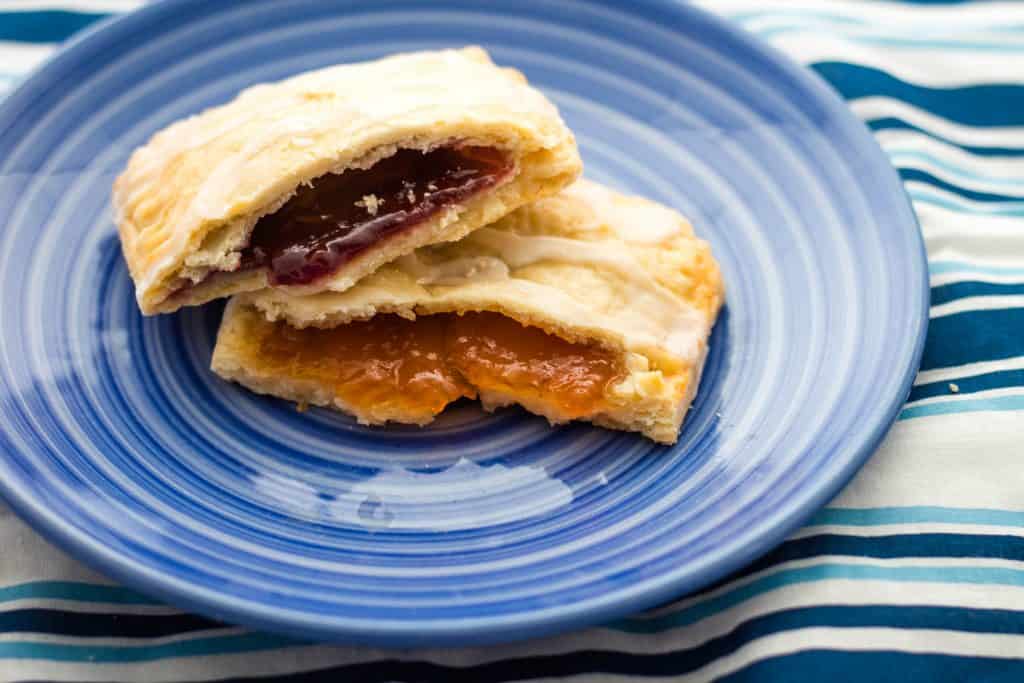
We found our family favorite flavors are apple, peach, raspberry and strawberry. We really liked the strawberry with a little cream cheese that was a delicious combination!
Ingredients
- 2 sticks salted butter, softened
- 1 oz packaged cream cheese softened
- 2 cups all purpose flour
- ¼ teaspoon salt
- 1 egg beaten with one tablespoon water added
- Choice of fillings: fruit preserves, Sweetened ricotta cheese, chocolate, scrambled eggs, sausage….
There are endless options depending on what you like
Icing Ingredients
- 1 cup powdered sugar
- 2 tablespoon milk
- ½ teaspoon vanilla extract
Instructions
- Beat butter and cream cheese with electric mixer on medium speed until thoroughly combined. Scrape bowl down as needed during this process.
- Combine salt with flour in a separate bowl.
- Slowly add the flour/salt mixture to the cream cheese mixture, beating on low until combined. Again, stop occasionally to scrape down the bowl.
- Form dough into a ball, then divide ball in half.
- Flatten each half with your hands and wrap each in plastic wrap
- Refrigerate for several hours.
- Remove from refrigerator and preheat oven to 375
- Line cookie sheet with parchment paper. (I found it would be easier to use the rimless sheets so you have room to maneuver when crimping the edges.)
- Roll each disc of dough to approx. 1/8 inch thick.
- Decide on size for your pastries. I used the tops of a peanut butter jar for the round pastries and the top of a Jif Whipped Peanut Butter tub for the rectangle. Alternatively, you can measure approx.. 4 inch wide strips and cut to the length you wish. You will need one rectangle/circle/square for each top and one for each bottom.
- Place cutout bottom on cookie sheet. Brush with egg mixture.
- Place approx.. 1 T. filling topping in the center of dough and spread out toward edges, making sure to leave approx. ½ inch room at the edges without topping. Sometimes I use a bit more filling if the dough seems to hold it.
- Top with another dough shape and crimp edges with fork.
- Brush tops with more egg mixture. You can also sprinkle with sugar if you like.
- Bake for approx. 20 minutes or until light golden brown
- Remove to cool in pan on wire rack.
Icing Directions
- In a mixing bowl whisk together the powdered sugar, 2 T. milk and vanilla until smooth. Add the other T. milk if needed.
- Use a piping bag to apply lines of icing on pastries. If you don’t have a piping bag, cut off a small corner of a Ziploc bag. Fill bag with icing and squeeze from top to apply.

How long dod you bake them foe?
Oh my goodness! How in the world did I forget to add that to the directions! My apologies. You bake them for 20 minutes. I added it to the directions!