
Nutter Butter Balls
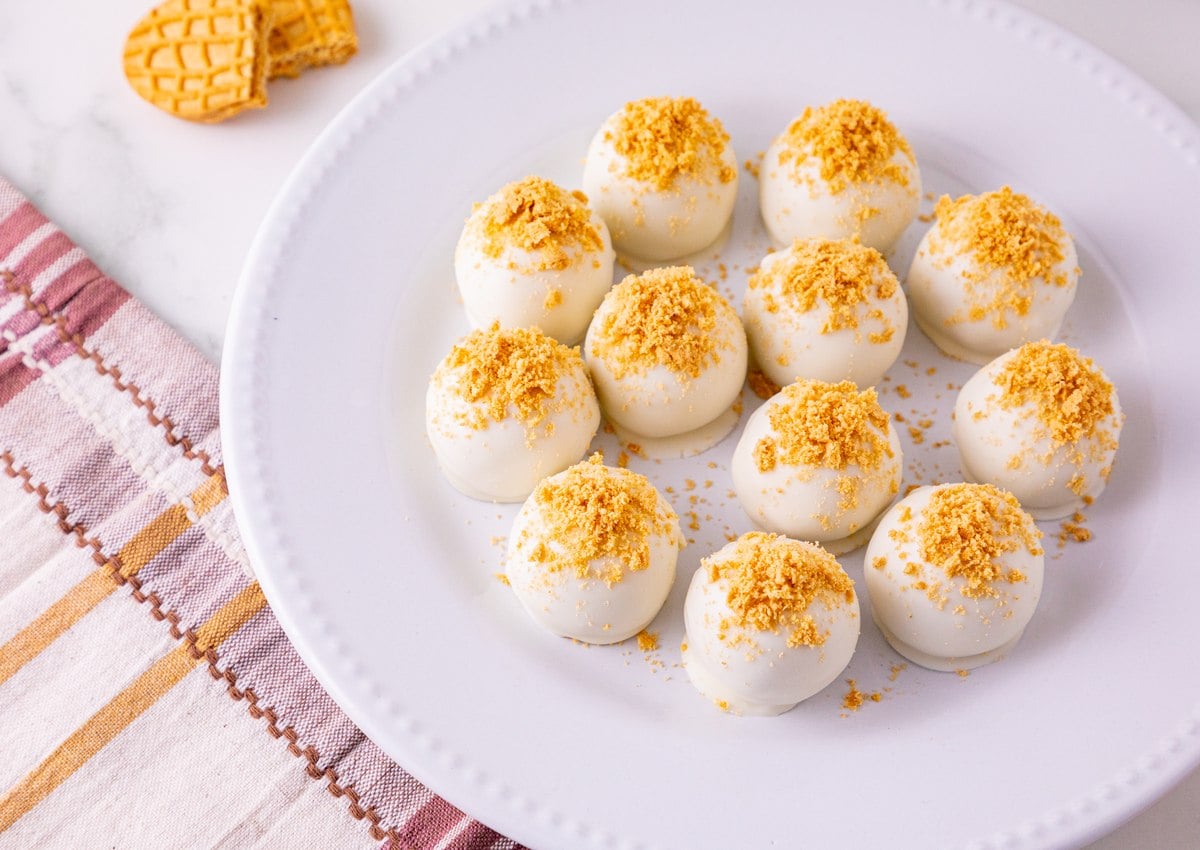
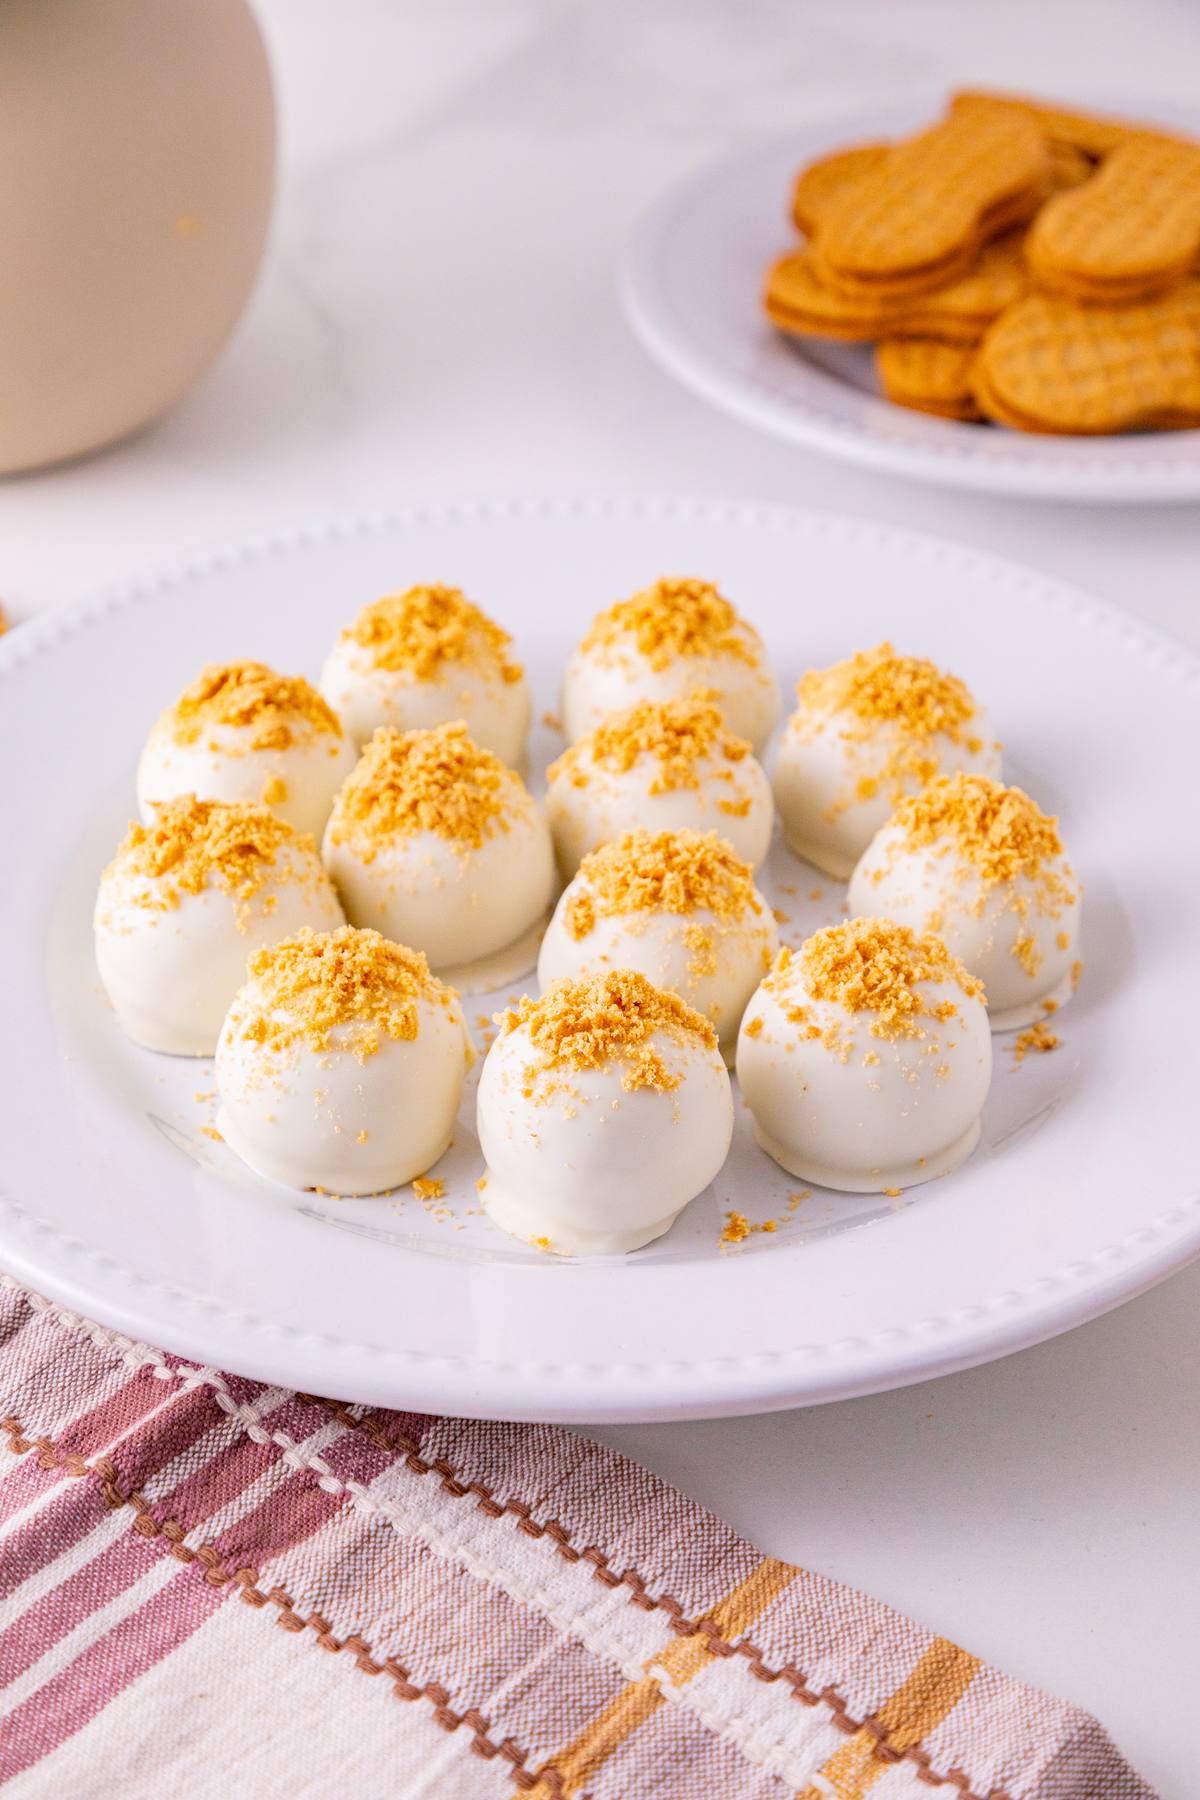
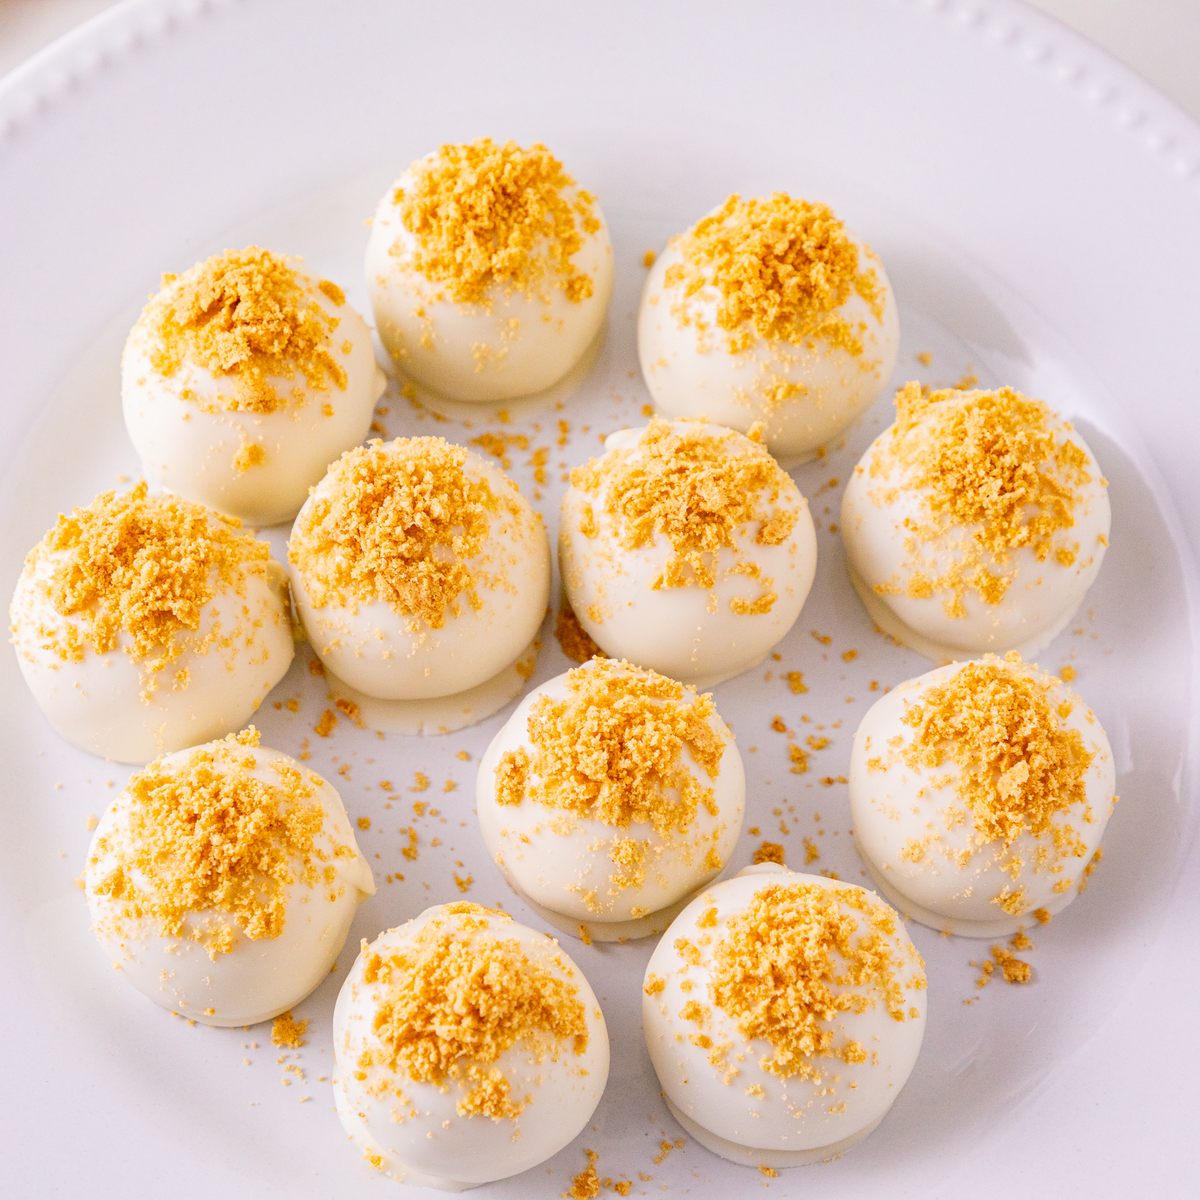
Nutter Butter Balls turn peanut butter sandwich cookies into creamy, bite-sized treats with a sweet vanilla shell. A little extra peanut butter makes the filling rich and nutty, while cookie crumbs on top add a finishing crunch.
You only need five ingredients and no oven time. Roll a batch for a holiday dessert tray, bring them to a get-together, or keep a few in the fridge for a sweet little pick-me-up.
Would you like to save this?
Love peanut butter desserts? Try my Peanut Butter Truffles or scoop up some Peanut Butter Chocolate Chip Dip.
Why This Recipe Works
- Fine crumbs hold together: Crushing the cookies well helps them mix evenly into the creamy filling, so the balls are easier to shape.
- Softened cream cheese blends smoothly: Beating it with the peanut butter and powdered sugar first helps avoid pockets of cream cheese in the dough.
- Full-fat cream cheese adds structure: It helps the filling stay firm enough to roll and dip without a separate chilling step.
- Gentle heat keeps the coating smooth: Short microwave intervals at half power let you melt the wafers gradually instead of overheating them.
Ingredients
Here is what you will need for these no-bake Nutter Butter balls. Check the recipe card below for the exact amounts.
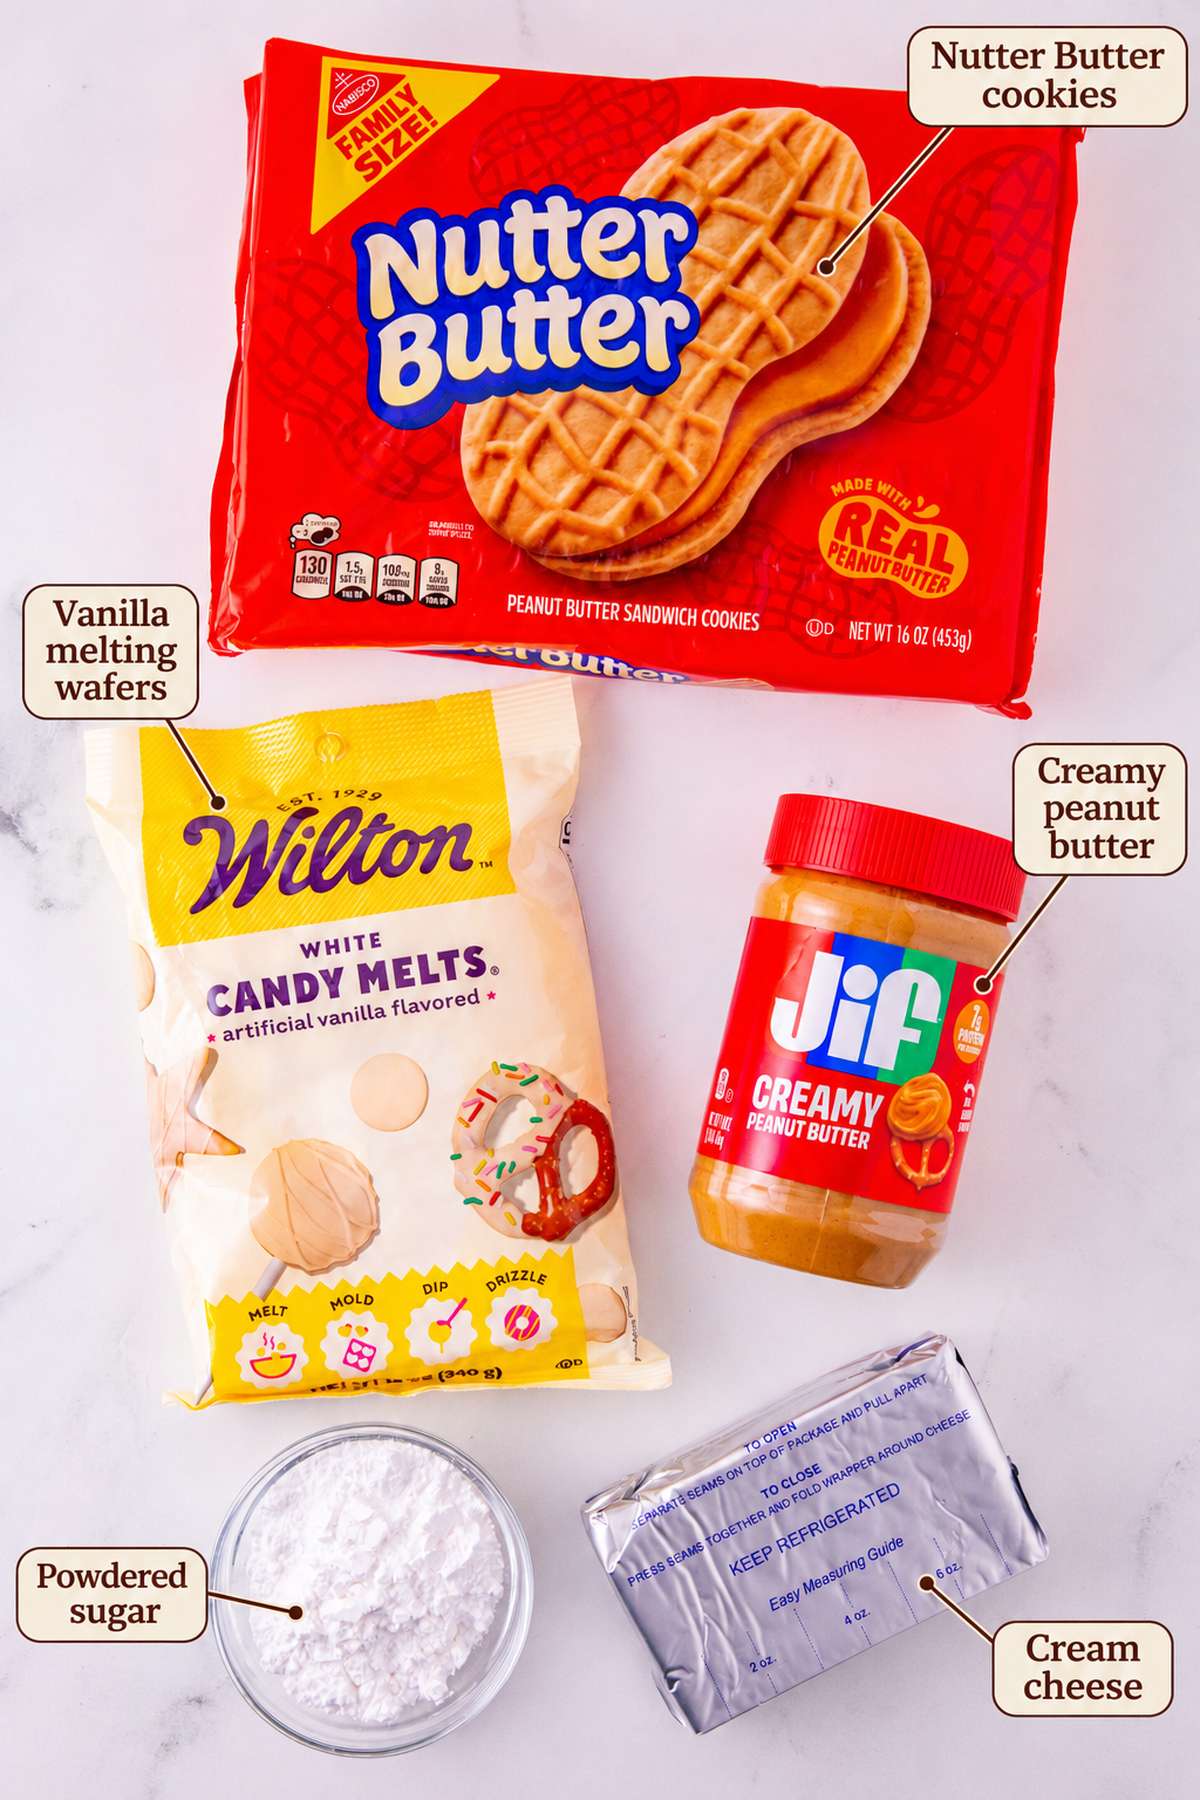
- Nutter Butter cookies: These peanut butter sandwich cookies form the base of the filling. Set aside a little of the crushed cookies before mixing so you have some for the topping.
- Full-fat cream cheese: Let it soften to room temperature so it blends smoothly. The full-fat version gives the filling a firmer texture.
- Creamy peanut butter: Adds extra peanut butter flavor and blends into the filling.
- Powdered sugar: Sweetens the filling without the gritty texture of granulated sugar.
- Vanilla melting wafers: Make the sweet coating around the cookie centers.
How to Make Nutter Butter Balls
Line a large baking sheet with parchment paper before you start. You will use it for both the rolled centers and the coated treats.
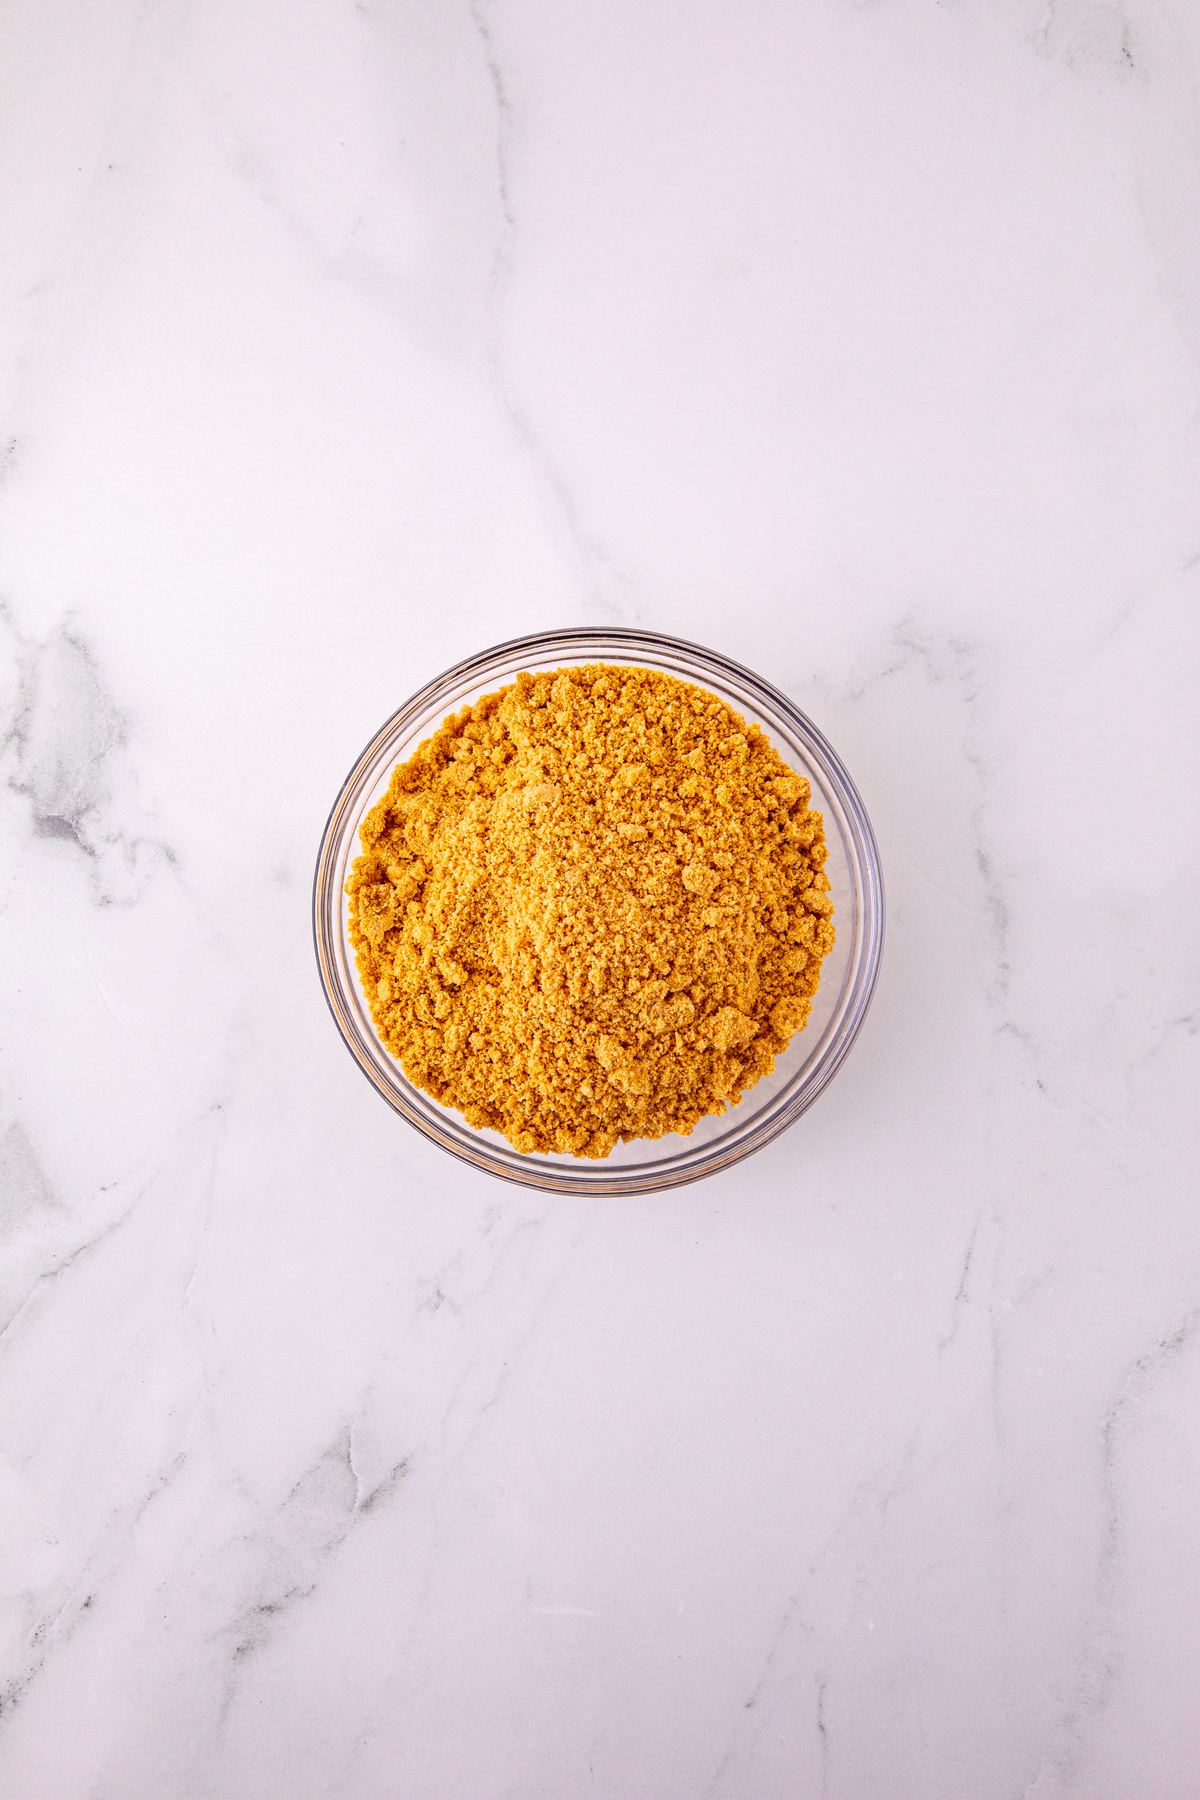
Step 1: Crush the Nutter Butter cookies into fine crumbs using a food processor or blender. Set aside 1/4 cup of the crumbs for topping.
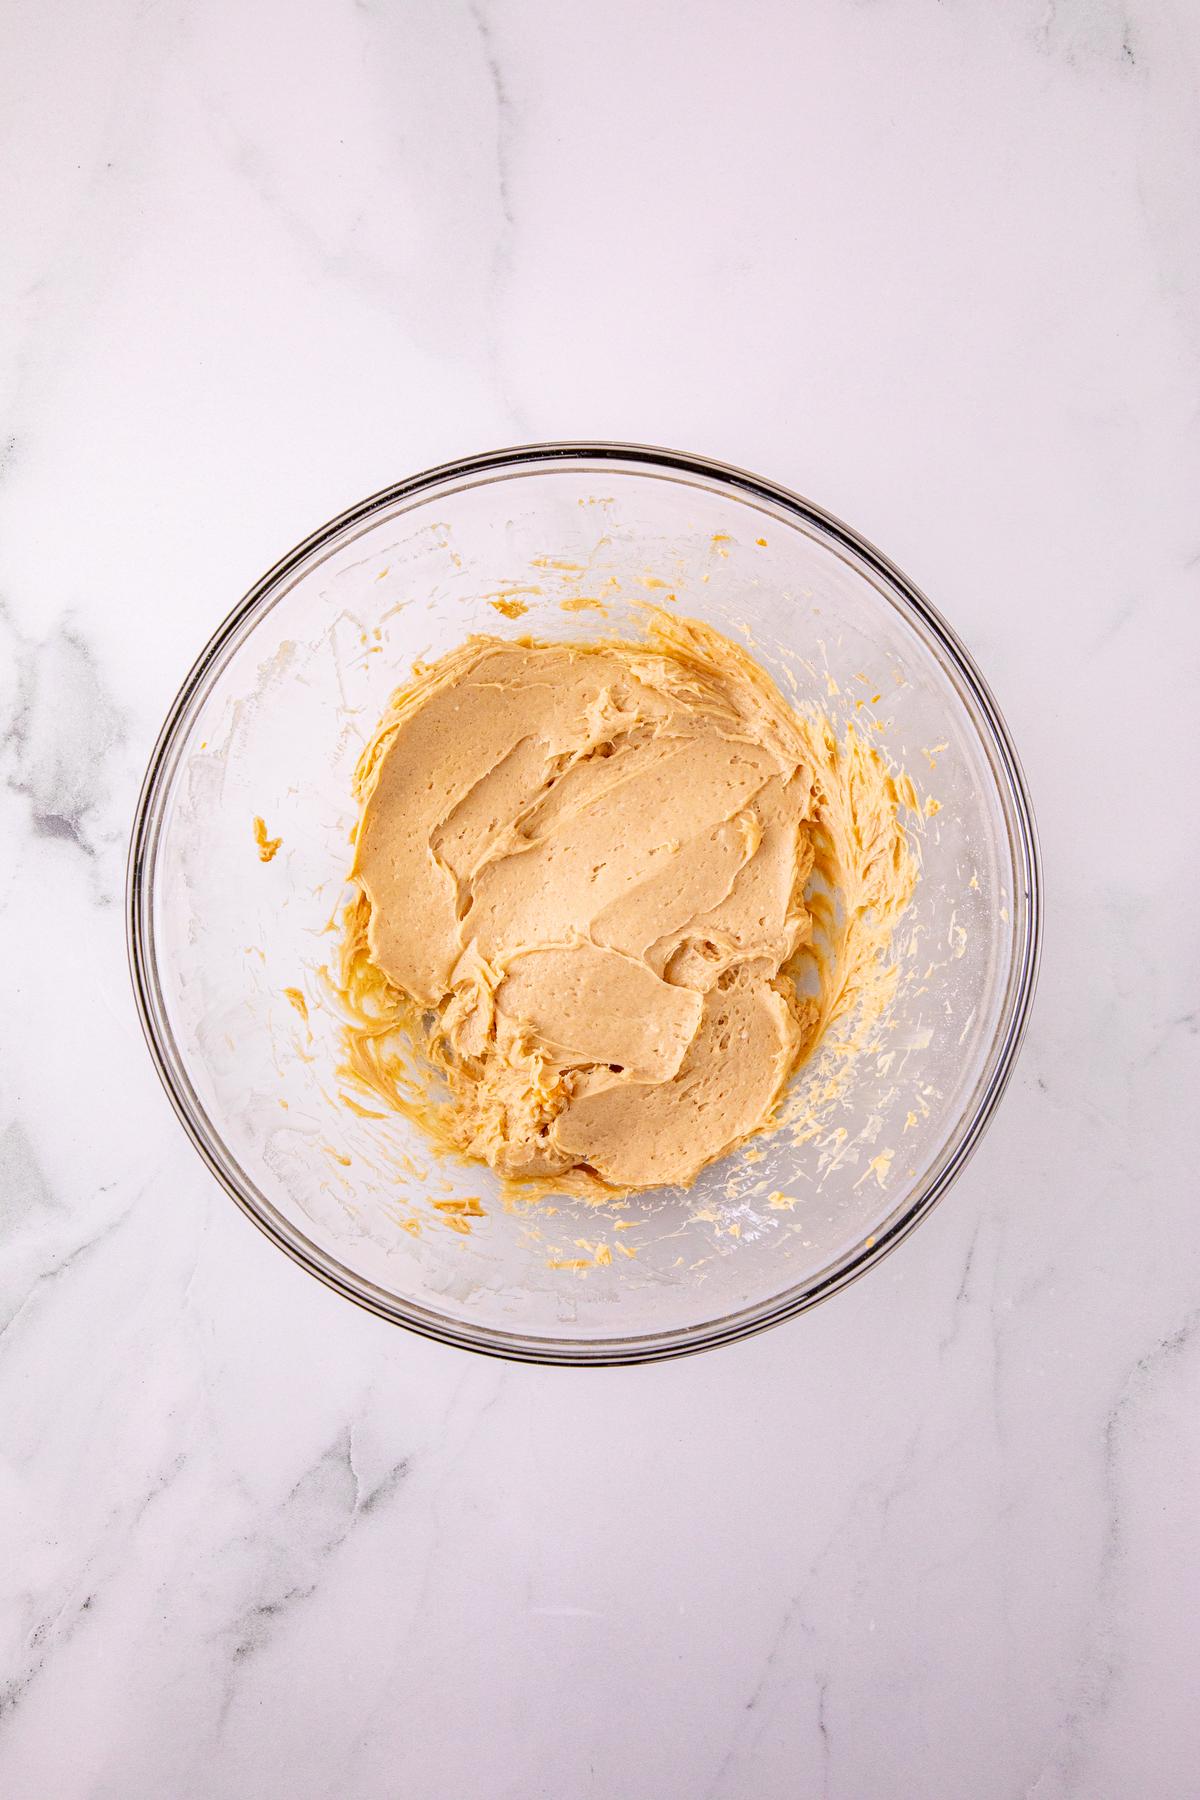
Step 2: Beat the softened cream cheese, creamy peanut butter, and powdered sugar with an electric hand mixer until creamy.
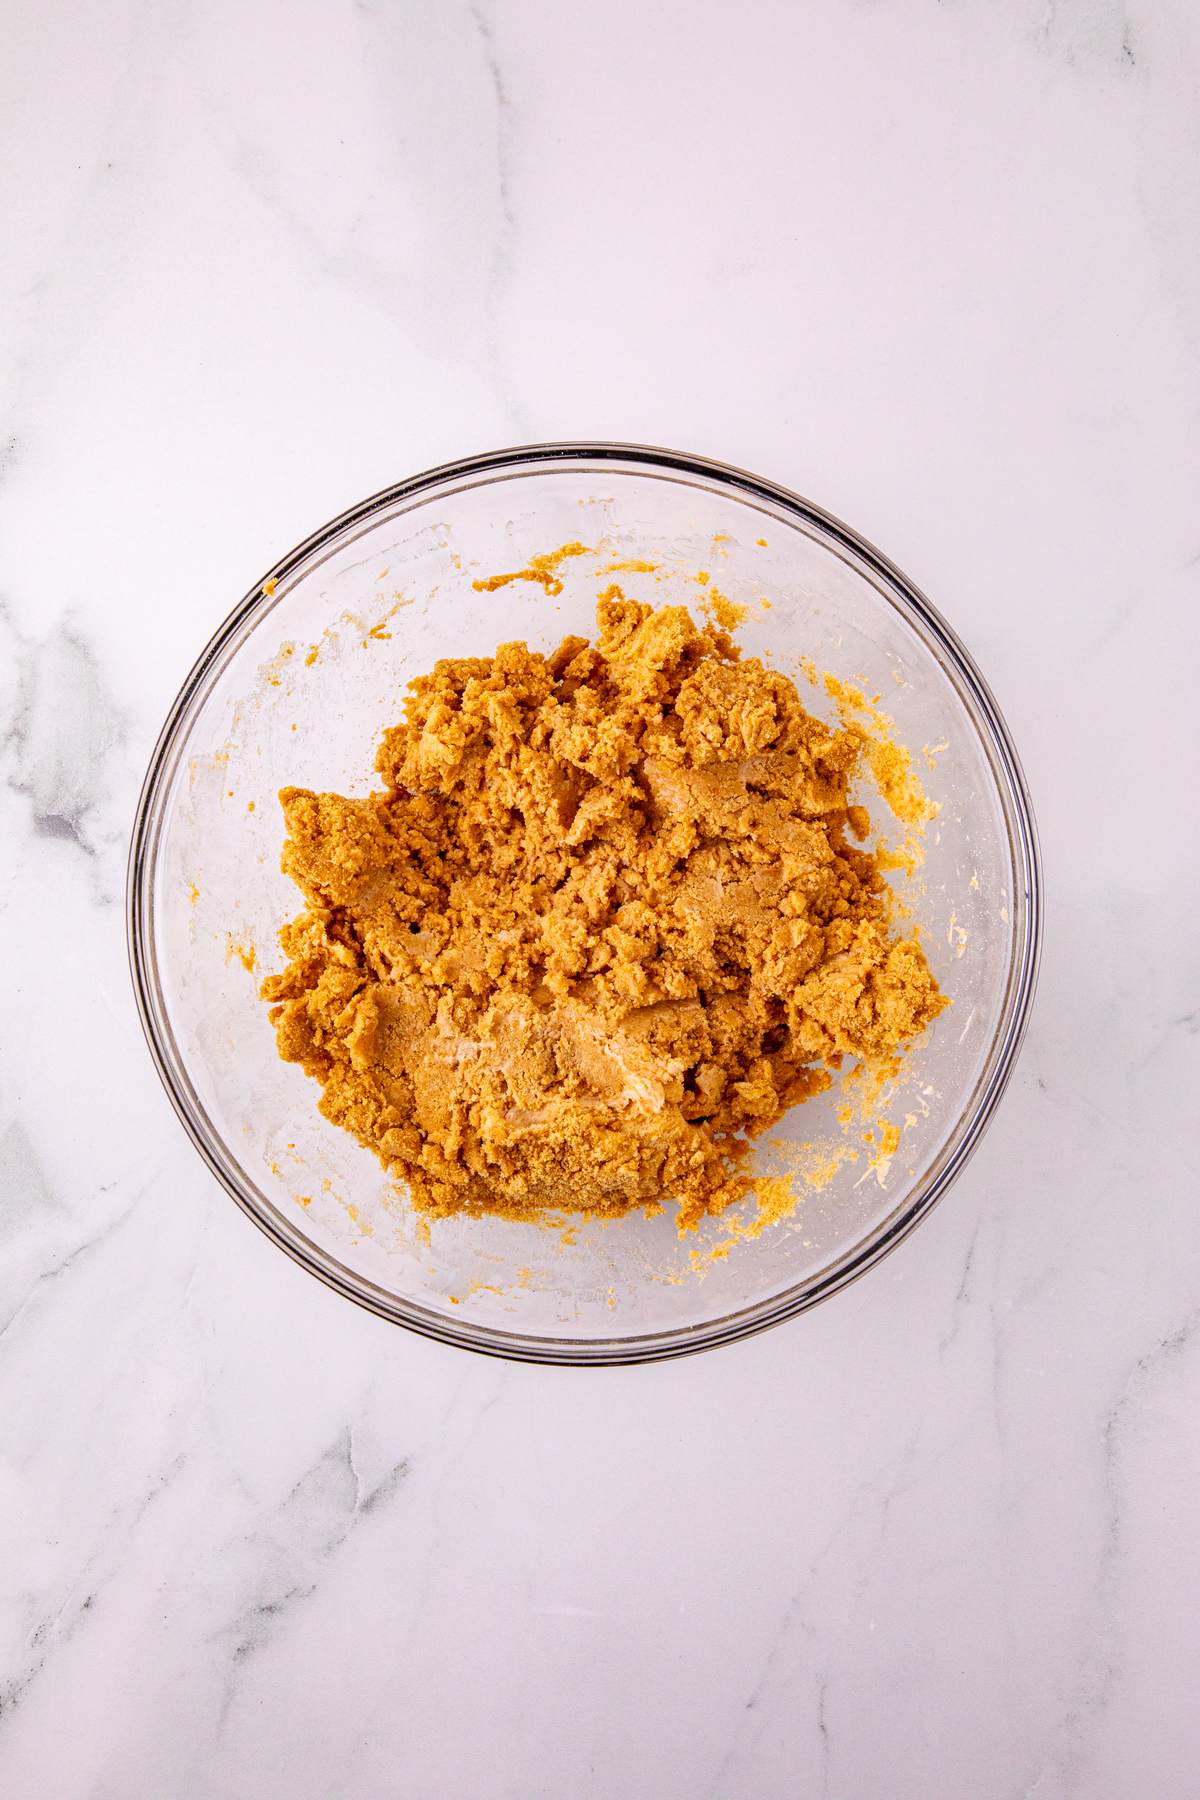
Step 3: Stir in the remaining cookie crumbs with a spoon until evenly combined into a dough that holds its shape.
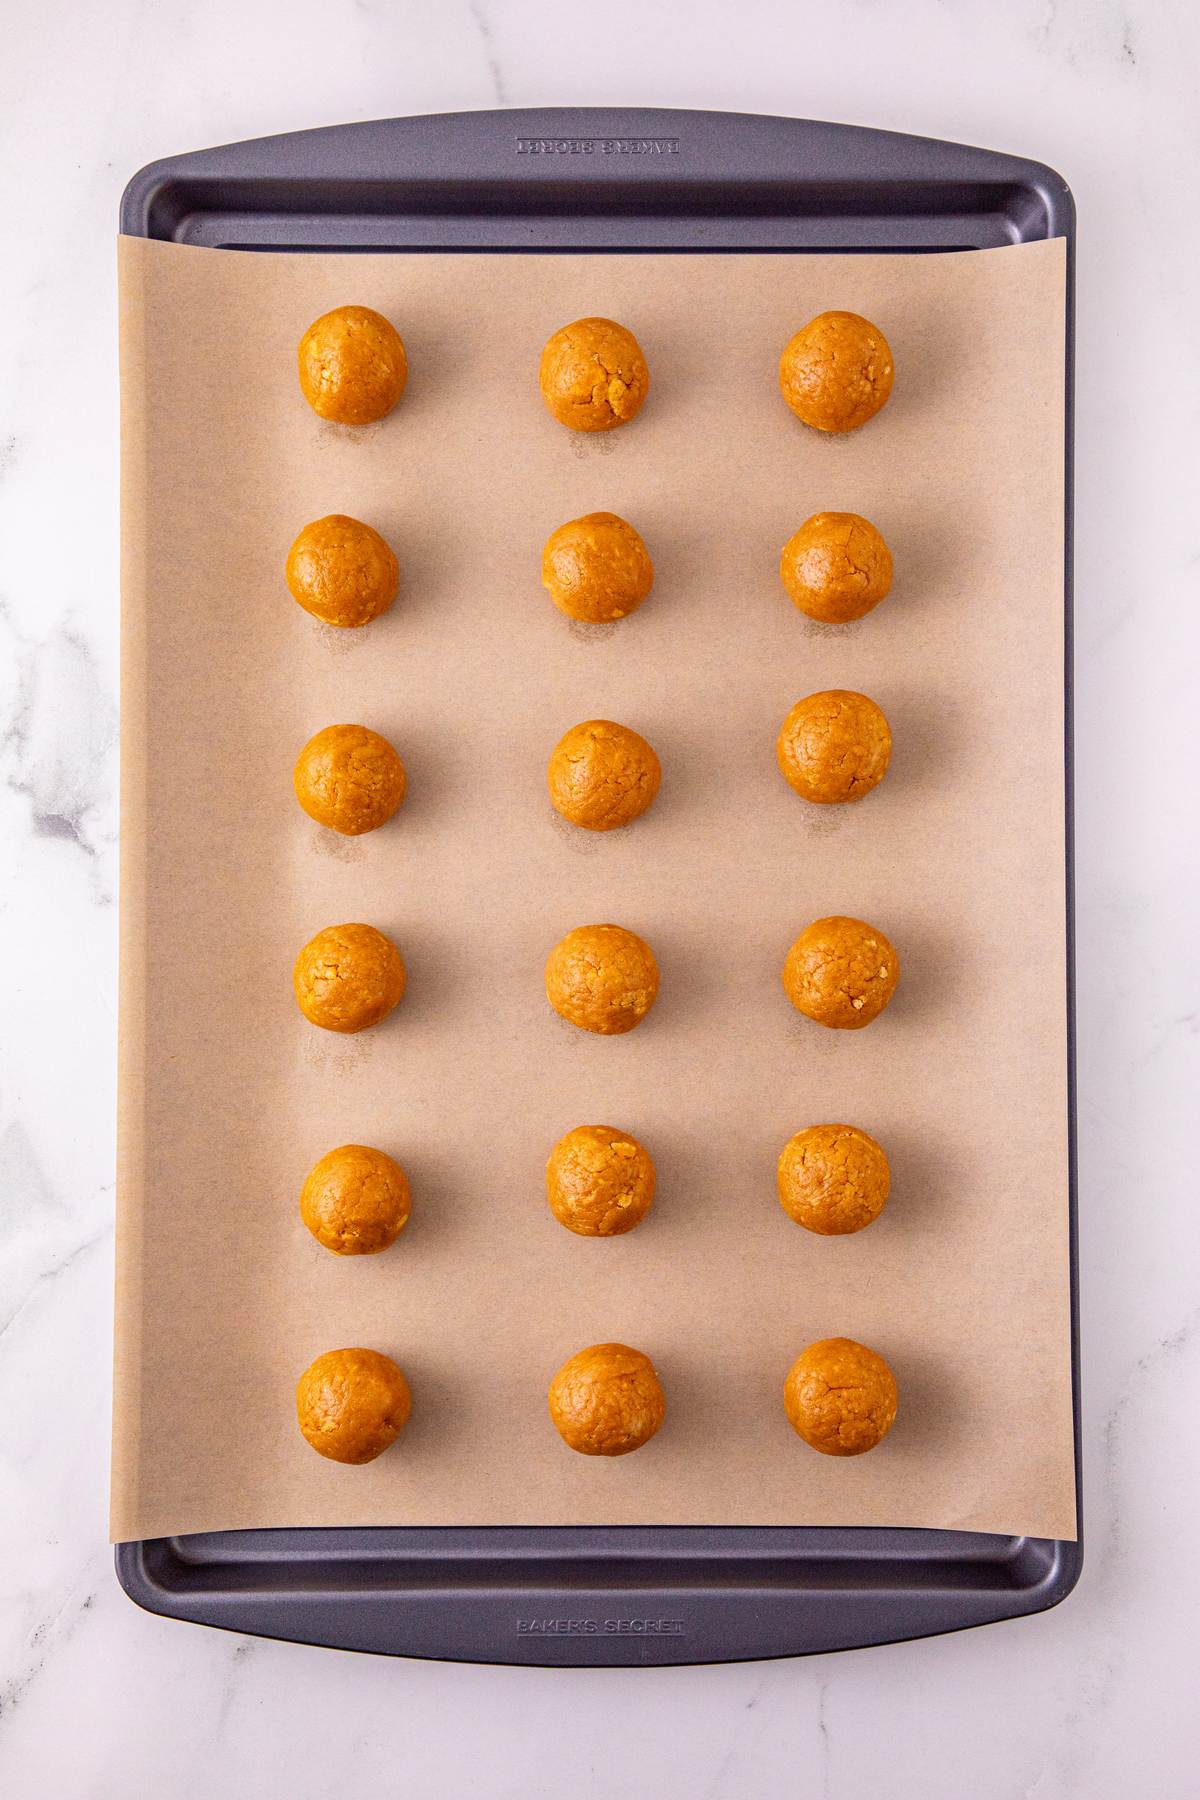
Step 4: Use a 1 tablespoon cookie scoop to portion the dough. Roll each portion into a ball and place on a parchment-lined baking sheet.
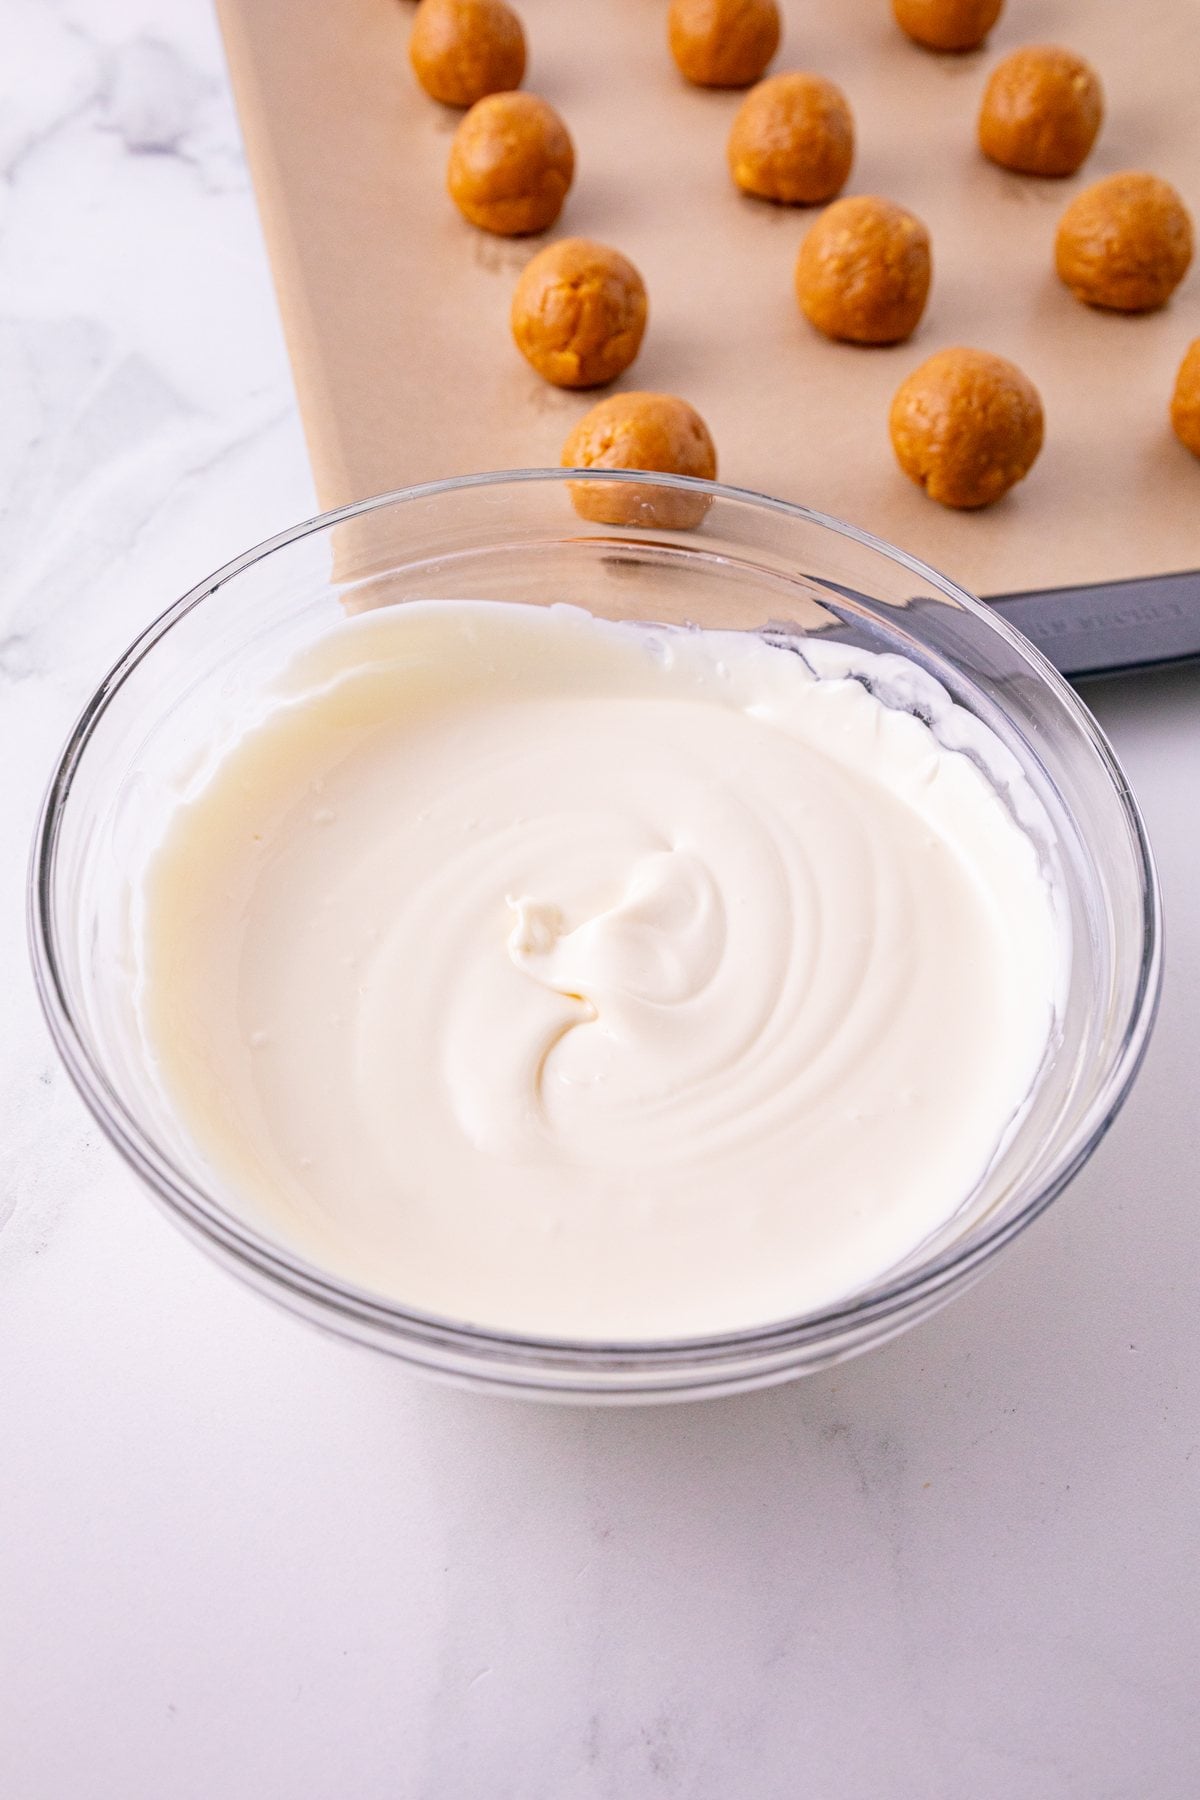
Step 5: Place the vanilla melting wafers in a microwave-safe bowl. Microwave at 50% power in 30-second intervals, stirring after each interval, until smooth.
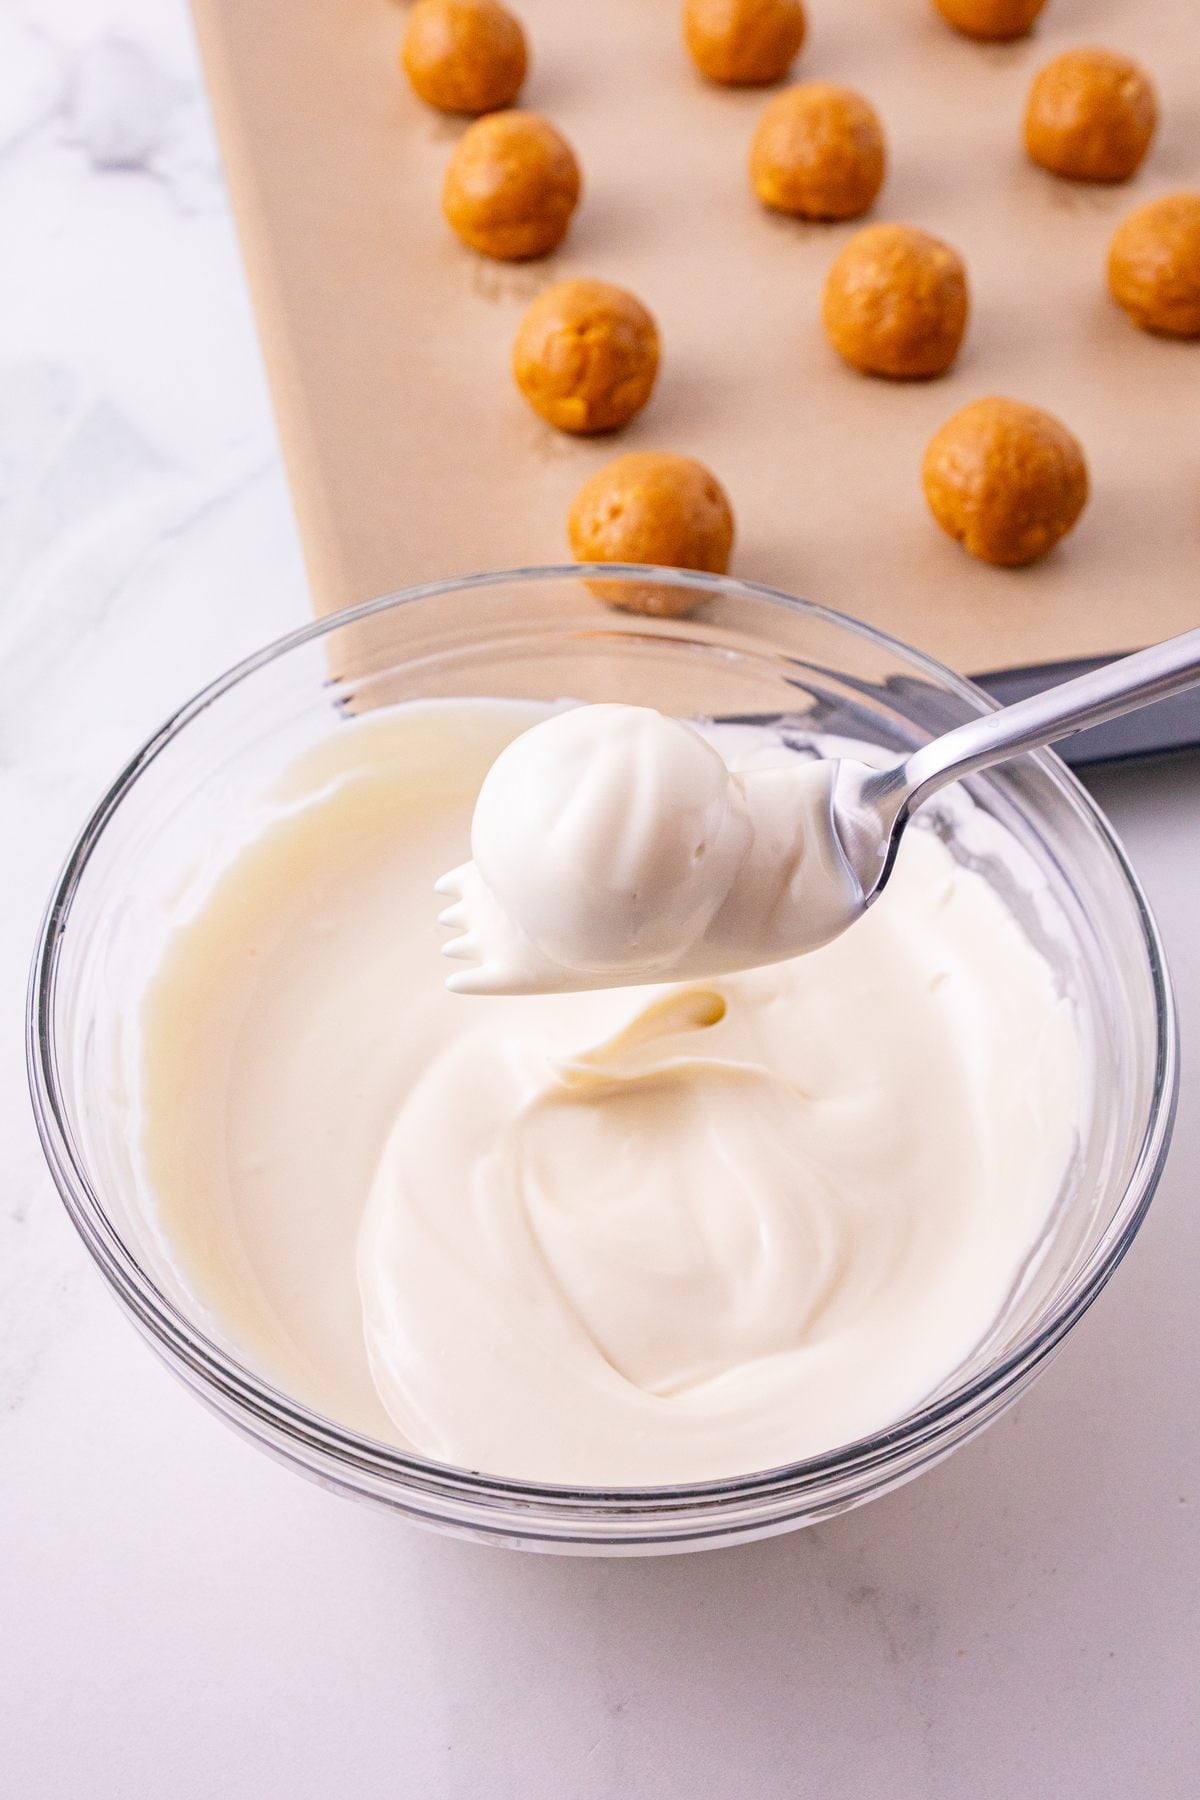
Step 6: Use a fork to dip a ball into the melted coating. Gently shake off the excess, then use a second fork or a spoon to slide it onto the parchment-lined baking sheet.
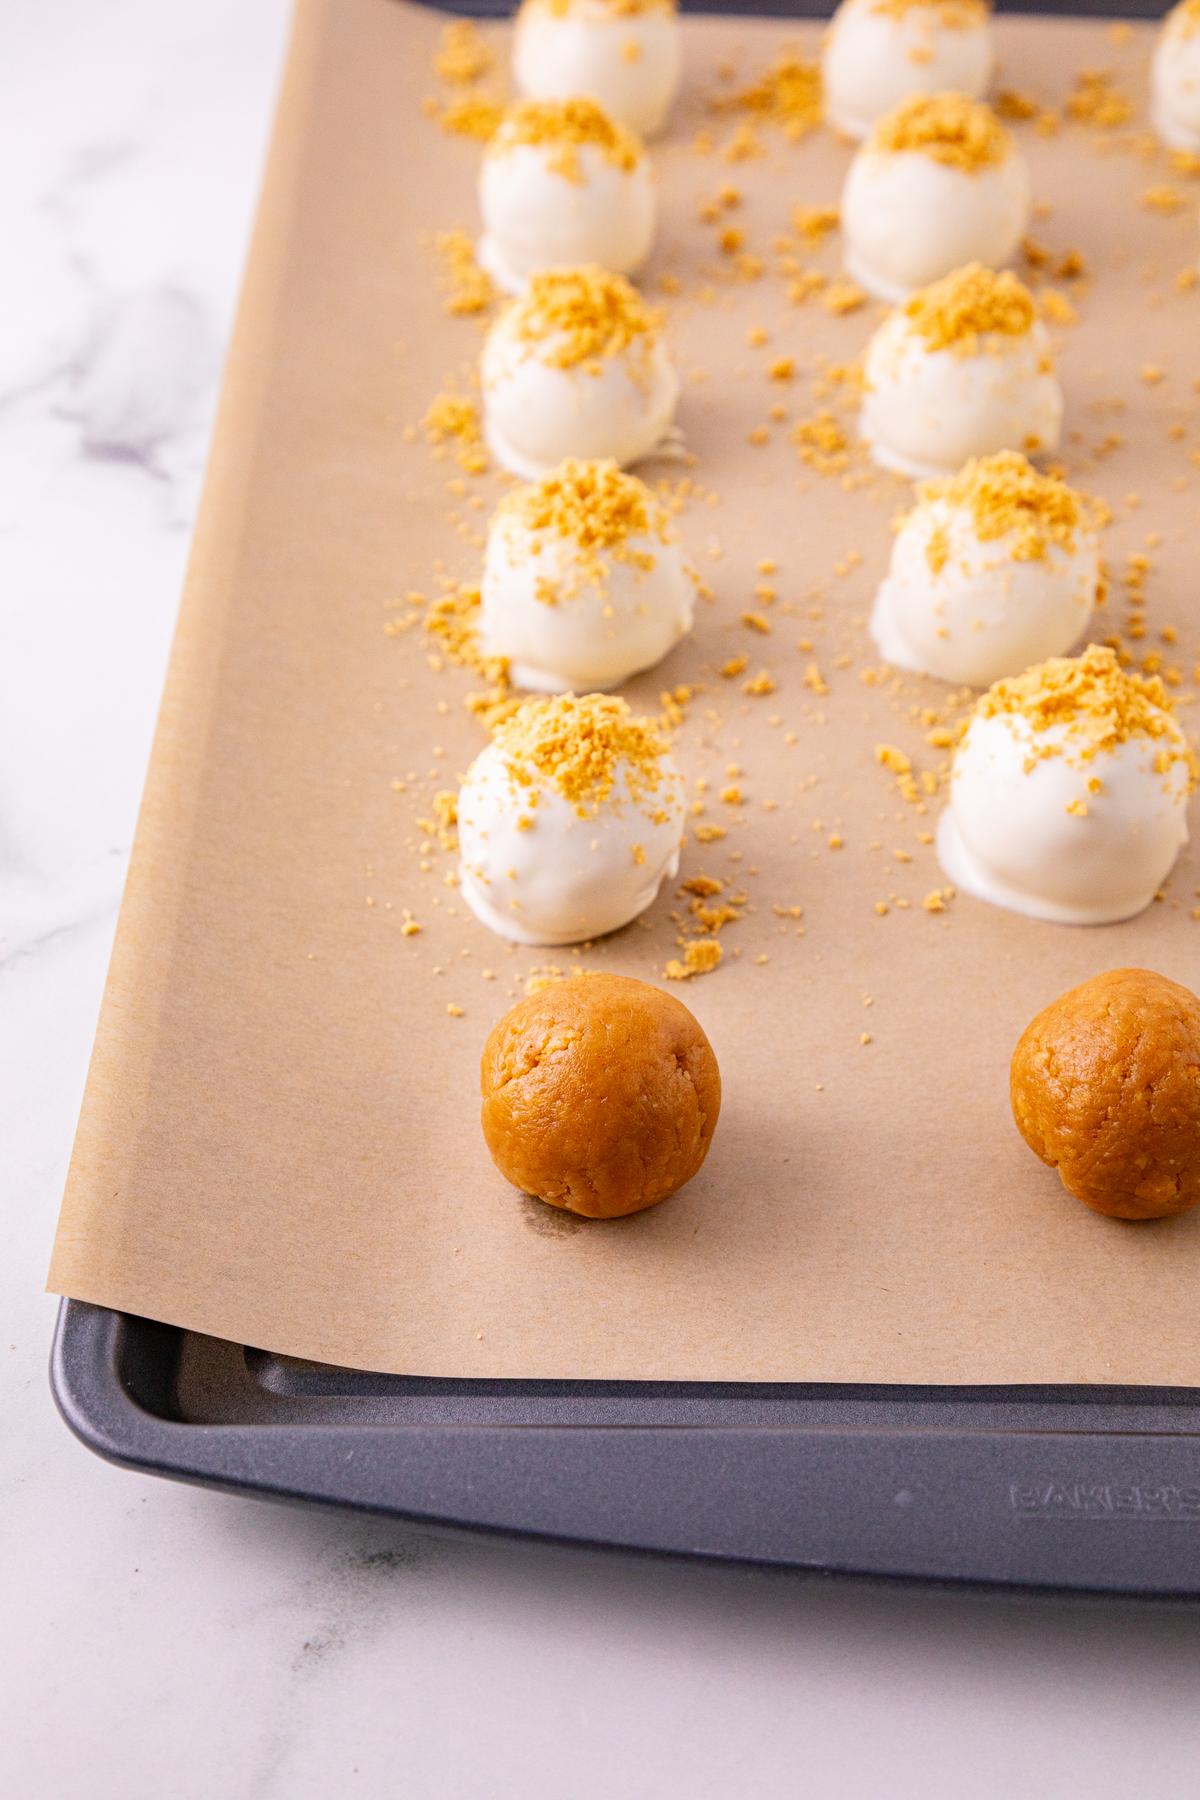
Step 7: Immediately sprinkle the reserved cookie crumbs over the coated ball before the coating sets. Repeat with the remaining balls.
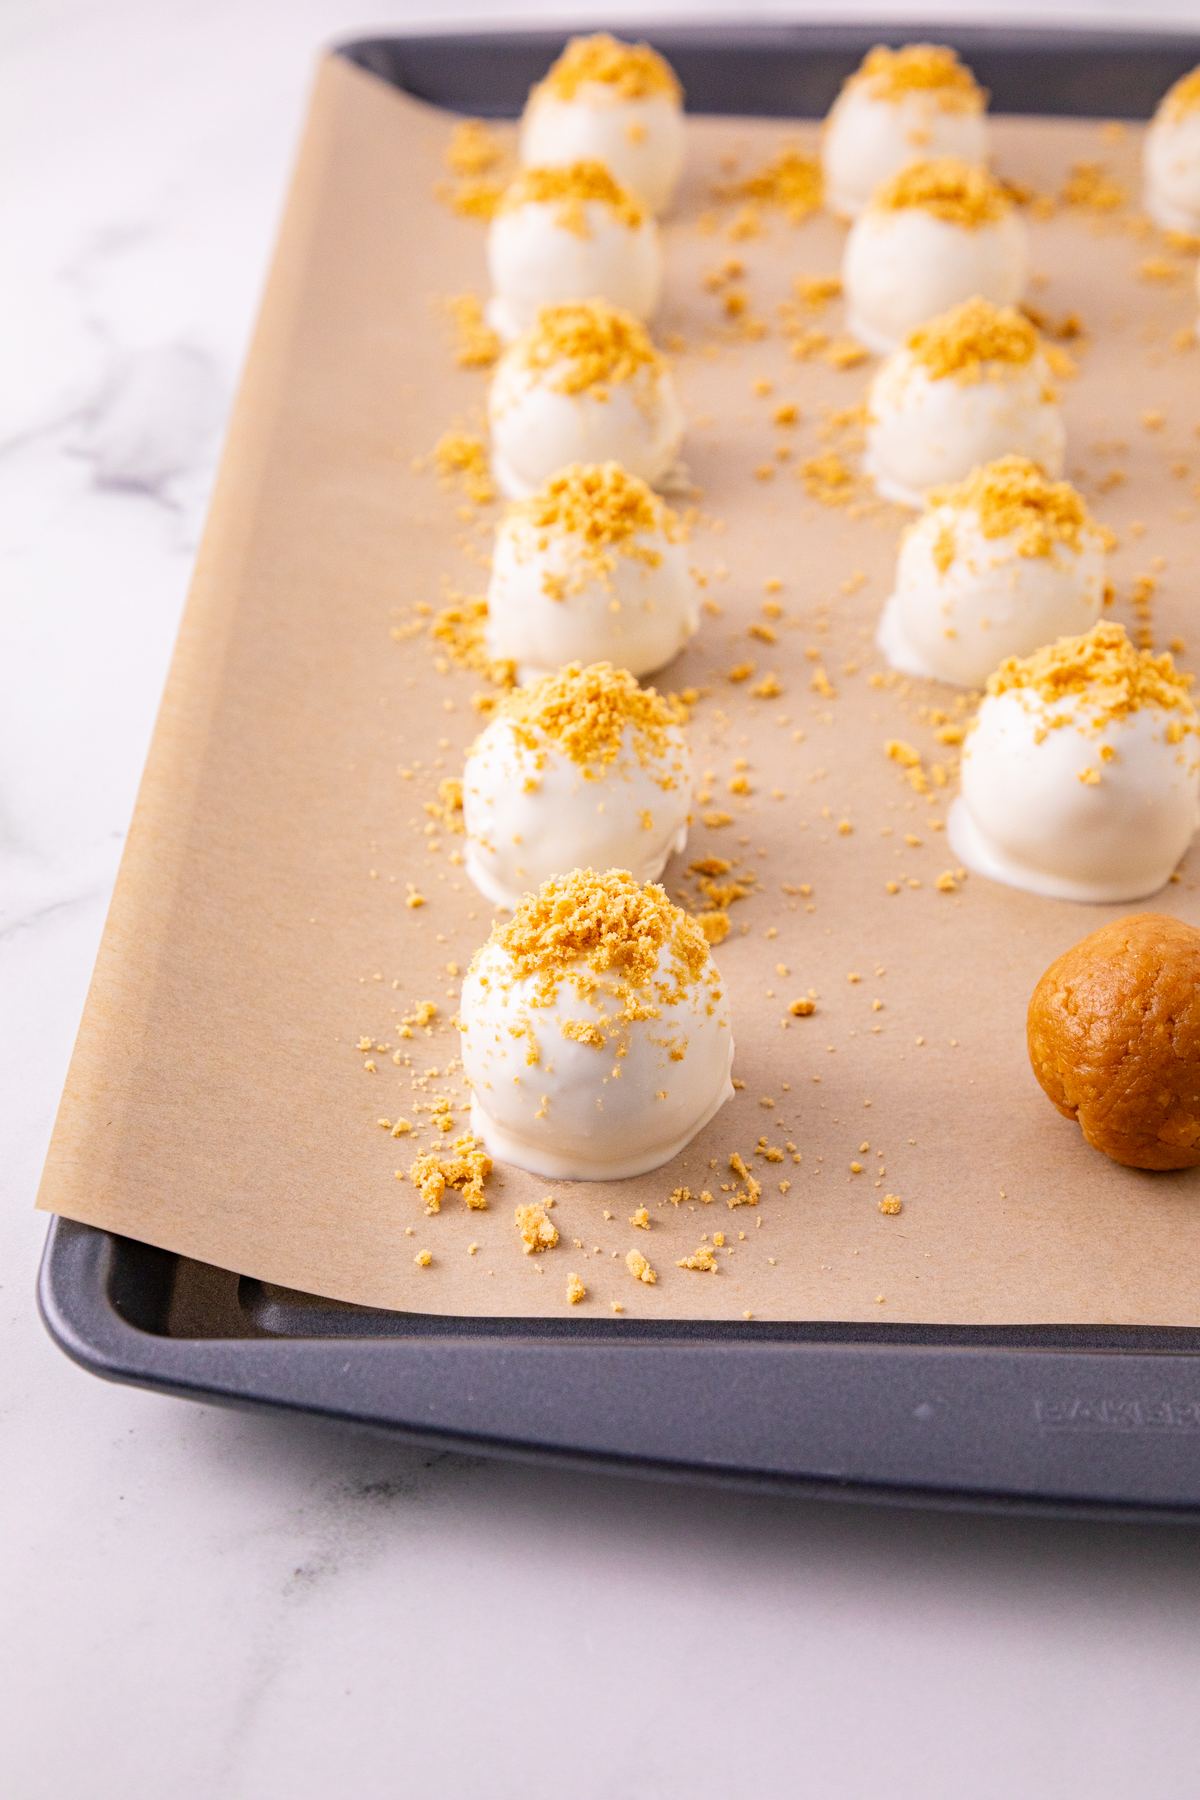
Step 8: Let the coating harden at room temperature for about 15 minutes. Refrigerate to help it set more quickly if needed.
Tips for Success
- Use a cookie scoop: A 1 tablespoon scoop keeps the portions consistent. Roll them between your palms to smooth the surface.
- Tap off the extra coating: Let excess coating drip back into the bowl before you return each ball to the baking sheet. This helps keep it from pooling around the bottom.
- Top as you go: Sprinkle each ball with cookie crumbs right after dipping. The crumbs will stick while the coating is still wet.
- Keep the size in mind: The recipe makes about 36 balls with 1 tablespoon portions. Larger portions will give you fewer treats.
Serving and Storage
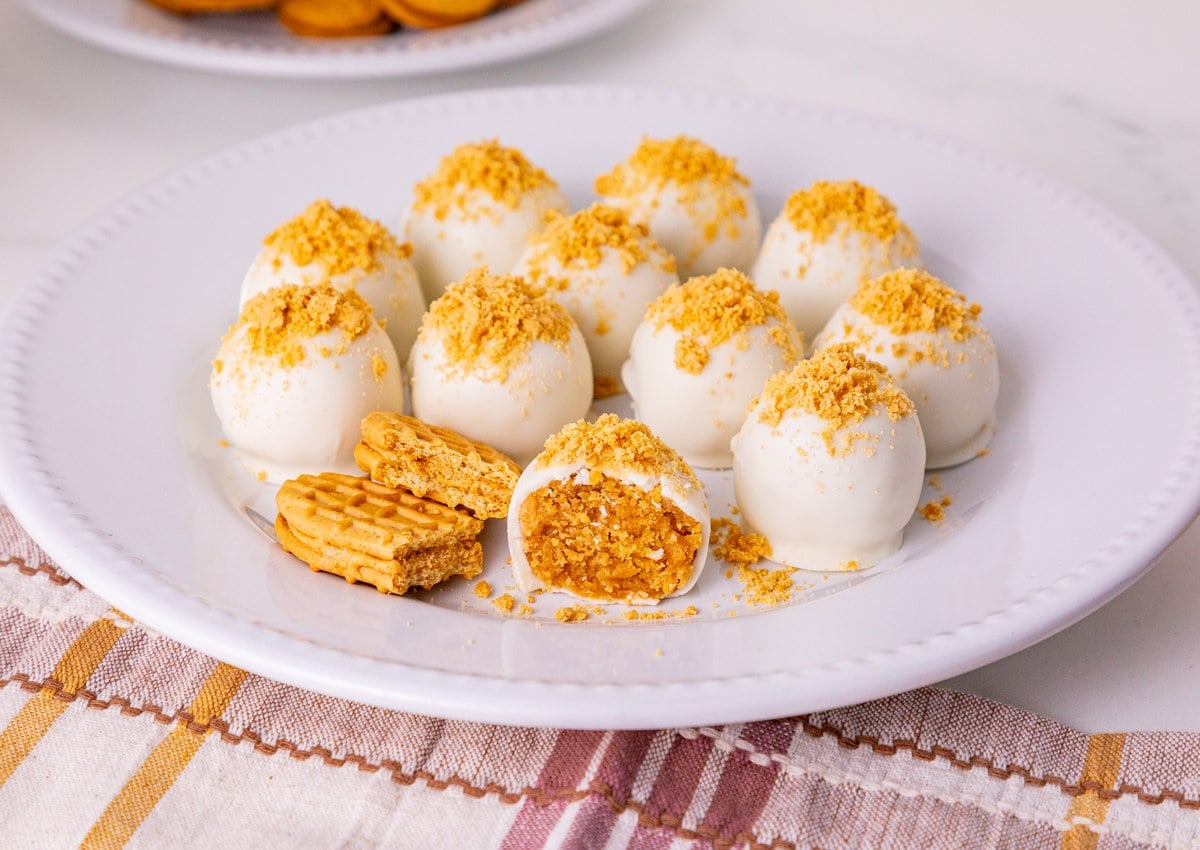
Arrange these peanut butter cookie balls on a dessert tray once the coating has hardened. They are easy to portion for a party, and the crumb topping makes them look finished without any extra decorating.
Keep the finished balls in a covered container in the refrigerator because the filling contains cream cheese. The no-chill method refers to shaping and dipping the dough, not storing the finished treats at room temperature.
Frequently Asked Questions
Do I need to chill the dough before dipping?
No. This recipe is designed to be rolled and dipped without chilling the dough first. Use full-fat cream cheese and measure the ingredients as written so the filling holds together.
Are Nutter Butter balls the same as Nutter Butter truffles?
Both names describe these small cookie-based treats. They have a peanut butter cookie filling rather than a traditional chocolate ganache center.
How long does the coating take to set?
Allow about 15 minutes at room temperature for the vanilla coating to harden. You can use the refrigerator to speed up setting.
Can I make the balls larger?
Yes, but you will get fewer than 36 balls. A 1 tablespoon cookie scoop gives you the portion size used for this recipe.
Common Mistakes to Avoid When Making Nutter Butter Balls
- Starting with cold cream cheese: It can leave lumps in the filling. Let it soften before beating it with the peanut butter and sugar.
- Forgetting the topping crumbs: Reserve 1/4 cup of the crushed cookies before adding the rest to the filling.
- Overheating the wafers: Use 50% power and stir between 30-second intervals. Stop heating once the coating is smooth.
- Waiting to add the topping: Cookie crumbs will not stick well once the coating has hardened. Finish each ball before moving on to the next.
A creamy peanut butter center and a crisp vanilla shell make these little treats a fun addition to any dessert tray. Let the coating set, then pop them in the fridge until you are ready to share.
Nutter Butter Balls
Equipment
- Food processor or blender
- mixing bowls
- electric hand mixer
- 1 tablespoon cookie scoop
- large baking sheet
- Parchment Paper
- microwave-safe bowl
- forks
- spoon
Ingredients
- 16 ounces Nutter Butter cookies one package; reserve 1/4 cup of the crushed cookies for topping
- 8 ounces full-fat cream cheese softened to room temperature
- ⅓ cup creamy peanut butter
- ¼ cup powdered sugar
- 10 ounces vanilla melting wafers
Instructions
- Crush the Nutter Butter cookies into fine crumbs using a food processor or blender. Set aside 1/4 cup of the crumbs for topping.
- Beat the softened cream cheese, creamy peanut butter, and powdered sugar with an electric hand mixer until creamy.
- Stir in the remaining cookie crumbs with a spoon until evenly combined into a dough that holds its shape.
- Use a 1 tablespoon cookie scoop to portion the dough. Roll each portion into a ball and place on a parchment-lined baking sheet.
- Place the vanilla melting wafers in a microwave-safe bowl. Microwave at 50% power in 30-second intervals, stirring after each interval, until smooth.
- Use a fork to dip a ball into the melted coating. Gently shake off the excess, then use a second fork or a spoon to slide it onto the parchment-lined baking sheet.
- Immediately sprinkle the reserved cookie crumbs over the coated ball before the coating sets. Repeat with the remaining balls.
- Let the coating harden at room temperature for about 15 minutes. Refrigerate to help it set more quickly if needed.
Notes
Disclaimer:
Any nutritional data I provide is an approximation and actual dietary information can vary based on ingredients and proportion sizes.