
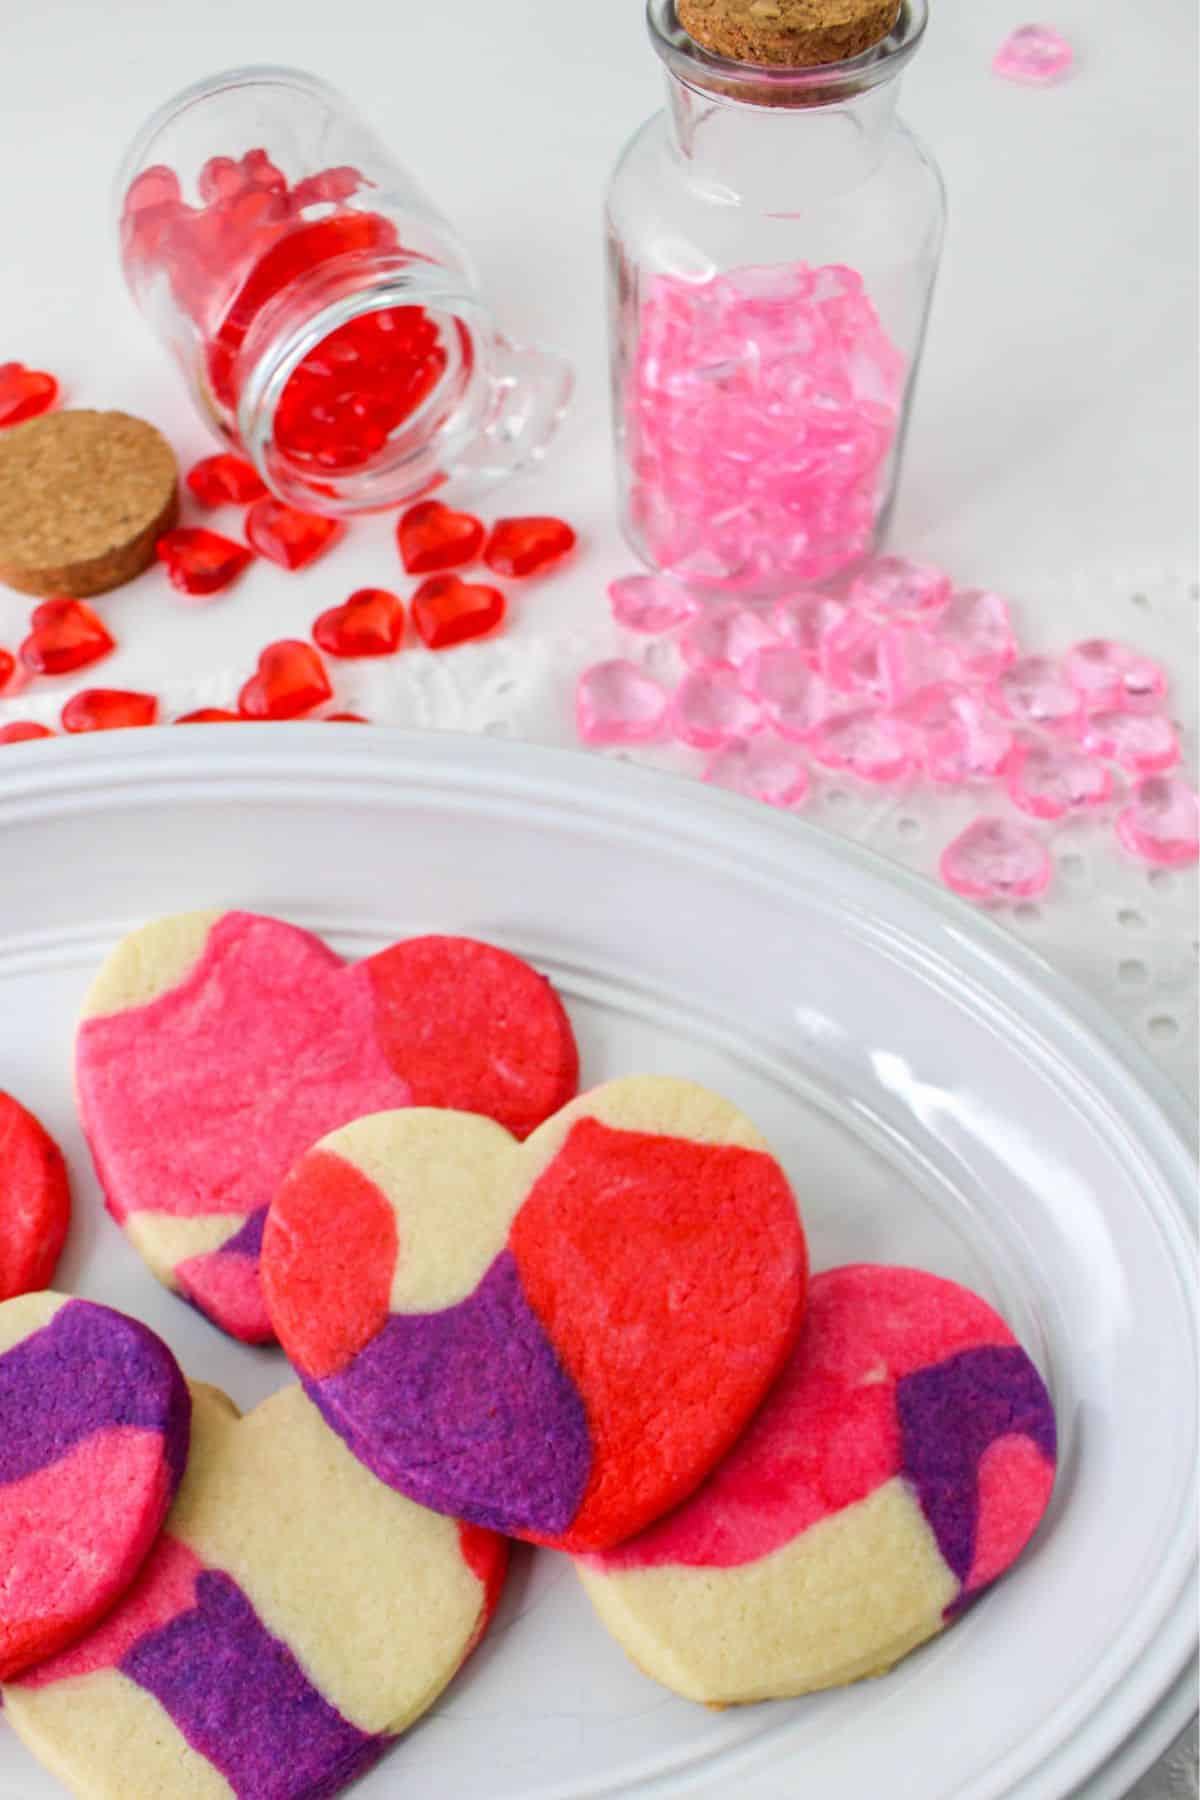
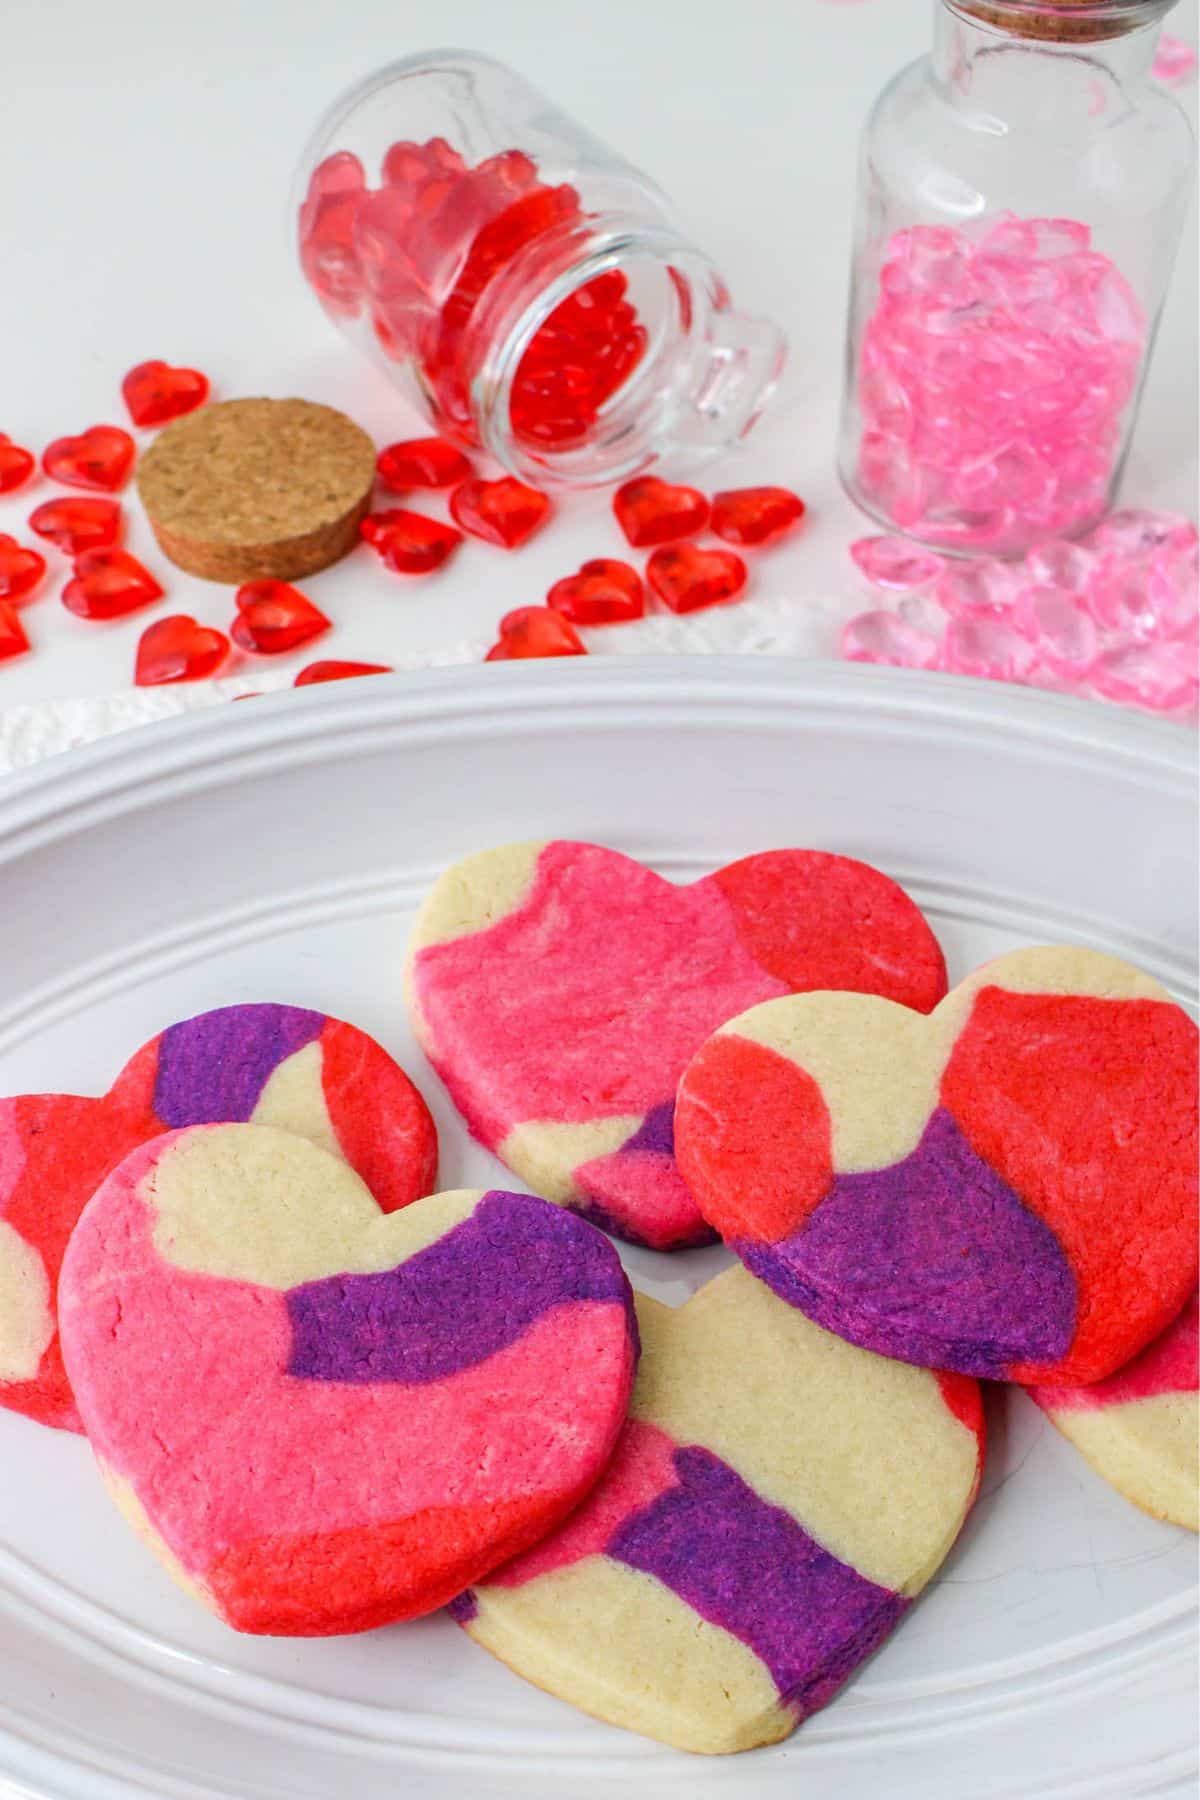
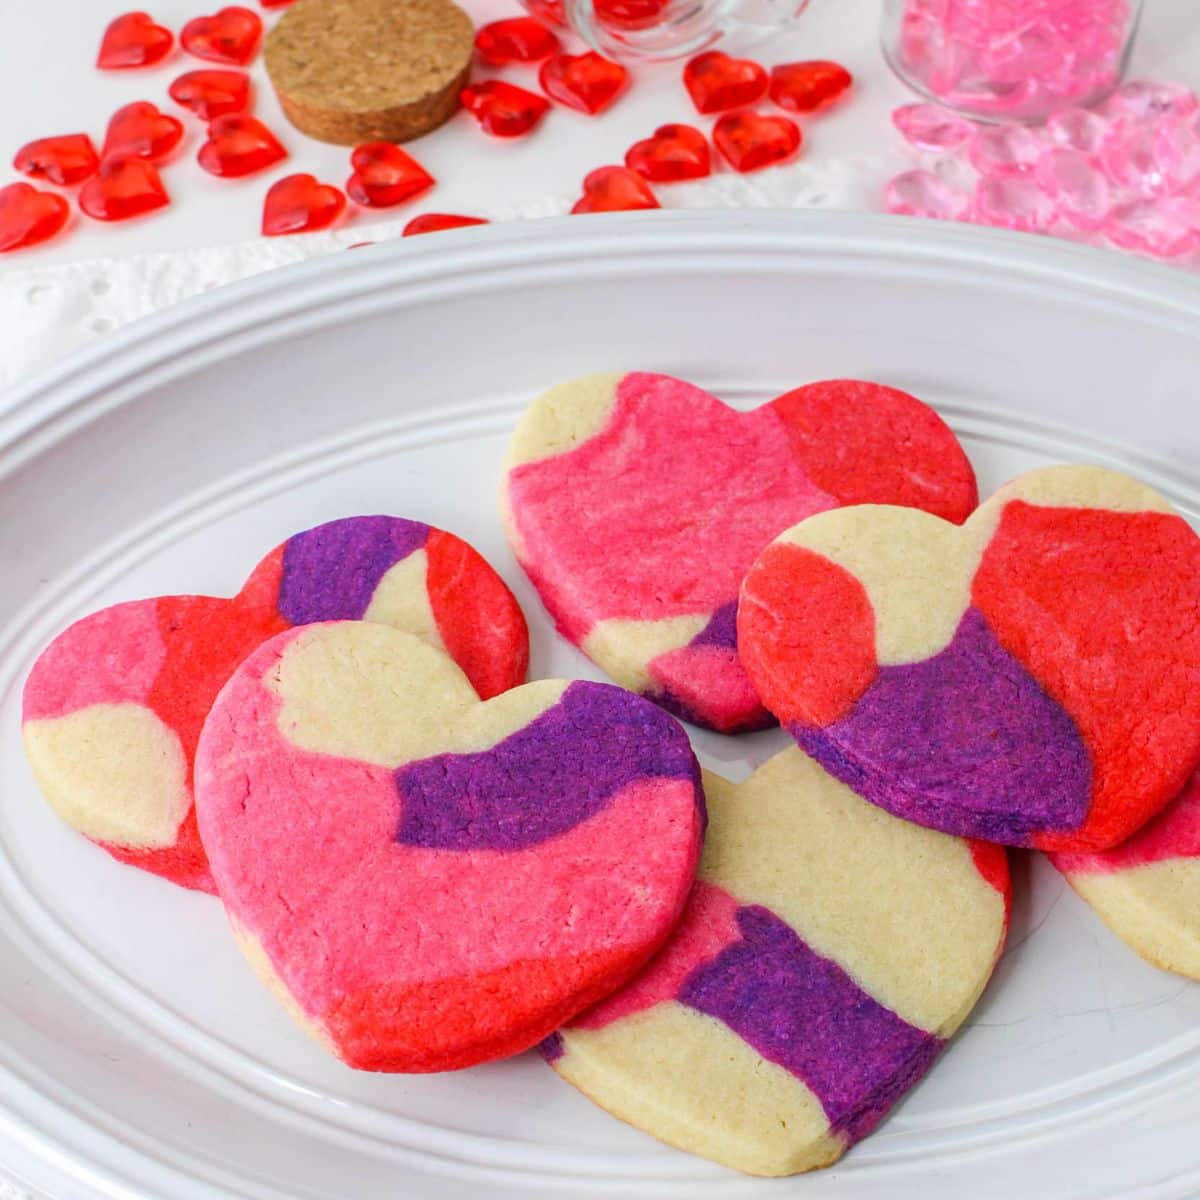
These Marble Sugar Cookies are a great addition to any occasion. They can also be used as decorations or party favors, as they are sure to delight with their sweet taste and charming heart shape.
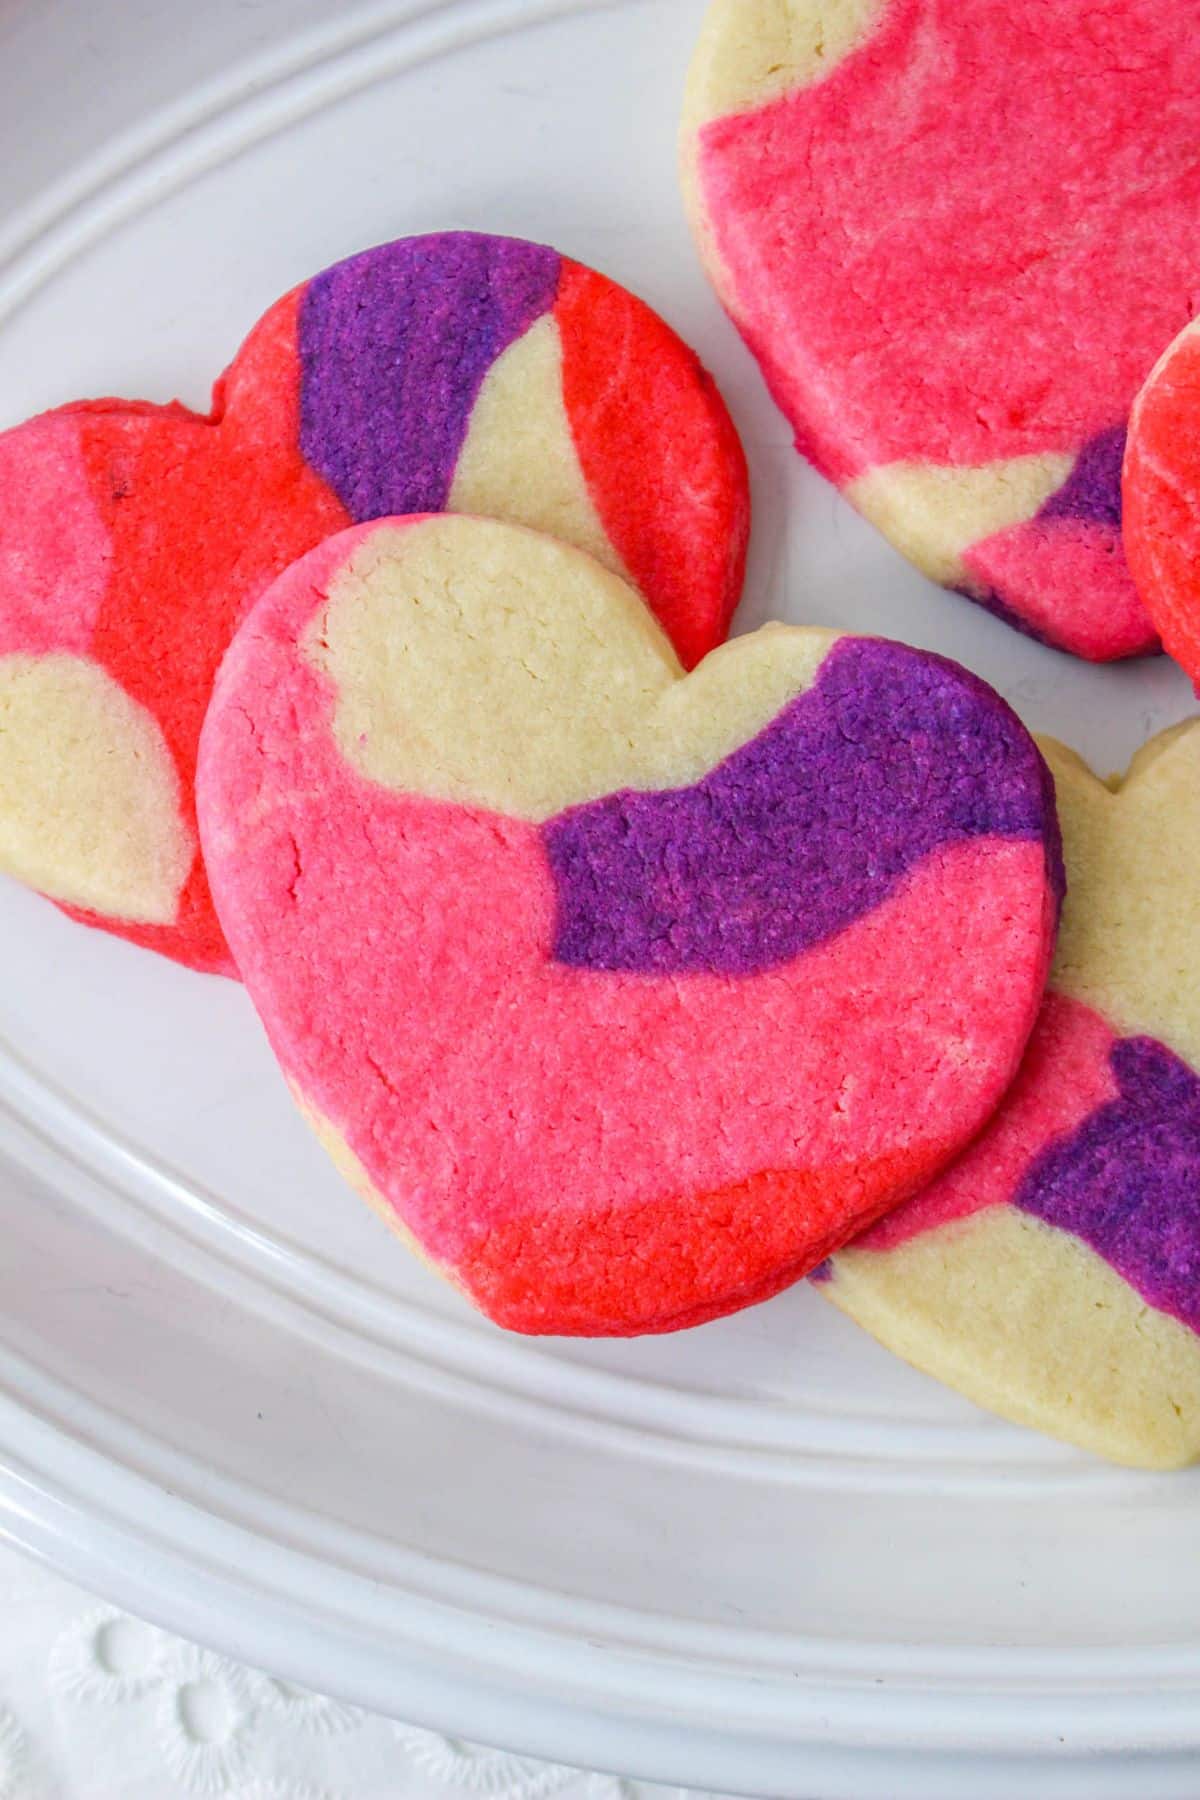
These cookies are bright in color, and turn out soft on the inside and crunchy on the outside making them the perfect festive sweet treat. If you love making homemade cookies you may also enjoy these Pink Chocolate Chip Cookies.
Jump to:
Why I Love This Recipe
These delightful Marble Sugar Cookies are sweet, simple, and full of flavor. The combination of the colors makes them visually appealing and perfect for Valentine’s Day or any special occasion.
- You only need basic kitchen staples to help you make these colorful cookies.
- These cookies are perfect for special occasions, parties, or even just for dessert.
- Kids always love these festive colored cookies.
If you are feeling a little adventurous in the kitchen then give these Heart-Shaped Red Velvet Cookies a try next time.
Ingredients
You only need a few simple ingredients to make these marble cookies. All of these ingredients are most likely in your cabinets are already, though you may need a quick trip to the grocery store to grab the food coloring. You can find the full list of ingredients and amounts in the recipe card below.
- Flour – You will need some all purpose flour or plain flour to make these cookies.
- Butter – I like to use unsalted butter when I am baking, as I find it helps the cookie dough rise better.
- Extract – For this recipe you will both vanilla and almond extract.
- Food Coloring – I like to use food coloring gel, because it doesn’t thin the dough, you will need pink, red and blue food coloring.
Variations / Options / Add-Ins
These Marble Sugar Cookies can be customized to fit your taste and occasion. Here are some of my favorite variations:
Chocolate Chips – Add in some mini chocolate chips to the cookie batter for extra sweetness.
Sprinkles – Top these cookies off with festive sprinkles or colored sugar!
Frosting – Use some melted canned frosting for great royal frosting hack.
How to Make Marble Sugar Cookies
Making these Valentine’s Day Sugar Cookies are quick and easy to make and turn out so beautifully colored every time that you make them. Follow these steps and you can be enjoying these cookies soon.
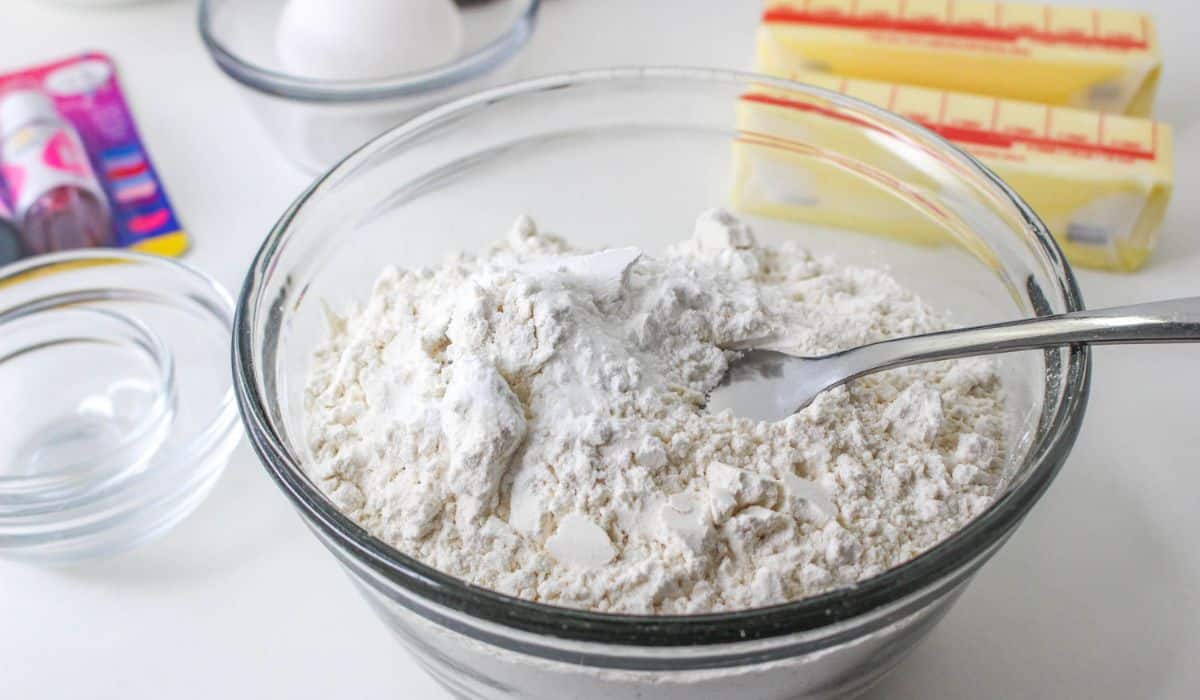
Step 1: Whisk together the dry ingredients
Whisk together dry ingredients: flour, baking powder, and salt. Set aside.
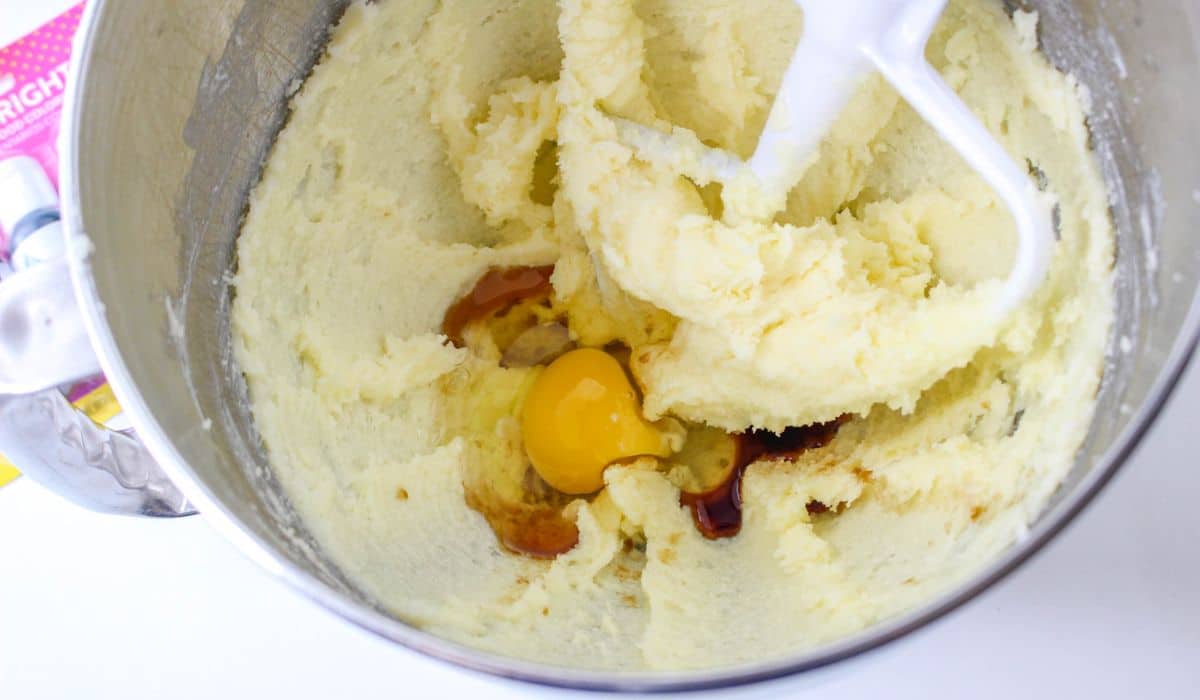
Step 2: Cream the butter and sugar, and add dry ingredients
In a mixing bowl, blend the butter and sugar until creamy and light. Add egg, almond extract, and vanilla extract. Mix well. Slowly add dry ingredients and mix until combined. Dough may be a little crumbly.
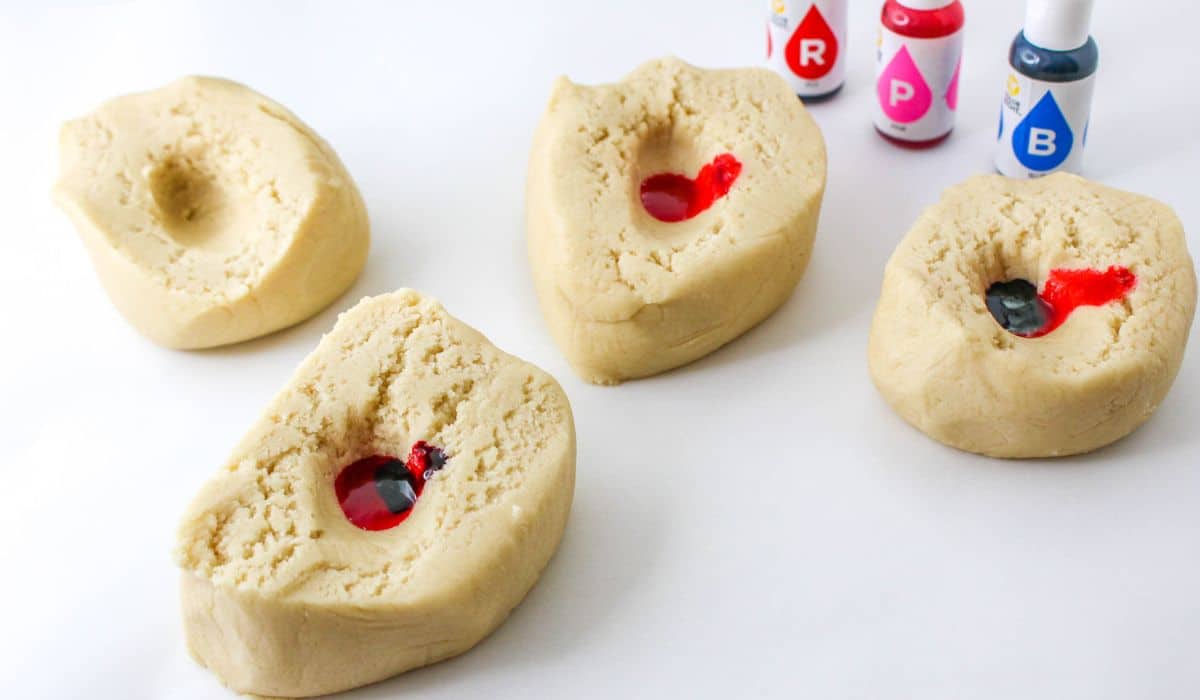
Step 4: Color the dough
Turn out the dough onto a surface sprinkled with powdered sugar or flour. Press into a roll and divide into four portions. Set aside one portion. With the remaining three portions, add food coloring to make one portion pink, one portion red, and one portion purple. Mix the colors into the dough well.
To get the purple color, I mixed equal portions blue and red together. It give me a beautiful purple color.
Step 5: Shape the dough into a rectangle
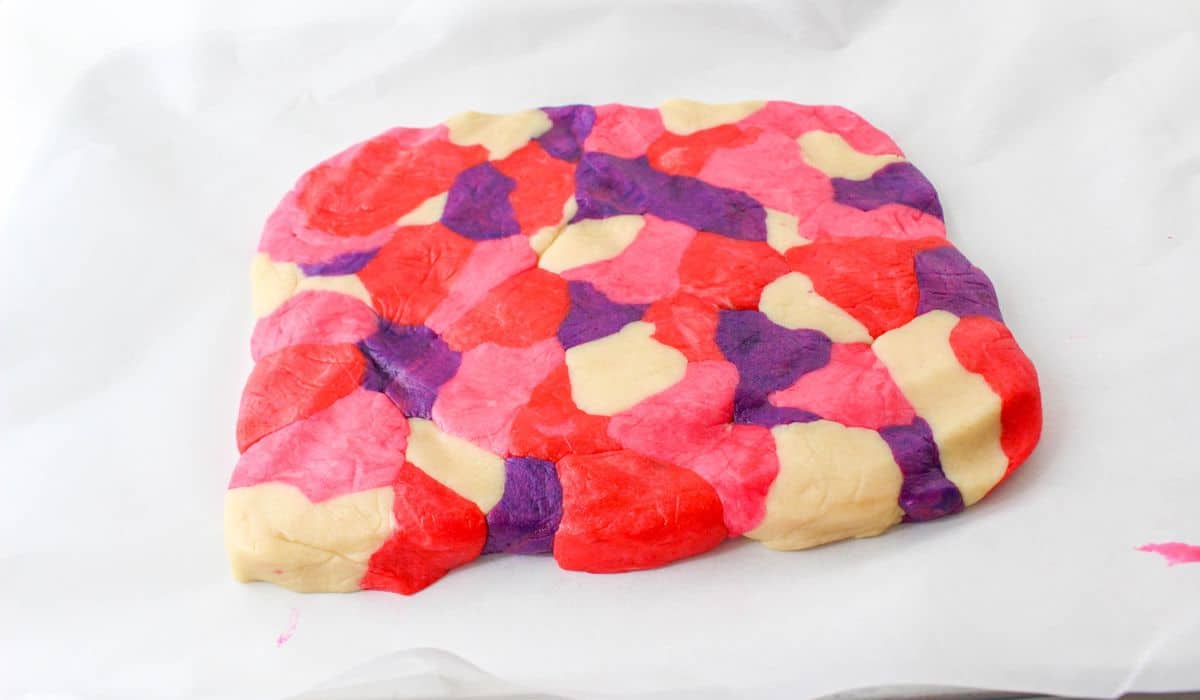
On a parchment or lightly floured surface, randomly drop small pieces of the dough. Pushing from the edges, press the dough into a rectangle.
Step 6: Cut out heart shapes
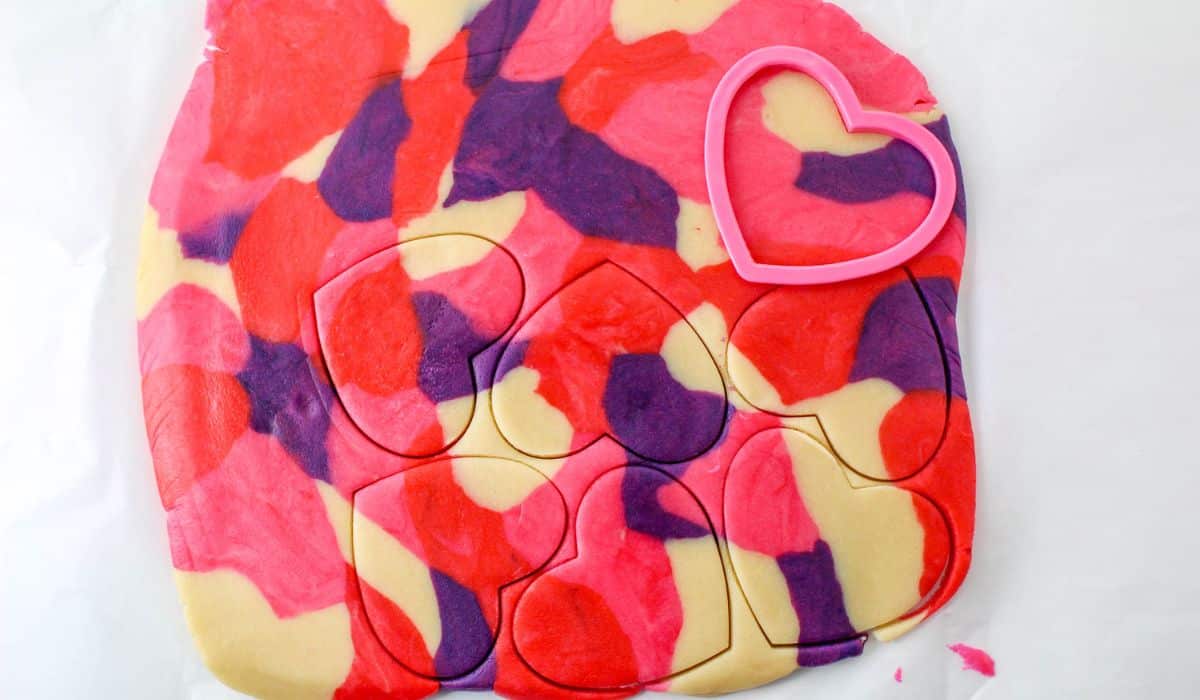
Roll out to ¼ inch thickness. Use cookie cutters to create shapes. Carefully lift shaped cookies to the baking sheet. Using a flat spatula is recommended to help the cookies maintain their shape.
Step 7: Bake the cookies
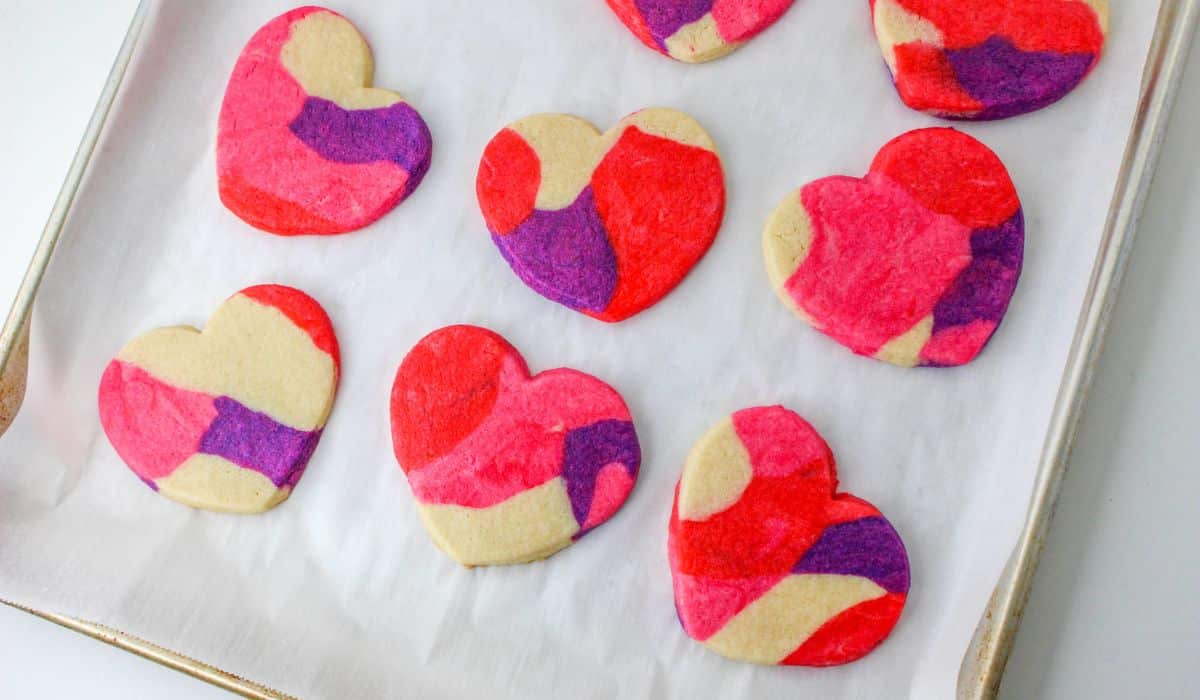
Bake cookies for 7 to 9 minutes. Do not brown the cookies. Allow cookies to cool for at least 20 minutes on the baking sheet before carefully removing to a cooling rack.
Step 8: Allow the cookies to cool before storing or decorating
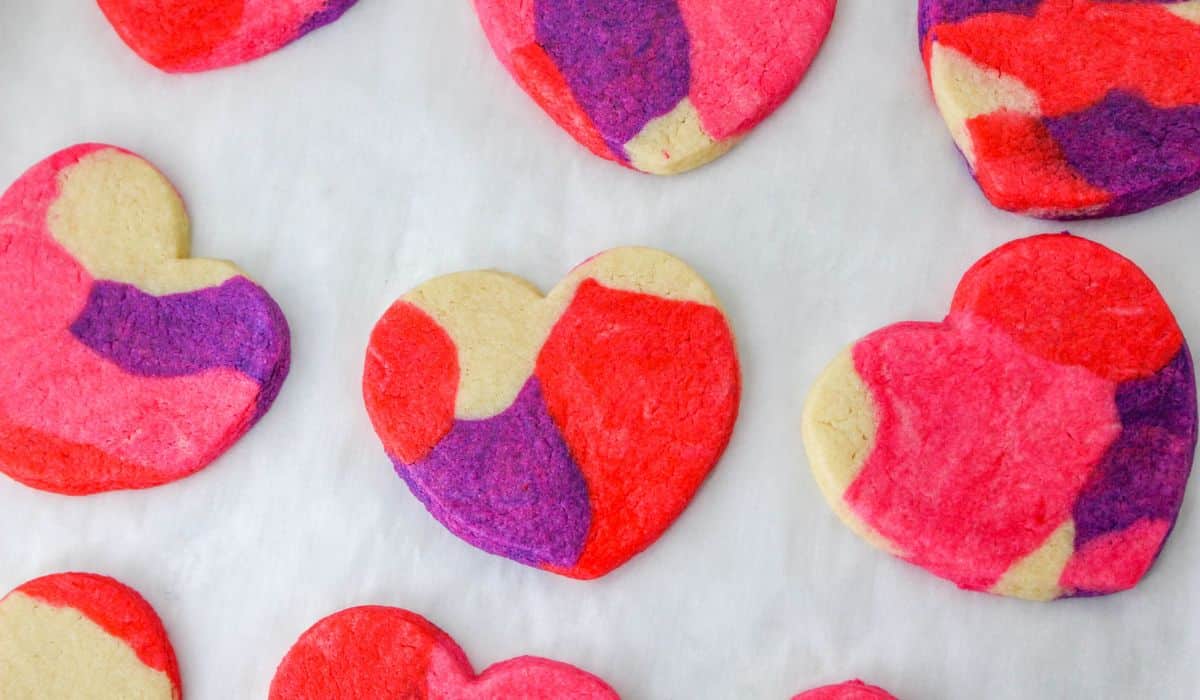
After cooling, decorate as desired. Allow icing to dry before storing in an airtight container between layers of parchment paper.
Serving Suggestions
I love to serve these cookies after a meal like this Busy Day Soup with a side of Air Fryer Dinner Rolls.
Pro Tips
Here are a few tips to help you make this marble cookie recipe.
- Make sure to use gel food coloring for this recipe.
- Do not over mix the dough, otherwise your cookies will become tough.
- Allow the cookies to cool completely before storing or decorating them.
- I like to line my cookie sheet with parchment paper, but you could also use a silicone baking mat or nonstick cooking spray instead.
- To use leftover scraps, avoid pressing into a ball and re-rolling the cookies. Instead, arrange the scraps back into a tighter rectangle by pressing the dough from the sides.
- Switch out the colors by using different food colorings to match your theme.
Storage
These sugar cookies should be stored in an airtight container for up to 5 days.
If you plan on keeping them longer than that, wrap the cookies tightly in plastic wrap and store in the freezer for up to 2 months. Allow frozen cookies to thaw before serving.
FAQs
Do you have questions about this recipe? Here are the answers to the most commonly asked questions for this recipe.
To make marble dough, mix three or more different colors of cookie dough together. The marbled effect is created when the different colored pieces of dough are combined and folded together. However, you want to just press them together.
Yes, you can freeze raw cookie dough. Wrap it tightly in plastic wrap and place in an airtight container or freezer bag before freezing. The cookie dough will stay fresh for up to 2 months in the freezer. When ready to use, let the cookie dough thaw overnight before baking.
For this recipe, I recommend using gel food coloring. Liquid food coloring will work but it won’t give you the same vibrant colors that you get with gel food coloring.
More Cookie Recipes
If you like cookies, give these recipes a try:
Recipe Card
Want to make this delicious recipe? Print the recipe card below, or pin it so that you can come back to it later.
Marble Sugar Cookies
Equipment
- Cookie Sheet or Baking sheet
- Parchment Paper or silicone baking mat
- Mixing Bowl
- electric mixer – hand or stand
- heart shaped cookie cutter
- flat spatula
Ingredients
- 3 cups all purpose flour
- 2 teaspoons baking powder
- ½ teaspoon salt
- 1 cup butter softened
- 1 cup sugar
- 1 egg
- ½ teaspoon almond extract
- 1 teaspoon vanilla extract
- Pink, red, and blue food coloring
- Powdered sugar or flour for rolling
Instructions
- Preheat the oven to 350 degrees. Prepare a baking sheet with parchment paper.
- Whisk together dry ingredients: flour, baking powder, and salt. Set aside.
- In a mixing bowl, blend the butter and sugar until creamy and light.
- Add egg, almond extract, and vanilla extract. Mix well.
- Slowly add dry ingredients and mix until combined. Dough may be a little crumbly.
- Turn out the dough onto a surface sprinkled with powdered sugar or flour. Press into a roll and divide into four portions. Set aside one portion.
- With the remaining three portions, add food coloring to make one portion pink, one portion red, and one portion purple. Mix the colors into the dough well.
- On a parchment or lightly floured surface, randomly drop small pieces of the dough. Pushing from the edges, press the dough into a rectangle.
- Roll out to ¼ inch thickness. Use cookie cutters to create shapes. Carefully lift shaped cookies to the baking sheet. Using a flat spatula is recommended to help the cookies maintain their shape.
- Using a flat spatula is recommended to help the cookies maintain their shape.
- Bake cookies for 7 to 9 minutes. Do not brown the cookies.
- Allow cookies to cool for at least 20 minutes on the baking sheet before carefully removing to a cooling rack.
- After cooling, decorate as desired. Allow icing to dry before storing in an airtight container between layers of parchment paper.
Notes
- Make sure to use gel food coloring for this recipe.
- To get the purple color, I mixed equal portions blue and red together. It give me a beautiful purple color.
- Do not over mix the dough, otherwise your cookies will become tough.
- Allow the cookies to cool completely before storing or decorating them.
- I like to line my cookie sheet with parchment paper, but you could also use a silicone baking mat or nonstick cooking spray instead.
- To use leftover scraps, avoid pressing into a ball and re-rolling the cookies. Instead, arrange the scraps back into a tighter rectangle by pressing the dough from the sides.

Leave a Reply