
Biscoff Cheesecake
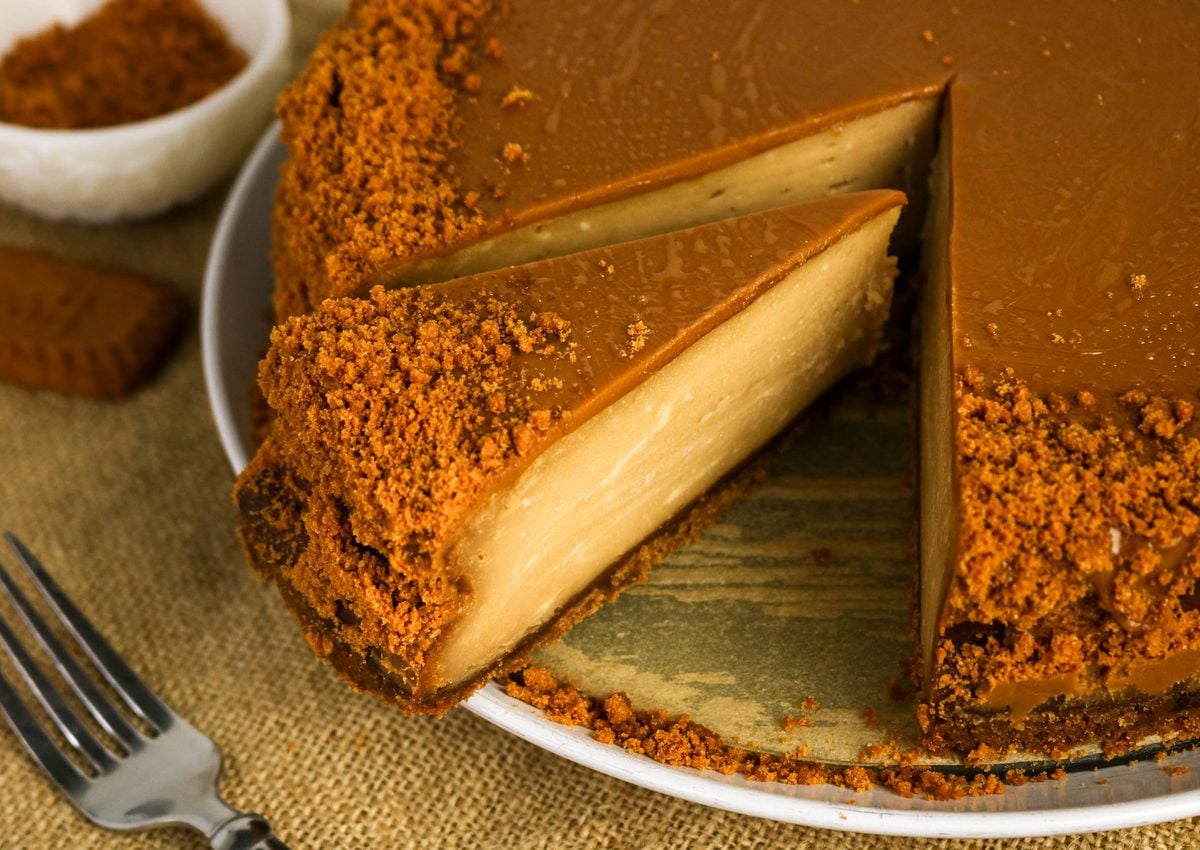
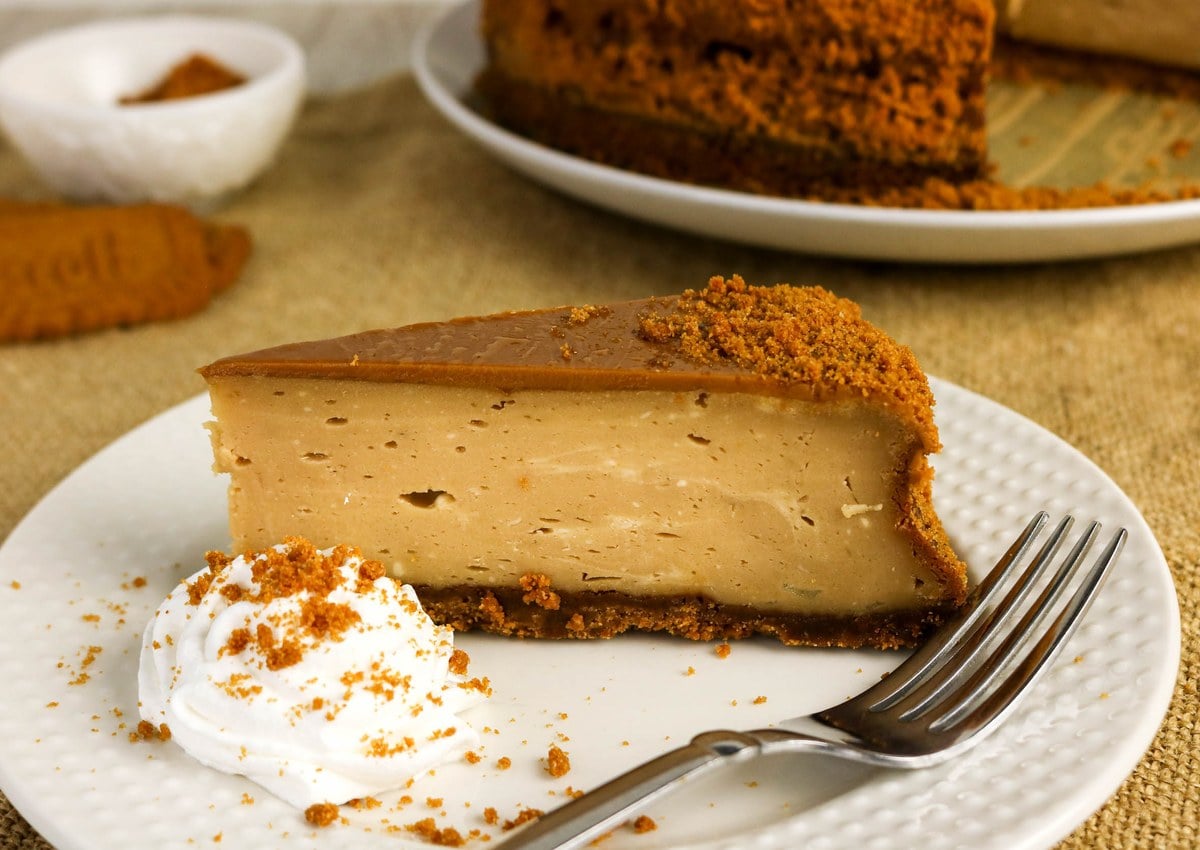
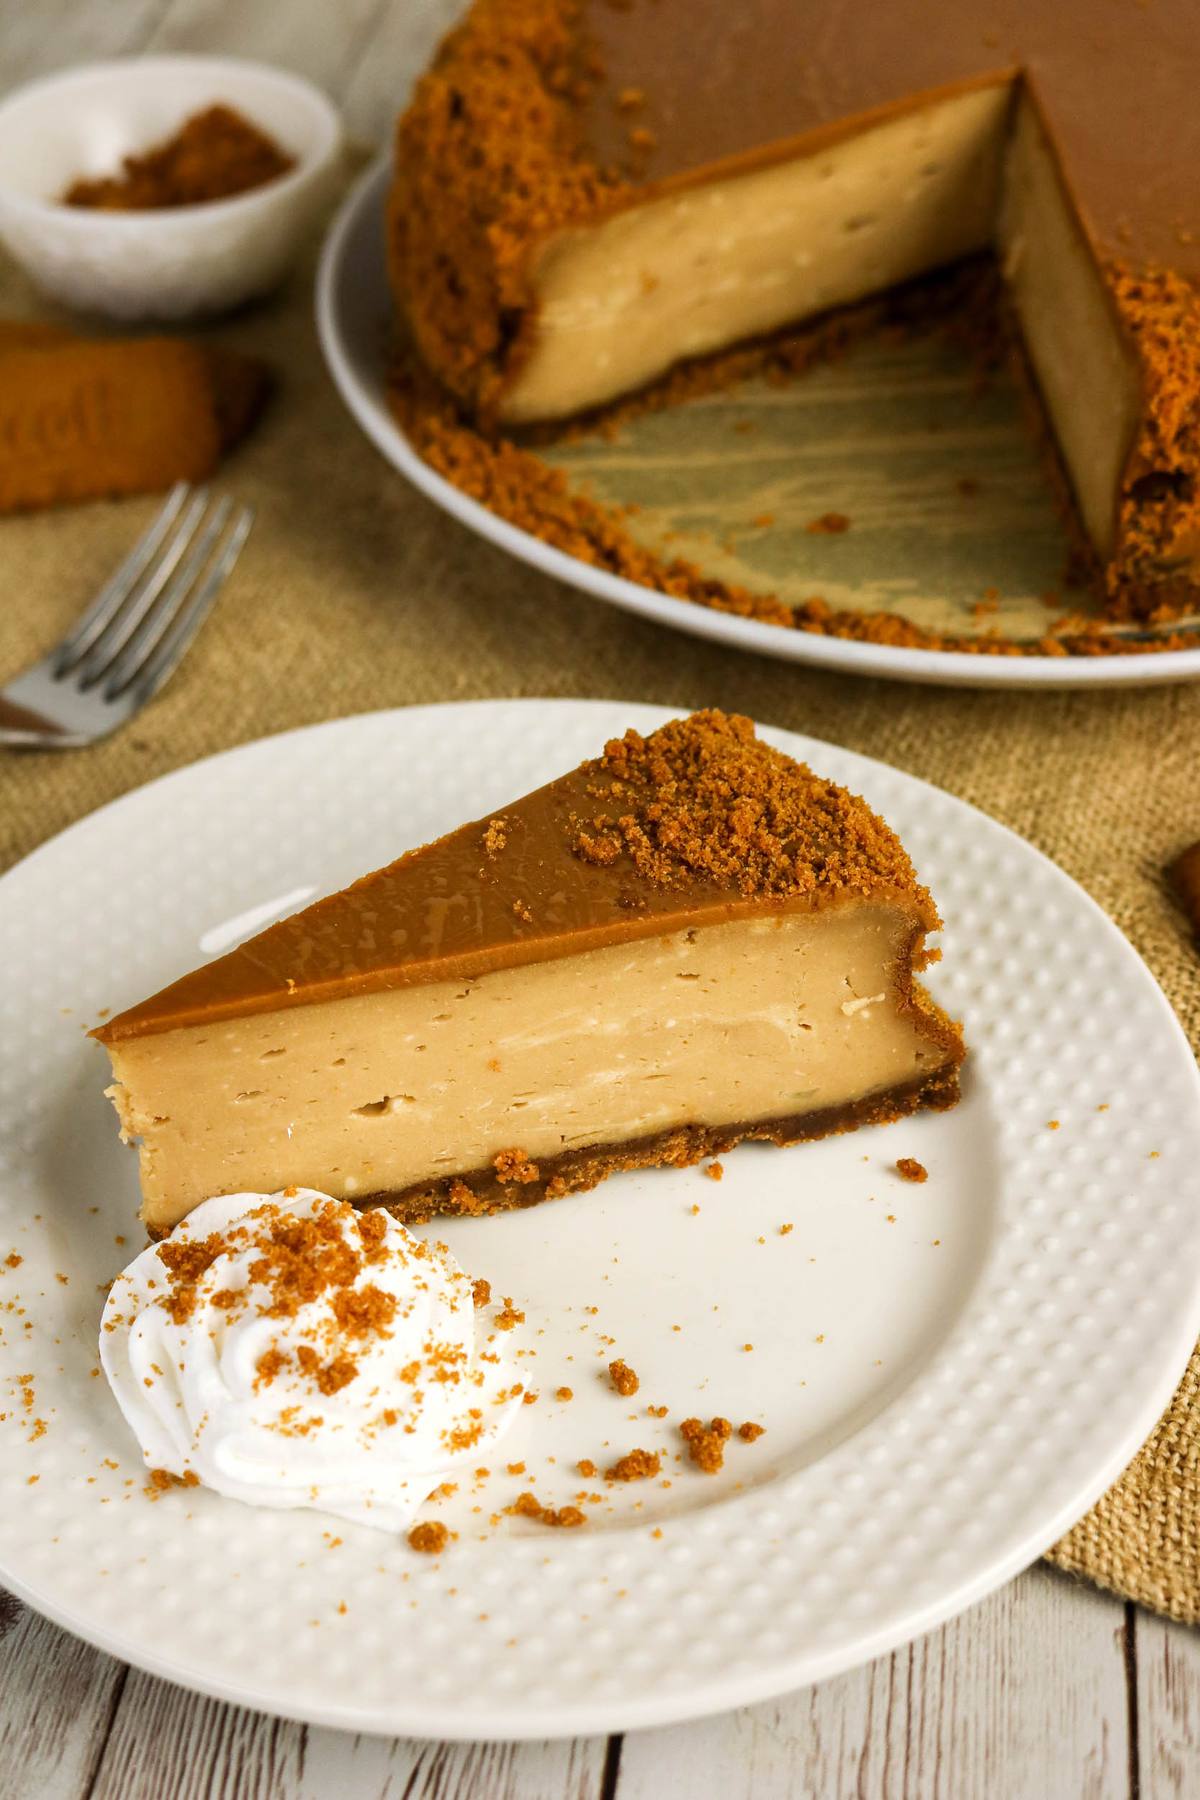
This Biscoff cheesecake layers a buttery cookie crust, creamy cookie butter filling, and a glossy Biscoff topping. Crushed cookies around the edge add a little crunch to every rich slice.
This baked cookie butter cheesecake needs time to cool and chill overnight, so plan ahead. That make-ahead time makes it a lovely dessert for a holiday table or a weekend get-together.
Would you like to save this?
Why This Recipe Works
A baked cookie crust: Mixing the crumbs with melted butter and baking the crust briefly gives the filling a firm base.
Gentle mixing: Softened cream cheese blends smoothly. Mixing the eggs on low speed and stopping once they are incorporated keeps the batter from being overworked.
Cooling in stages: The cheesecake rests in the turned-off oven before cooling completely and going into the refrigerator. The long chill gives it time to set before slicing.
Cookie butter in two layers: Biscoff spread flavors both the filling and the topping, with cookie crumbs in the crust and around the edge.
Ingredients and Notes
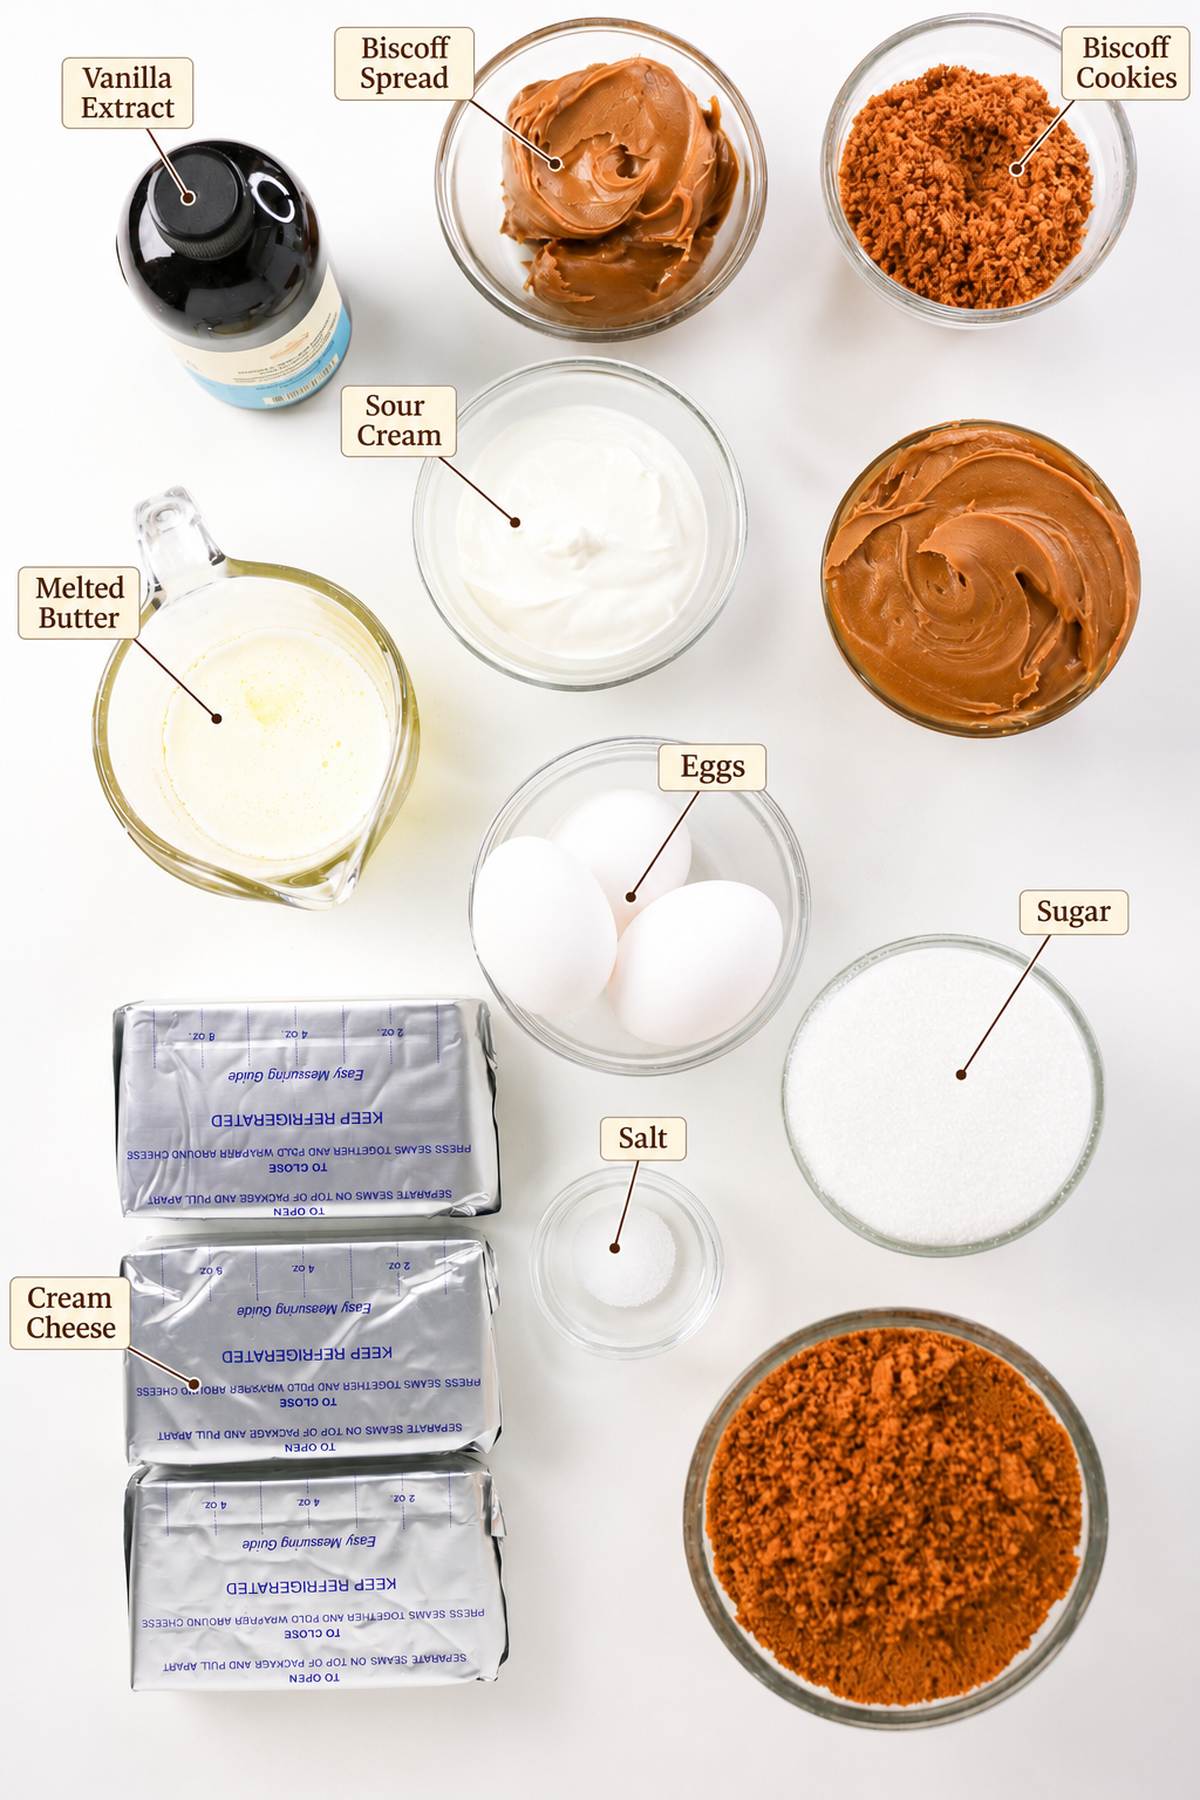
Biscoff cookies: Finely crushed cookies form the crust, while crushed cookies decorate the top.
Butter: Melted butter coats the crust crumbs so they press together evenly.
Cream cheese: Let it soften before mixing for a smooth filling.
Biscoff cookie butter spread: Some goes into the filling, and the rest is warmed for the topping.
Granulated sugar, eggs, vanilla, sour cream, and salt: These finish the creamy baked filling. Add the eggs one at a time on low speed.
How to Make Lotus Biscoff Cheesecake
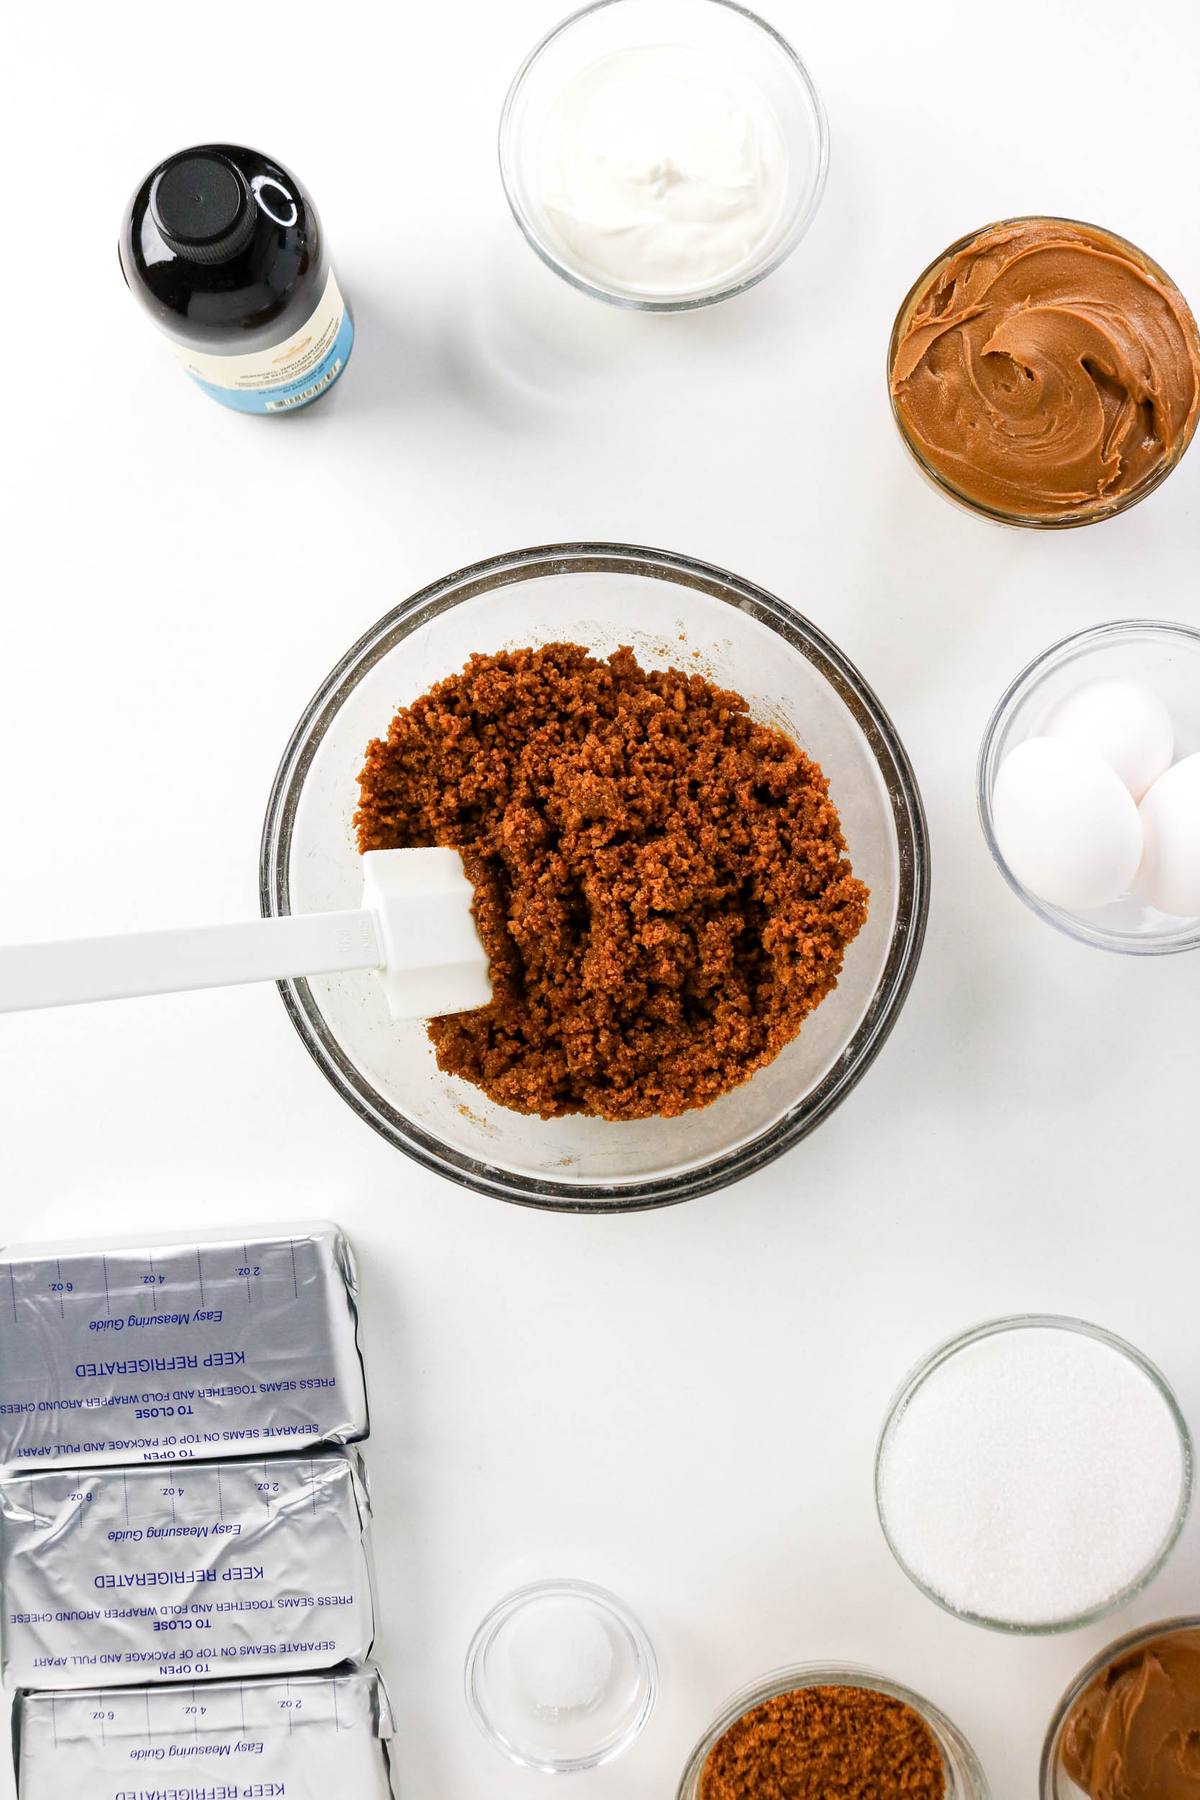
- Heat the oven to 325°F. Mix the Biscoff cookie crumbs with melted butter.
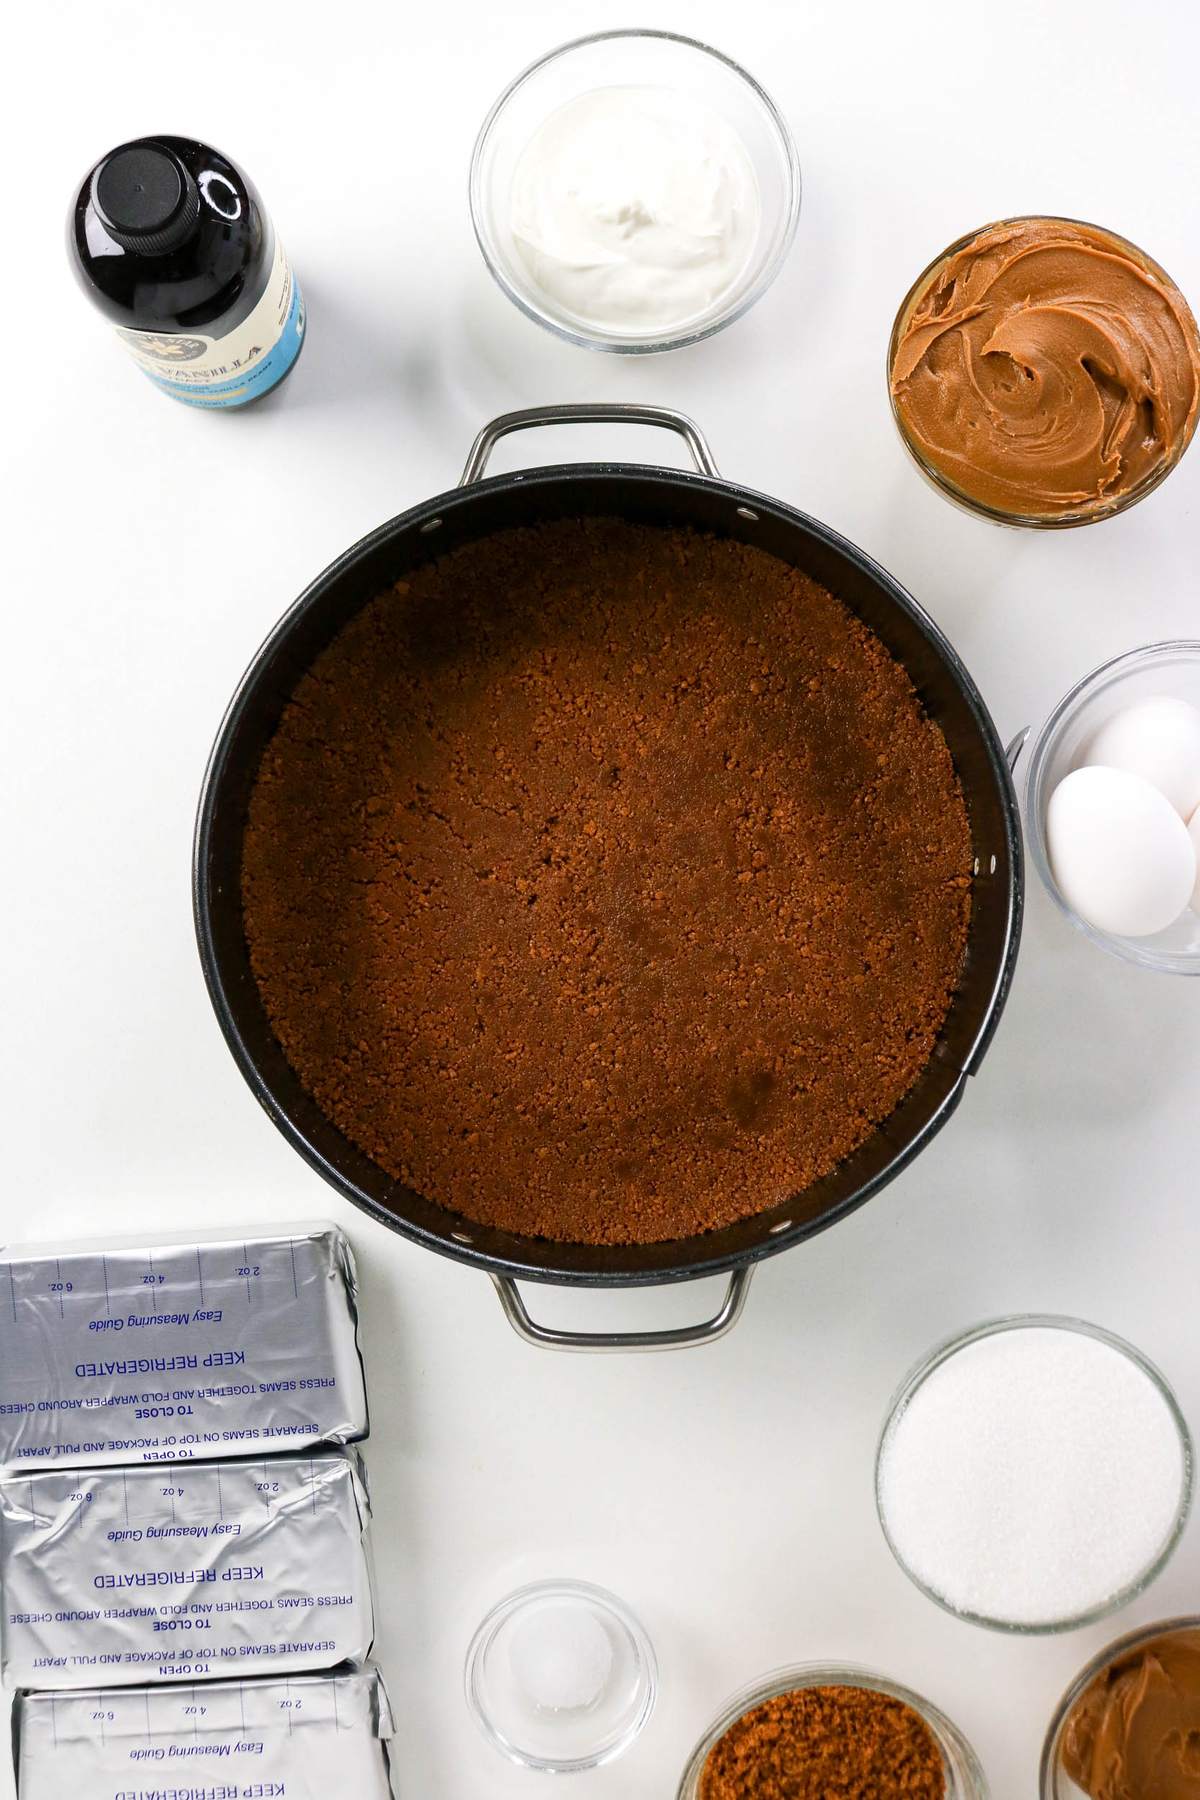
- Line a 9-inch springform pan with parchment and grease the sides. Press the crumbs into the base, bake for 10 minutes, then cool slightly.
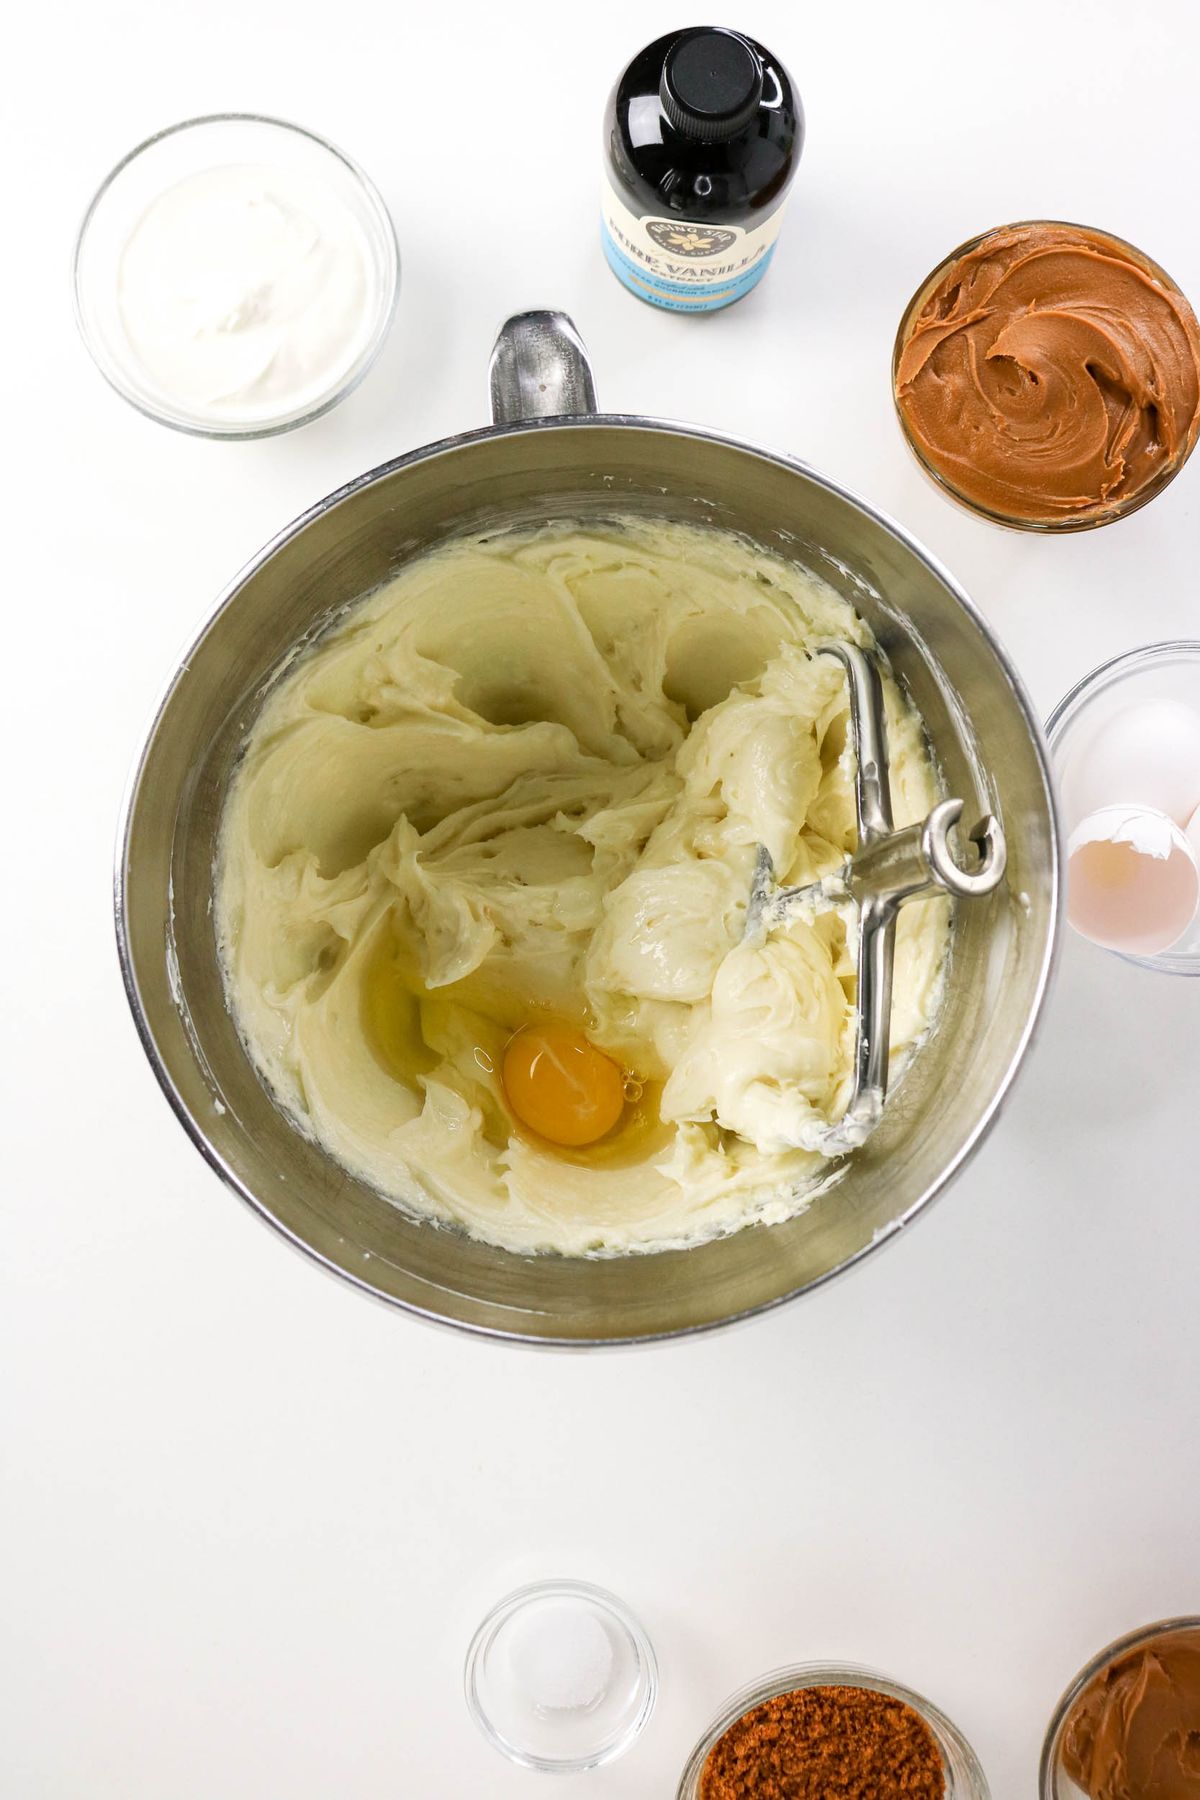
- Beat the cream cheese and sugar until smooth. Add eggs one at a time on low speed, just until incorporated.
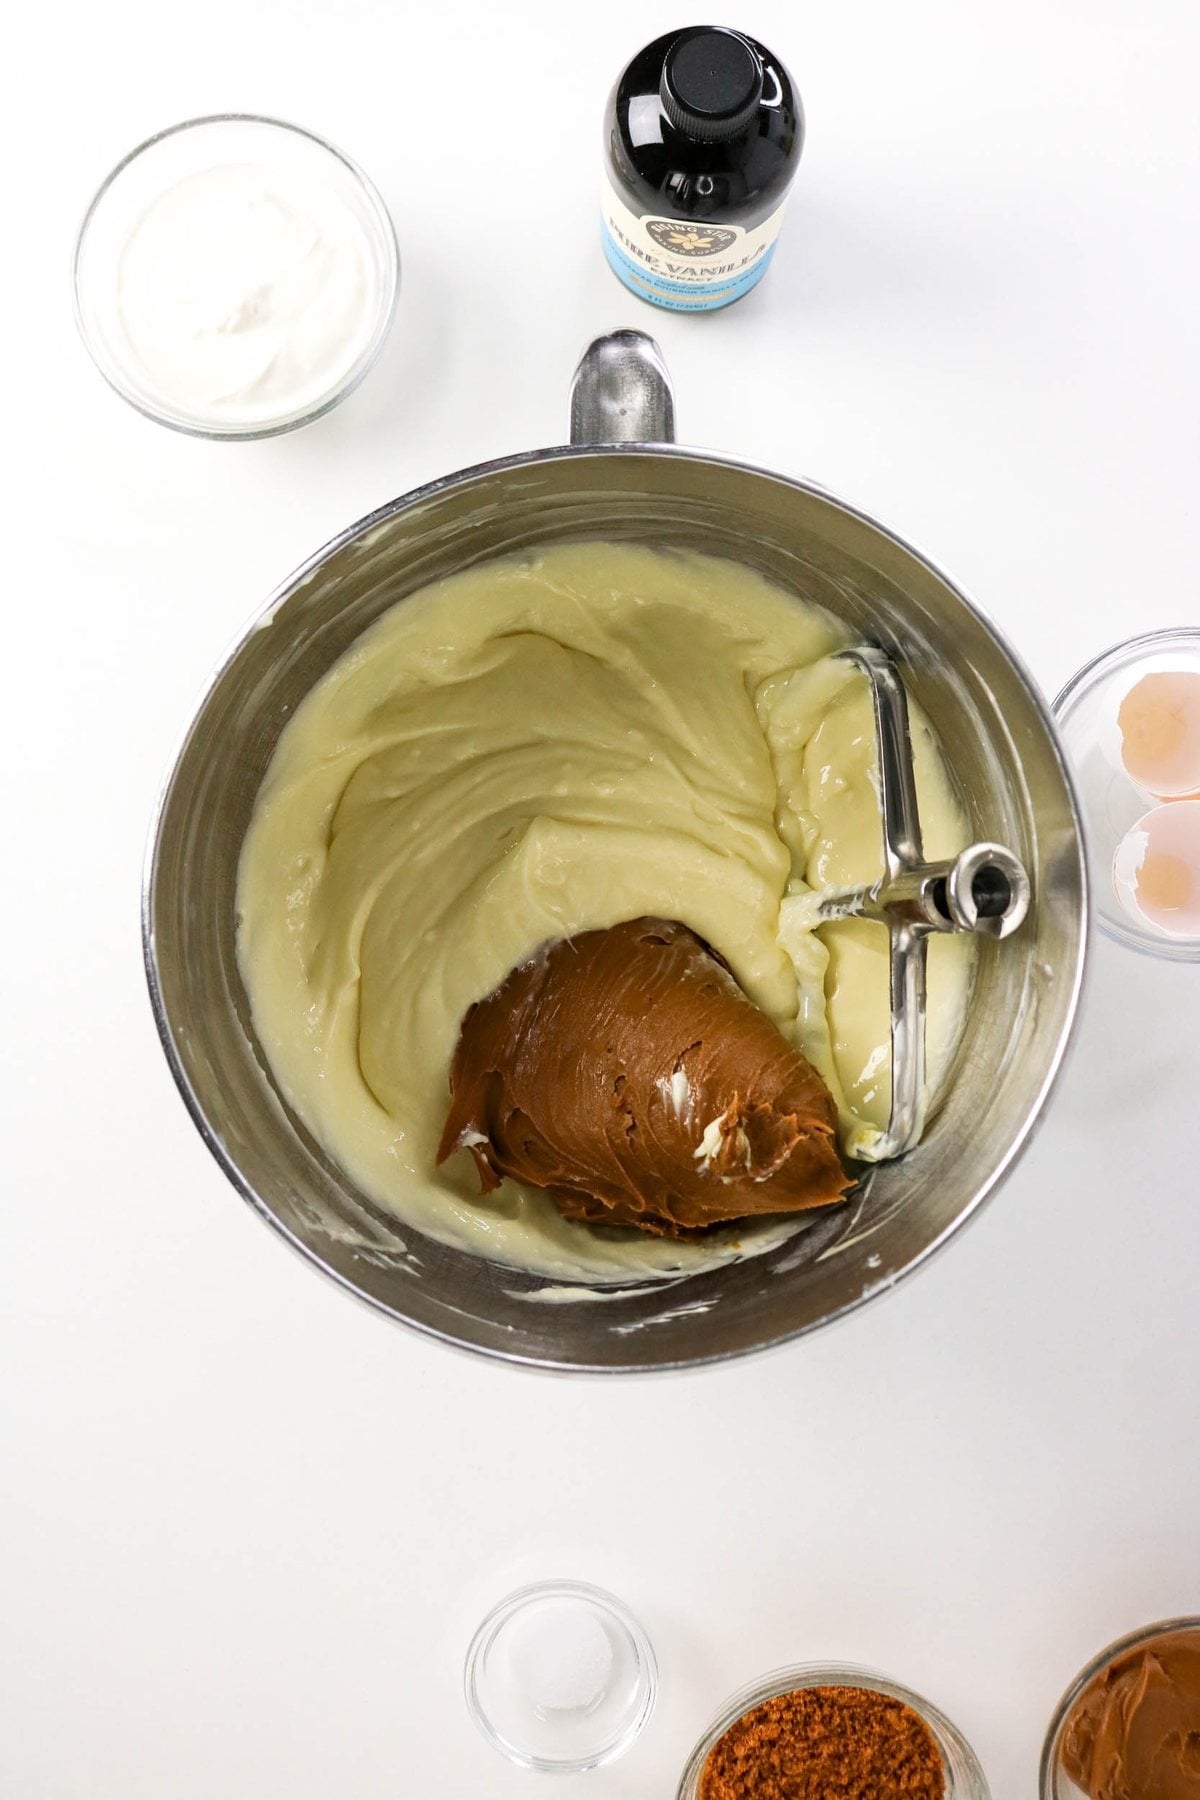
- Mix in 1 cup of Biscoff spread.
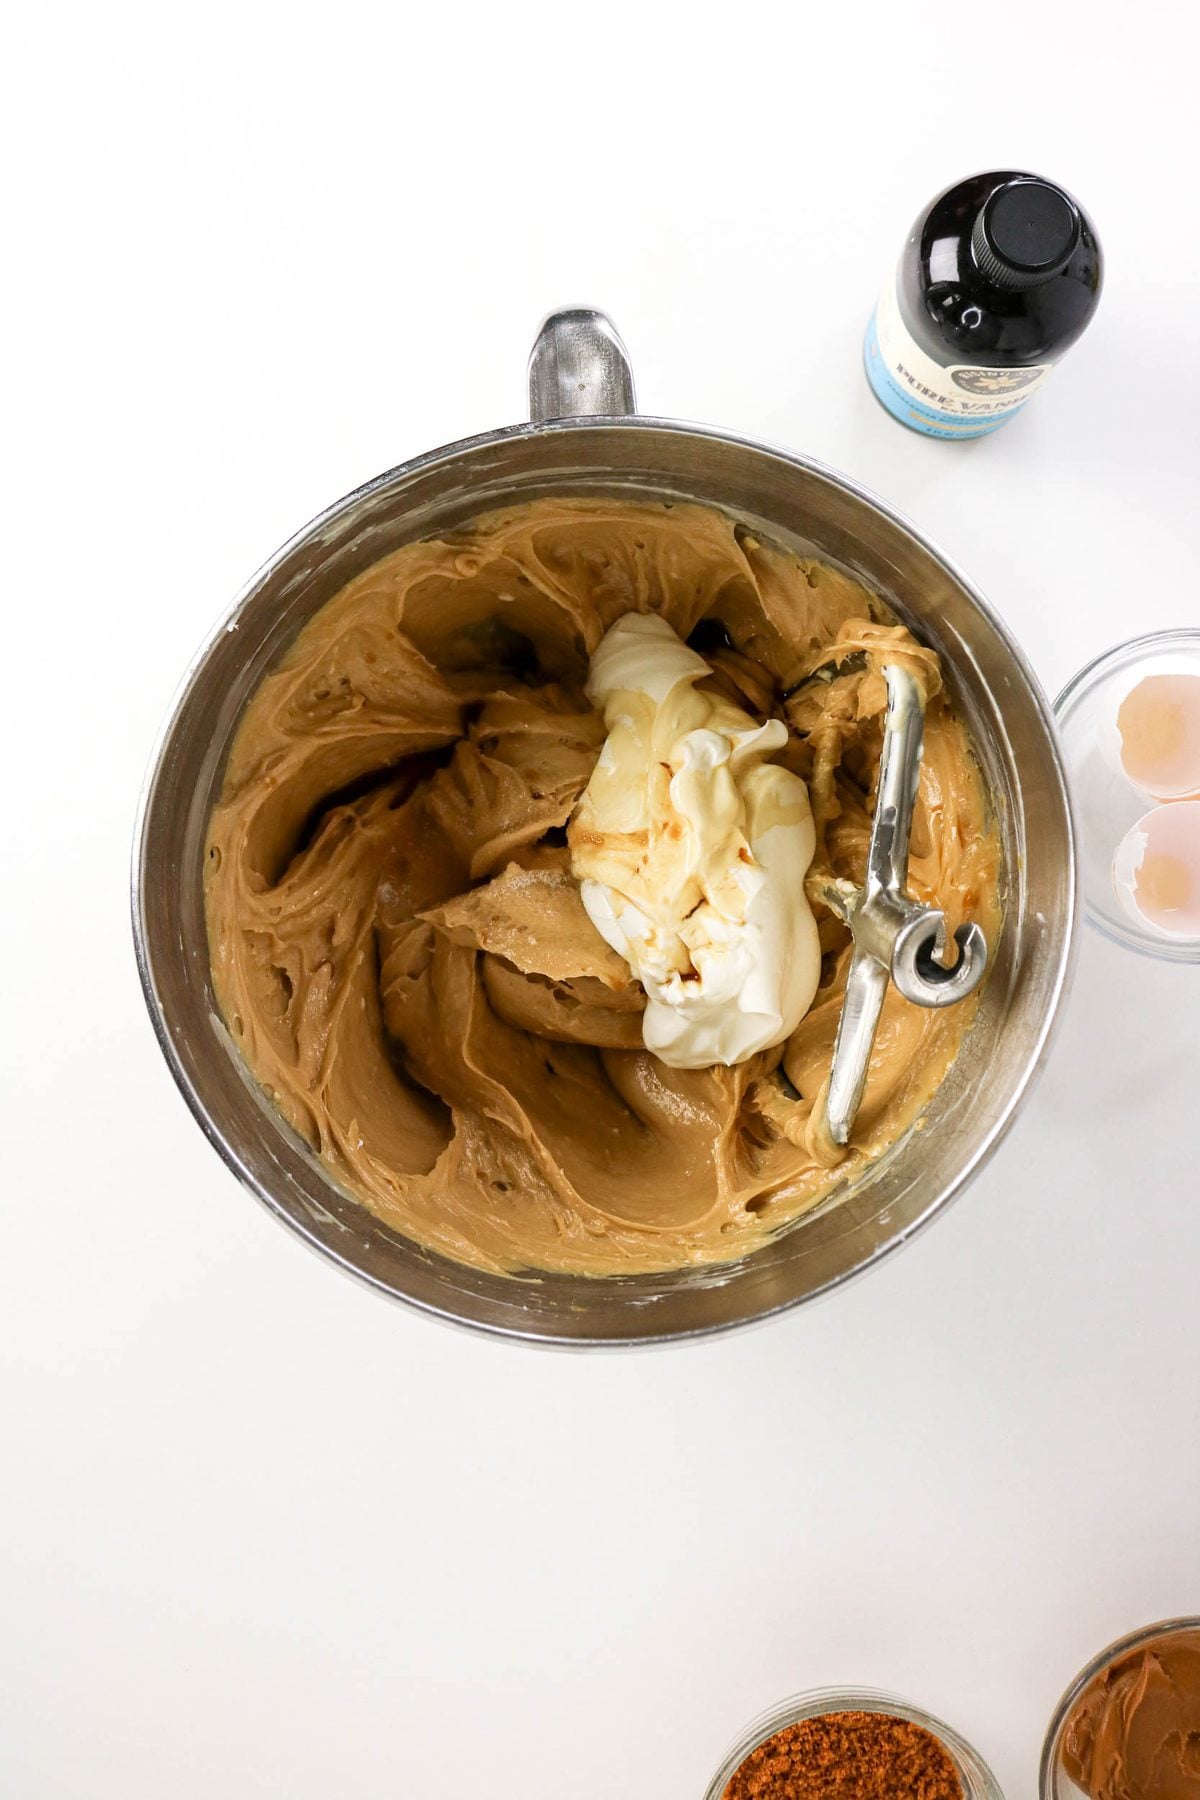
- Stir in the vanilla, sour cream, and salt without overmixing.
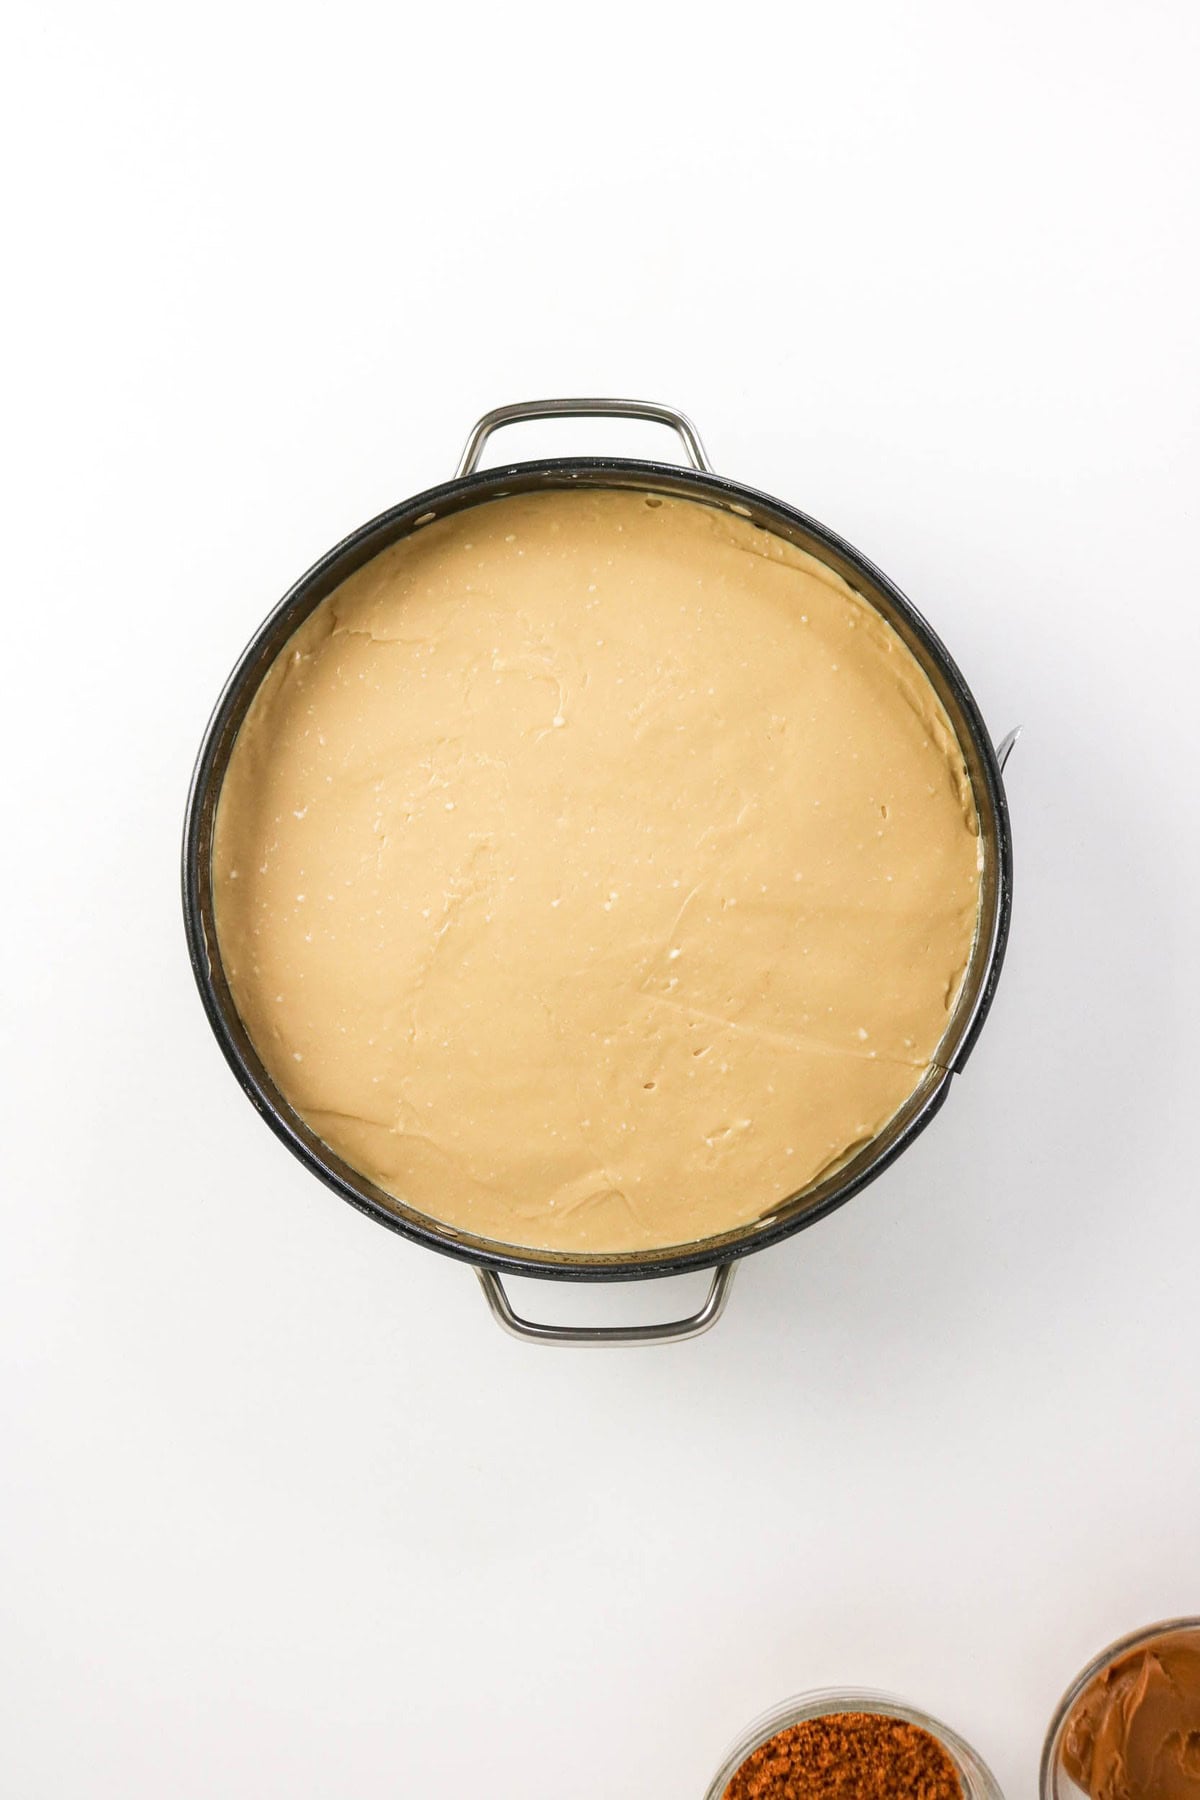
- Spread the filling over the crust. Bake for 60–70 minutes until the edges are set and the center jiggles slightly. Turn off the oven, crack the door, and rest 30 minutes, then cool completely at room temperature.
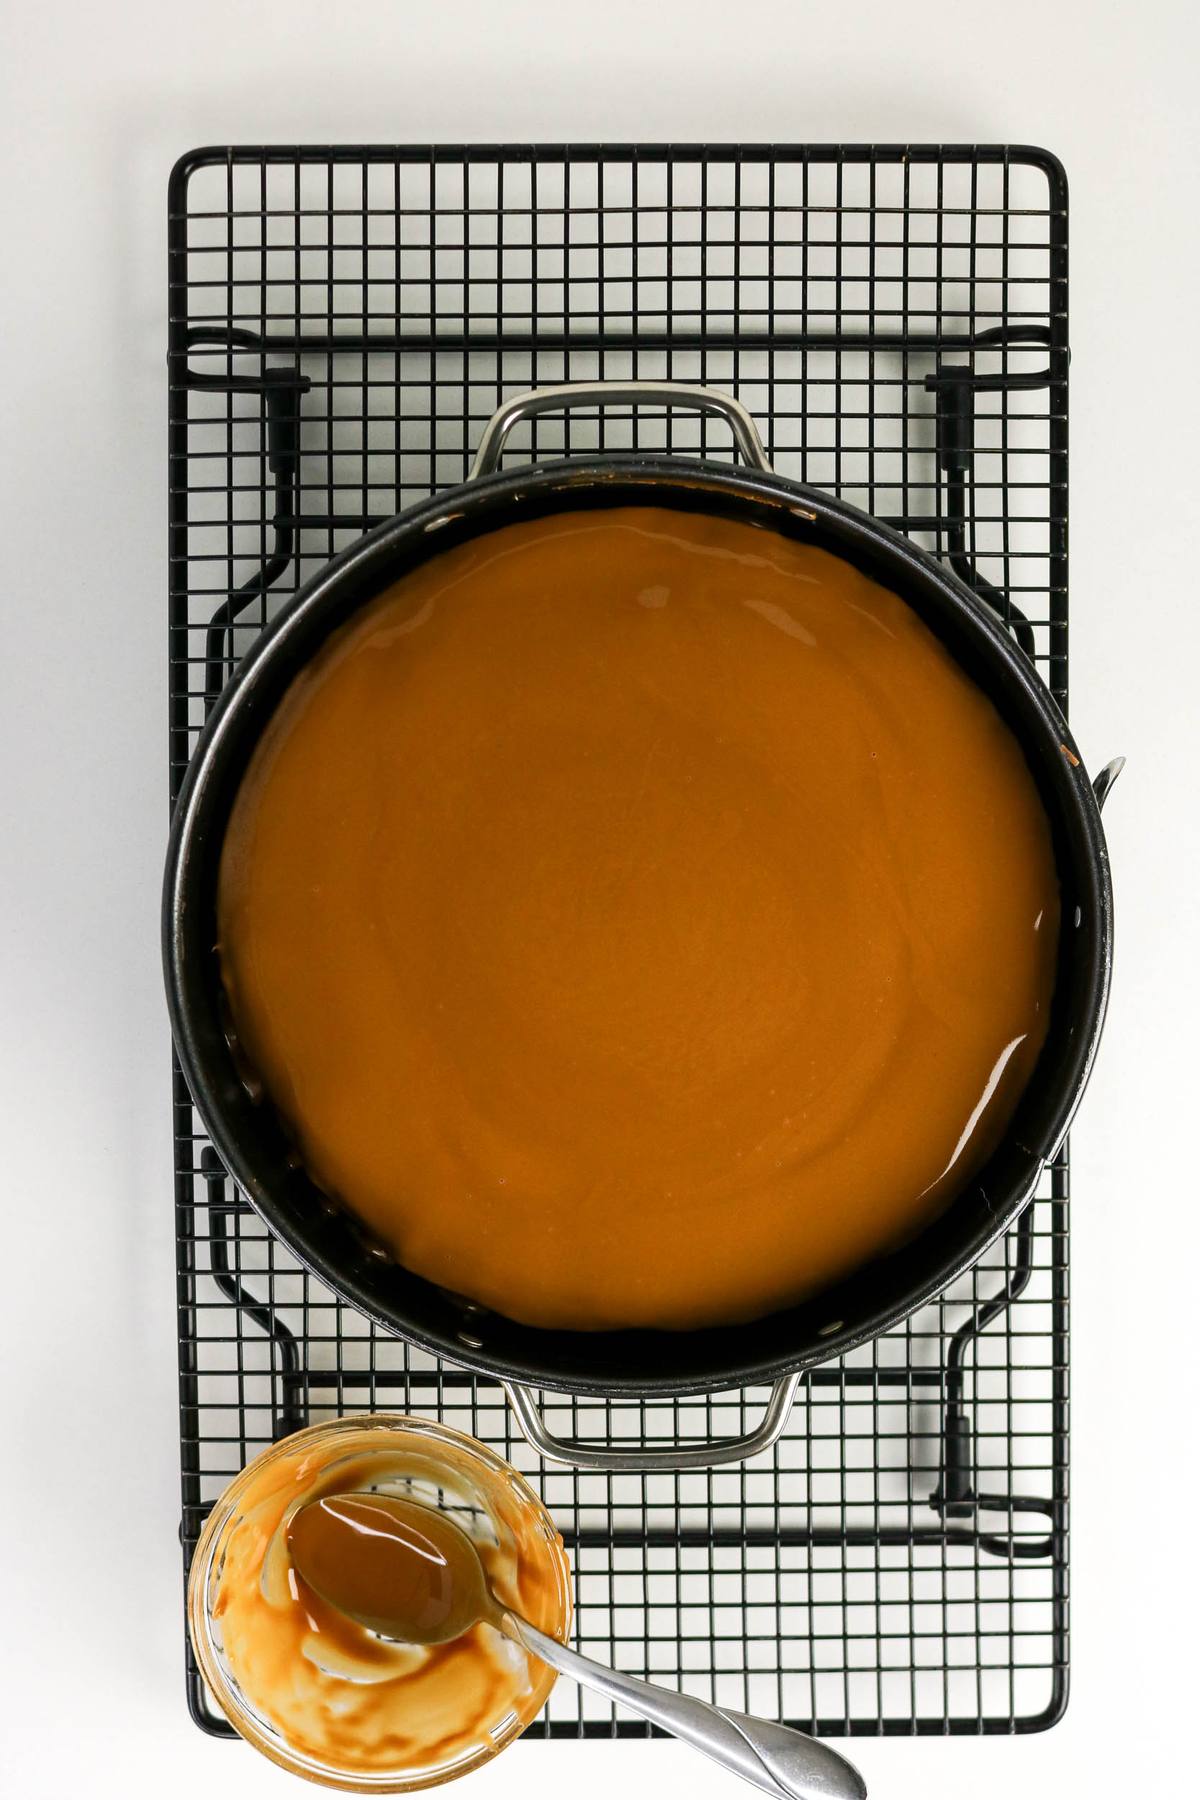
- Warm the topping portion of Biscoff spread in 15-second microwave intervals, stirring each time, and spread over the cooled cheesecake.
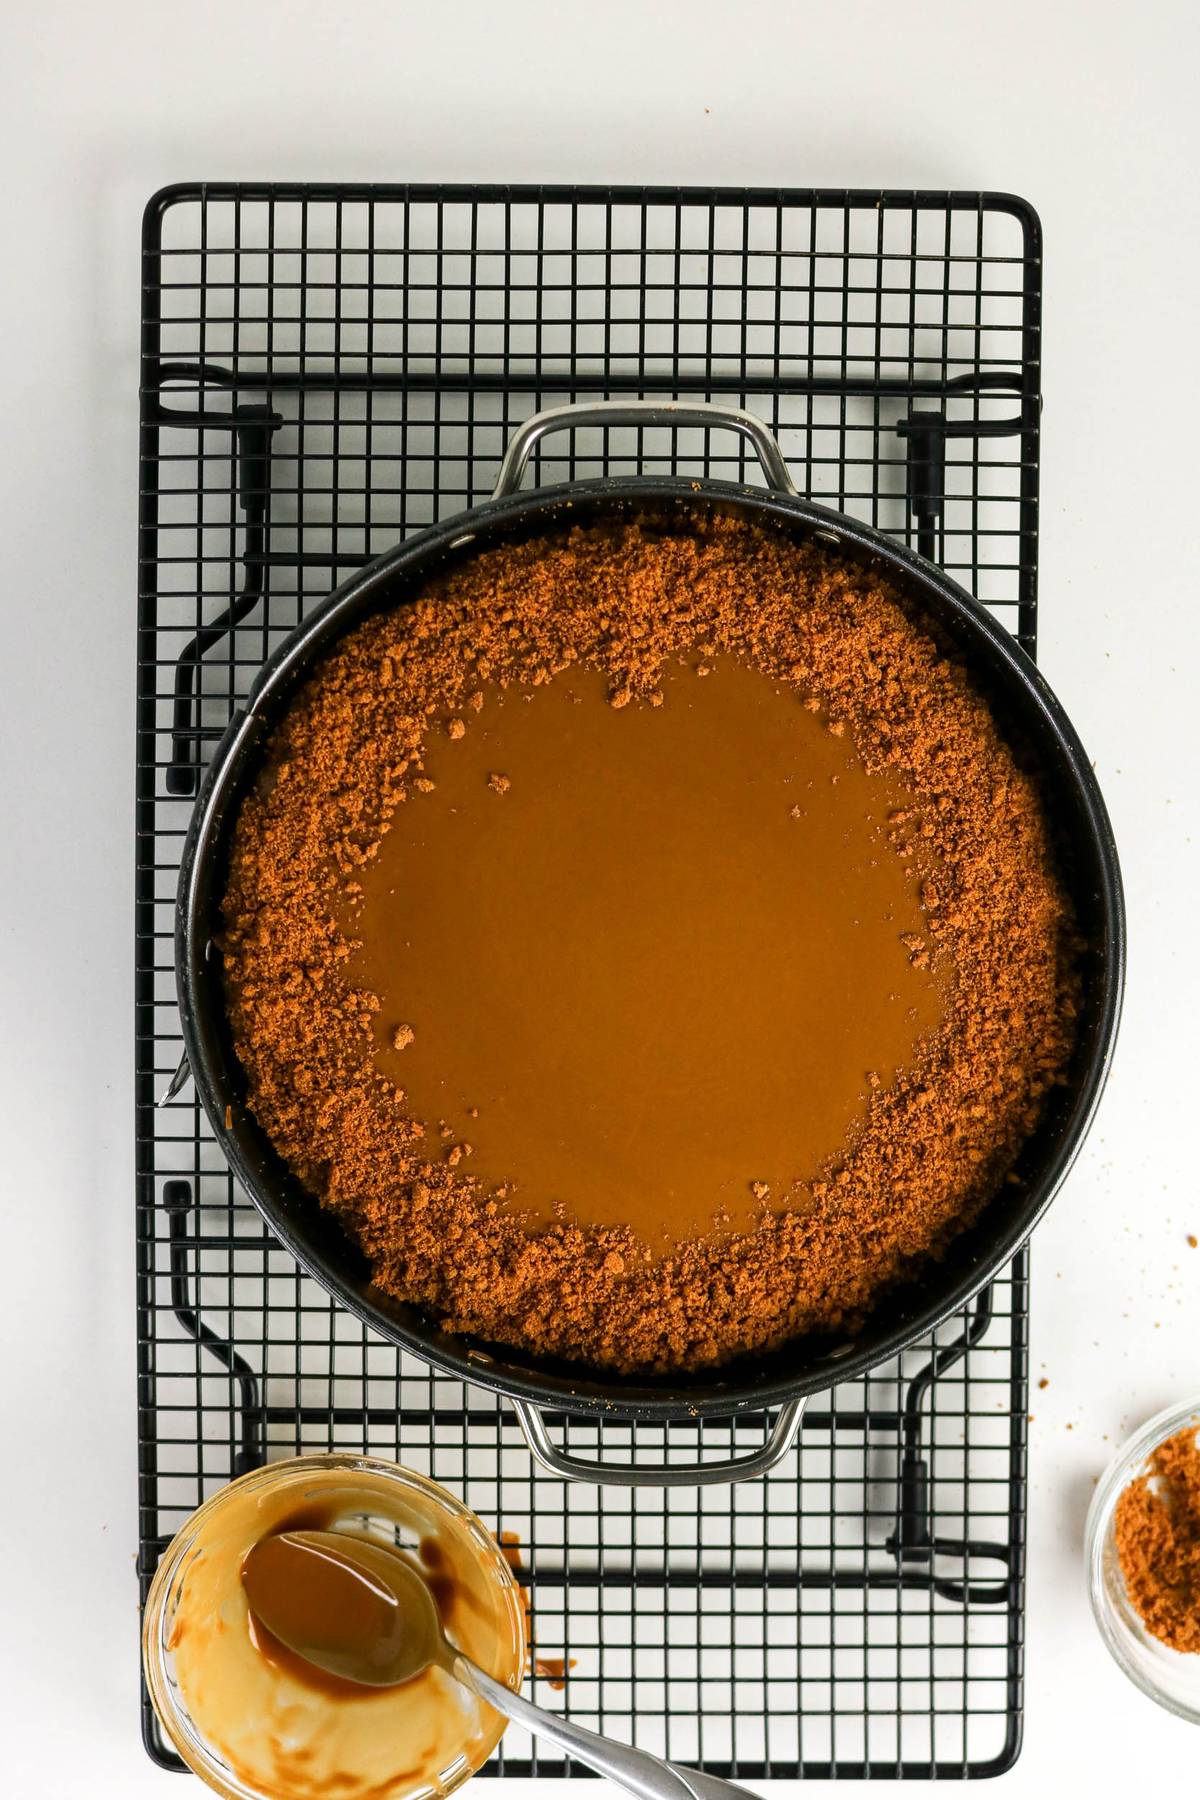
- Add crushed cookies around the edge. Refrigerate for at least 8 hours, preferably overnight, before removing the springform ring and slicing.
Expert Tips
- Press an even crust: Spread the crumbs across the bottom of the pan before pressing firmly so the base is consistent from edge to center.
- Watch the center: A slight jiggle is the doneness cue. Don’t wait for the entire cheesecake to look firm in the oven.
- Warm the topping gently: Short microwave bursts help make the spread pourable without heating it longer than necessary.
- Wipe the knife between slices: Dip a sharp knife in hot water and dry it before each cut for neater portions.
Frequently Asked Questions
Is this a no-bake Biscoff cheesecake? No. Both the cookie crust and the cheesecake filling are baked.
When do I add the cookie butter topping? Add it after the cheesecake has cooled completely and before the long refrigerator chill.
Can I make it the day before? Yes. Chill it overnight, making this a good dessert to prepare ahead.
Which pan do I need? Use a 9-inch springform pan with parchment on the bottom and lightly greased sides.
Wrapping It Up
A crisp Biscoff crust, creamy filling, and smooth cookie butter topping make this cheesecake all about that caramelized cookie flavor. Give it plenty of chilling time, then slice and serve.
Common Mistakes to Avoid When Making Biscoff Cheesecake
Starting with firm cream cheese: Let it soften so it mixes smoothly with the sugar.
Beating the eggs too much: Keep the mixer on low and stop once each egg is incorporated.
Skipping the cooling steps: Follow the oven rest and let the cheesecake cool before topping and chilling.
Slicing too soon: Give it the full refrigerator chill so the filling can set.
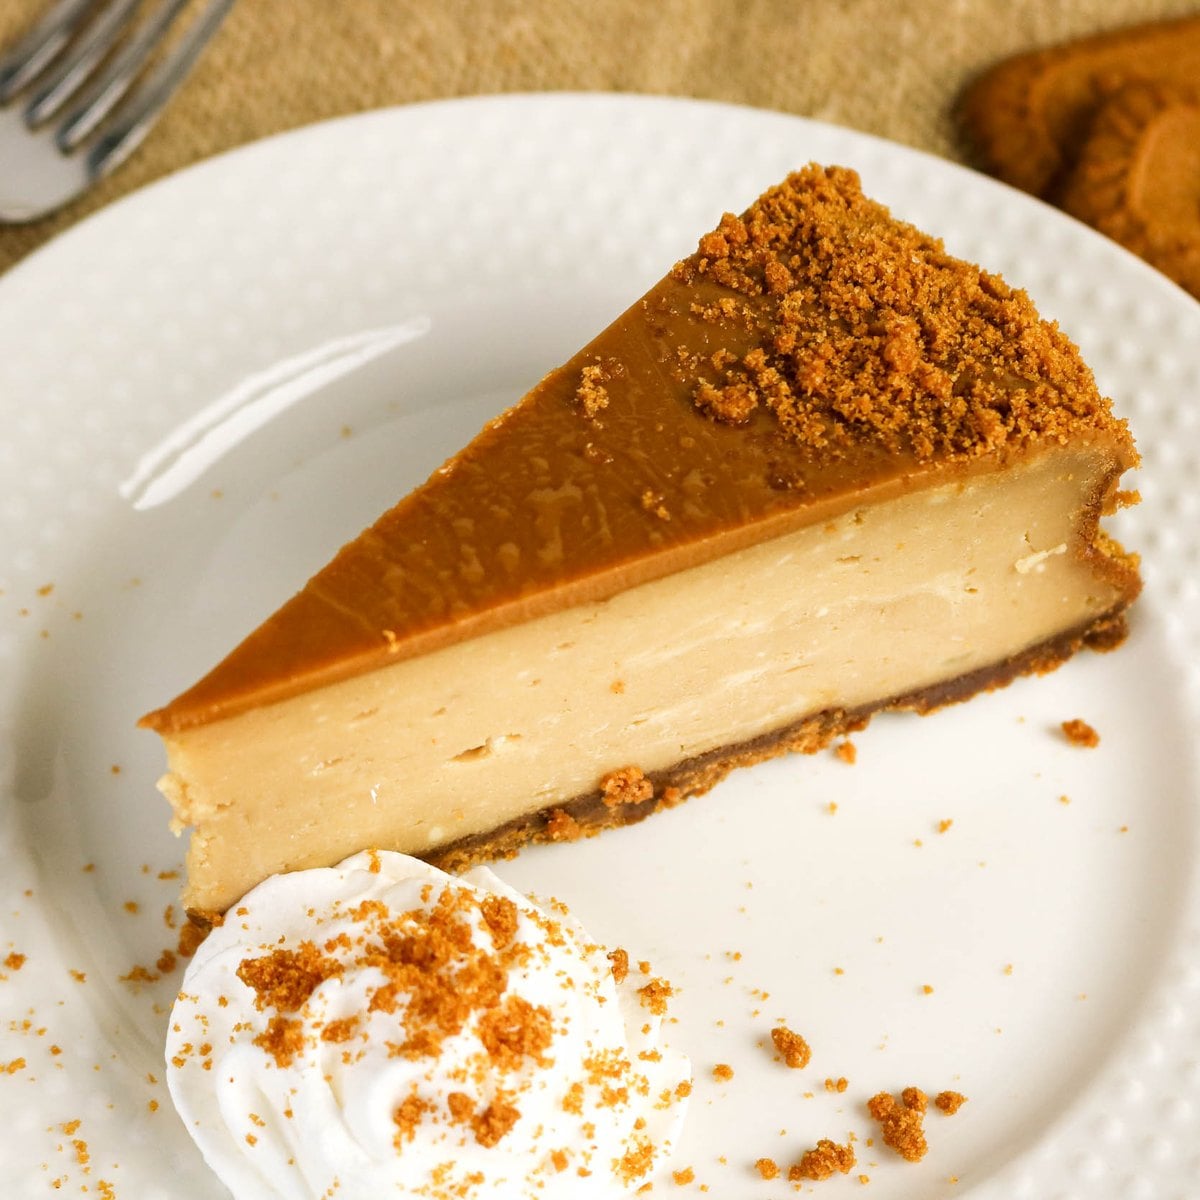
Biscoff Cheesecake
Equipment
- 9 inch springform pan
- Parchment Paper
- mixing bowls
- Electric Mixer
- spatula
- microwave-safe bowl
- Sharp Knife
Ingredients
- 2 cups Biscoff cookie crumbs
- 6 tablespoons butter melted
- 3 packages cream cheese 8 ounces each, softened
- 1 cup Biscoff cookie butter spread for filling
- 1 cup granulated sugar
- 3 large eggs
- 1 teaspoon vanilla extract
- ½ cup sour cream
- ½ teaspoon salt
- ½ cup Biscoff cookie butter spread for topping
- 8 Biscoff cookies crushed, for decorating
Instructions
- Preheat the oven to 325°F. Line the bottom of a 9-inch springform pan with parchment paper and lightly grease the sides.
- Mix the cookie crumbs and melted butter until evenly moistened. Press firmly into the pan. Bake for 10 minutes and set aside to cool slightly.
- Beat the softened cream cheese and sugar until smooth and creamy. Add the eggs one at a time on low speed, mixing just until incorporated.
- Beat in 1 cup of Biscoff spread. Stir in the vanilla, sour cream, and salt until smooth without overmixing.
- Pour the filling over the crust and smooth the top. Bake for 60–70 minutes, until the edges are set and the center still jiggles slightly.
- Turn off the oven, crack the door, and leave the cheesecake inside for 30 minutes. Remove and cool completely at room temperature.
- Microwave the remaining 1/2 cup of Biscoff spread in 15-second intervals, stirring each time, until pourable. Spread over the cooled cheesecake and sprinkle crushed cookies around the outside edge.
- Refrigerate for at least 8 hours, preferably overnight. Remove from the springform pan and slice. For clean slices, dip a sharp knife in hot water and wipe dry between cuts.
Disclaimer:
Any nutritional data I provide is an approximation and actual dietary information can vary based on ingredients and proportion sizes.