
Looking for a comfort food recipe that’s both savory and satisfying? Look no further than this delicious Chicken Cobbler Recipe! Made with juicy chicken, buttery biscuit topping, and a rich gravy, this dish is sure to warm you up on even the coldest of nights.

Would you like to save this?
Whether you’re serving it up for a family dinner or just looking to indulge in something deliciously hearty, this chicken cobbler is a must-try recipe that’s sure to become a new favorite in your kitchen.
Jump to:
Why I Love This Recipe
Savory can come in the form of a cobbler and this Chicken Cobbler Recipe is THAT recipe!
- Perfect for cold winter nights
- Comfort food at its finest
- Juicy chicken and rich gravy
- Buttery biscuits that are melt-in-your-mouth delicious
- Simple ingredients that you probably already have on hand
- Easy to make and perfect for a busy weeknight
- Family-friendly recipe that’s sure to please everyone
- Leftovers taste just as good (if not better!) the next day
You can’t go wrong making this Chicken Pot Pie recipe either, both recipes are super delicious!
Ingredients
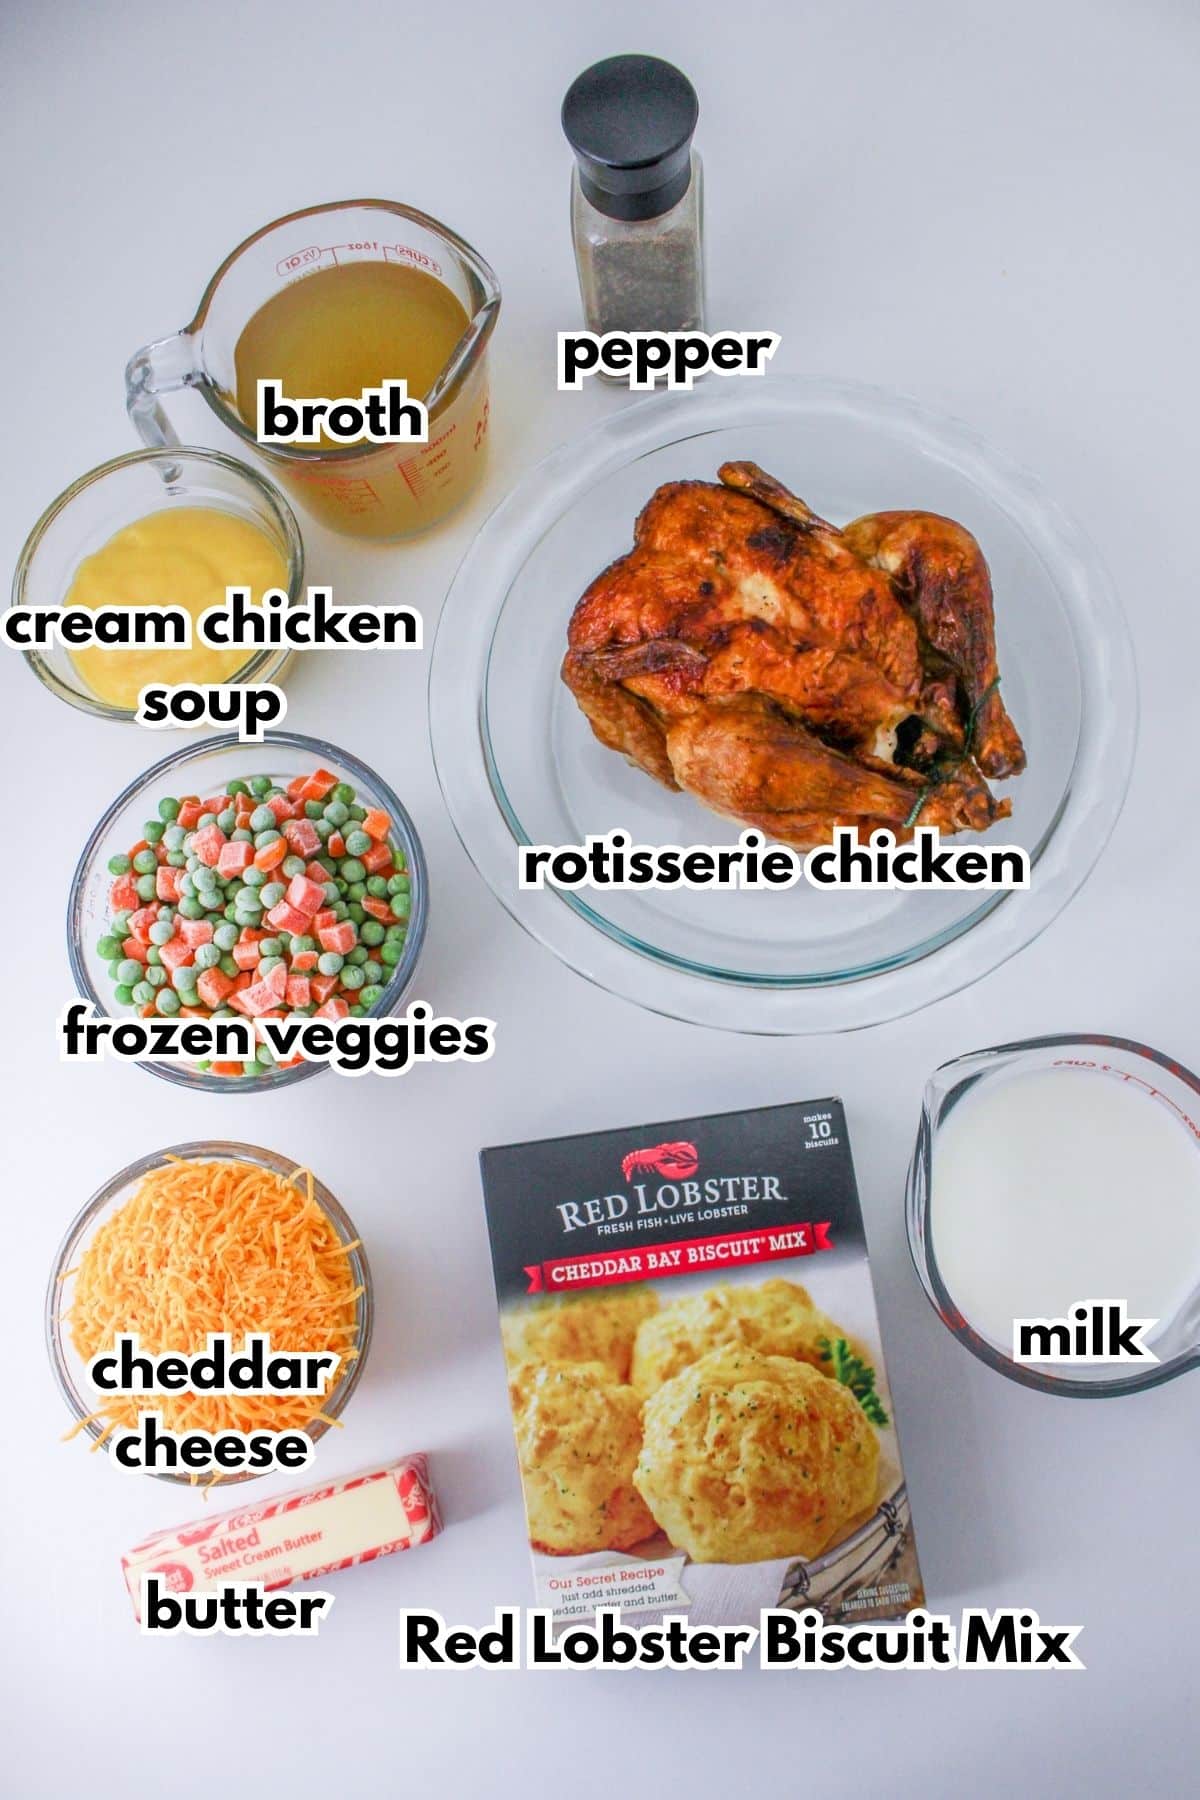
- butter
- rotisserie chicken
- frozen peas and carrots
- shredded cheddar cheese
- Red Lobster Cheddar Bay biscuit mix with seasoning packet
- milk
- chicken broth
- cream of chicken soup
Variations / Options / Add-Ins
Gluten Free: You can make this recipe gluten-free by using the gluten-free Red Lobster biscuit mix, and use gluten-free cream of chicken soup.
Add Veggies: Swap out the chicken for your favorite veggies, such as potatoes, carrots, peas, and corn. Add vegetable broth instead of chicken broth for a tasty vegetarian version.
Switch Out the Meat: Replace the chicken with beef and add some Worcestershire sauce for that extra savory flavor. Use the same biscuit dough recipe for the topping and bake in the oven until golden brown
How to Make This Chicken Cobbler Recipe
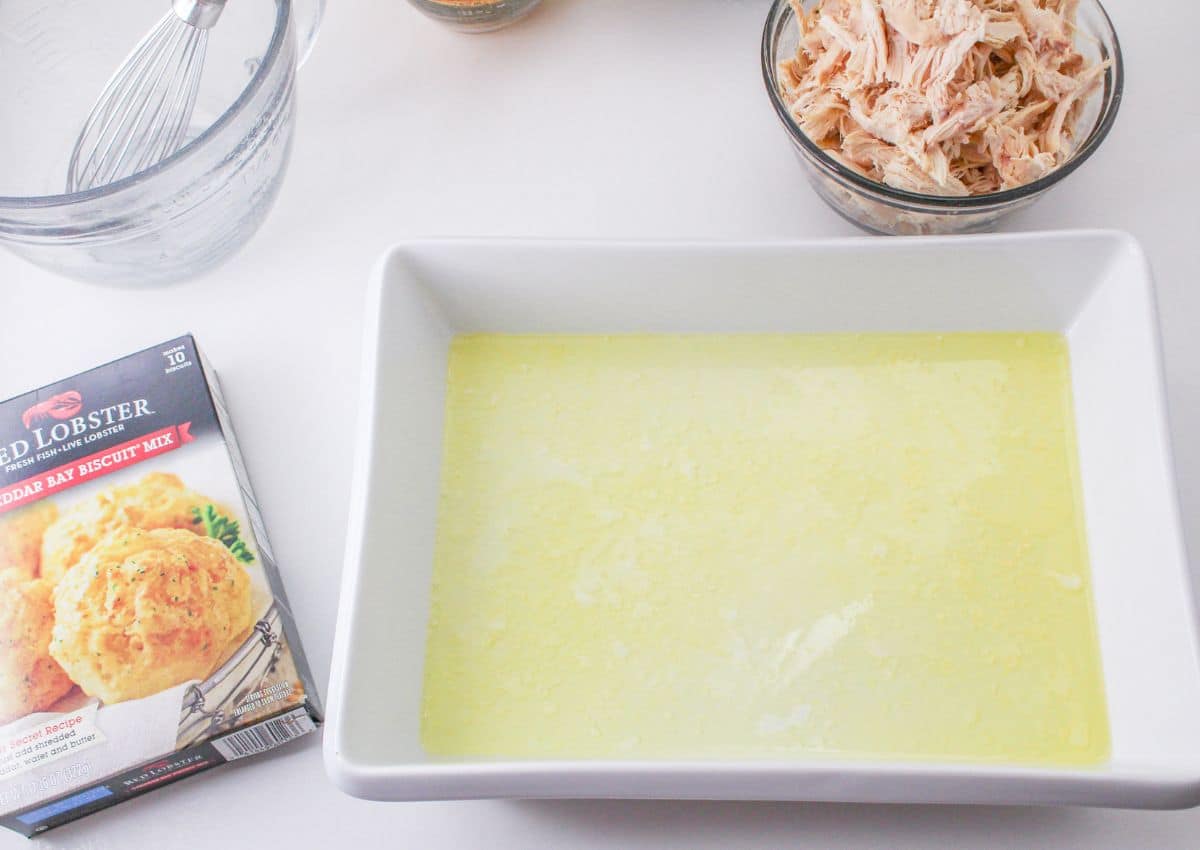
Step 1: Put the butter into a 9×13 inch casserole pan, and put it in the oven to melt while the oven preheats.
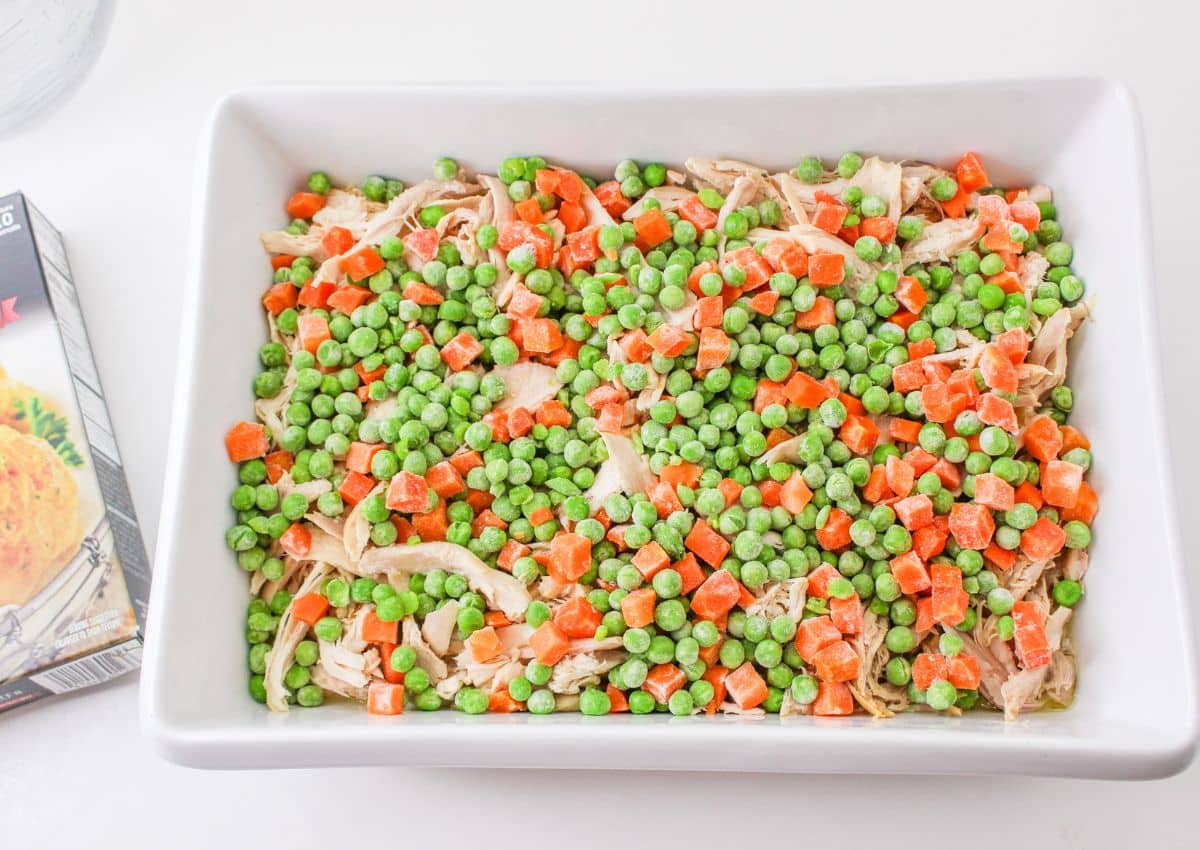
Step 2: Top the melted butter with shredded chicken and frozen vegetables.
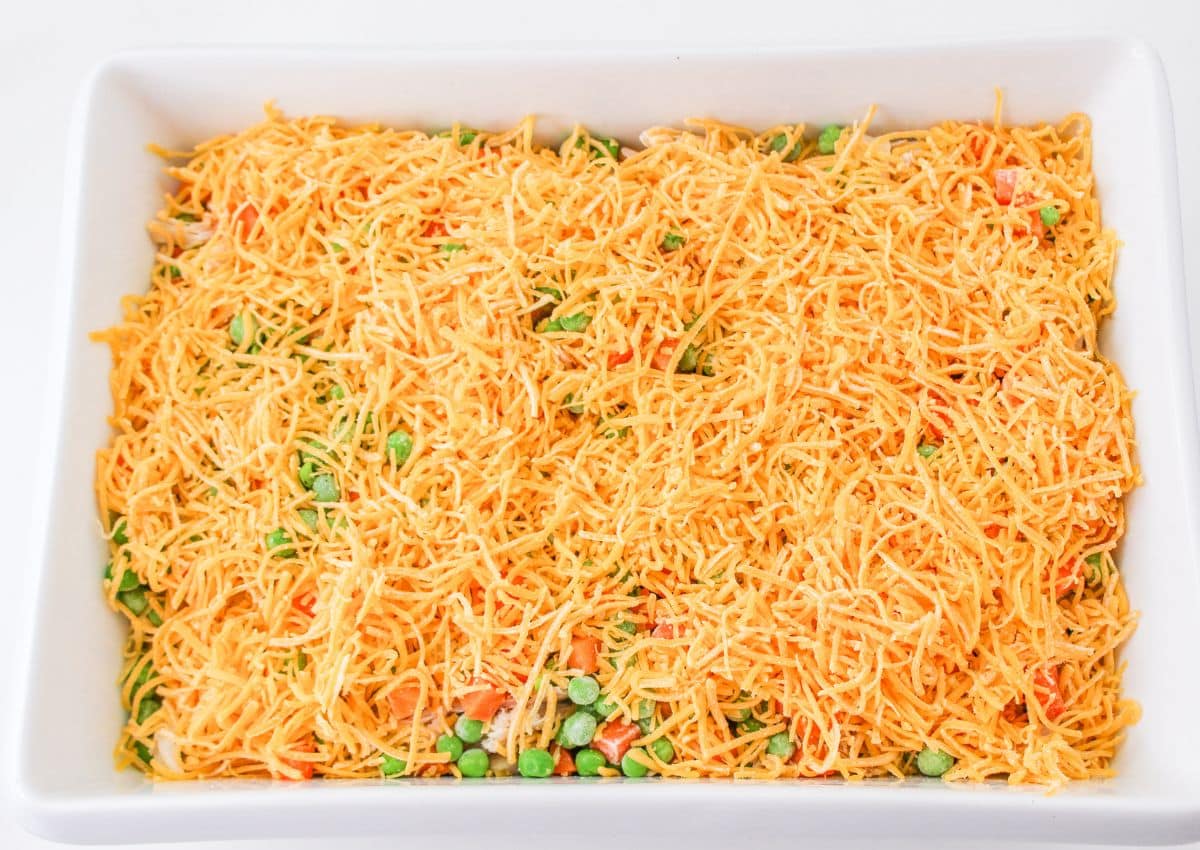
Step 3: Top the vegetables with shredded cheese.
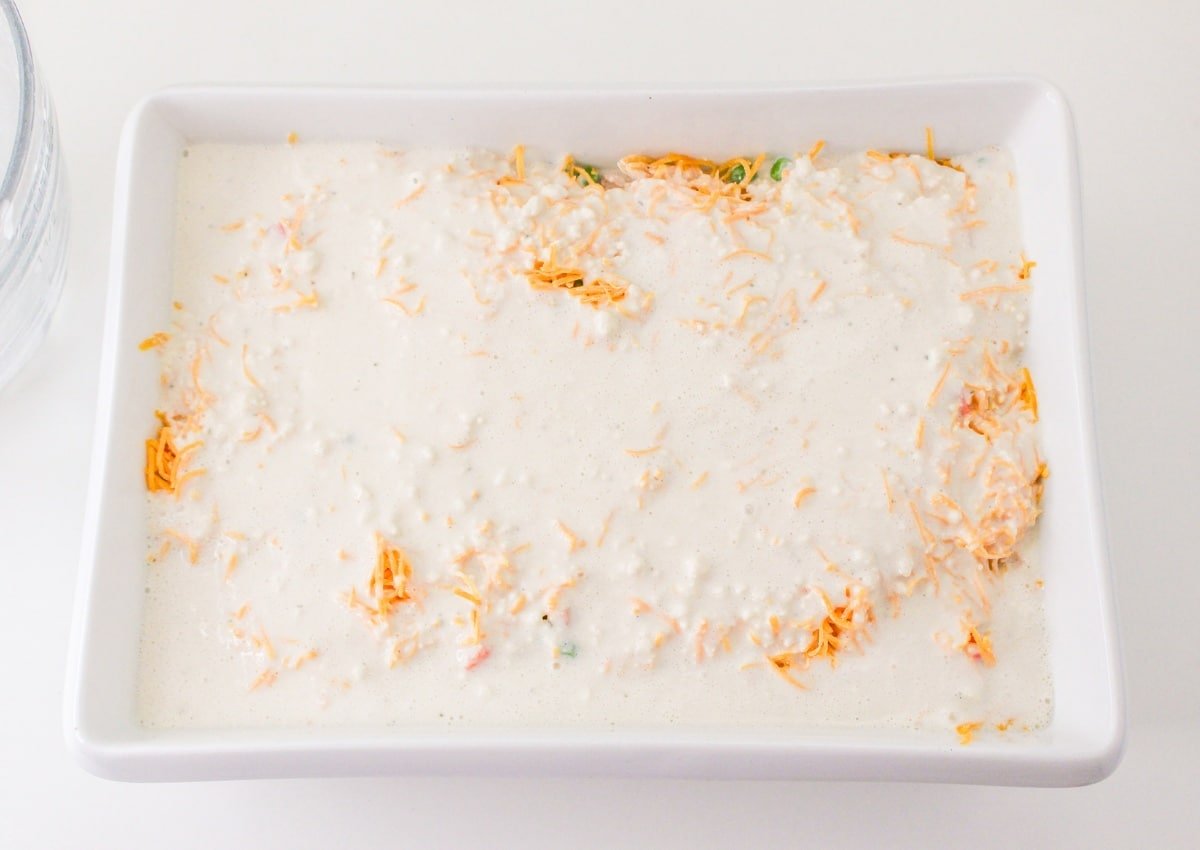
Step 4: In a large bowl whisk together the biscuit mix, seasoning packet, and milk. Then pour it over the cheese. Do not mix.
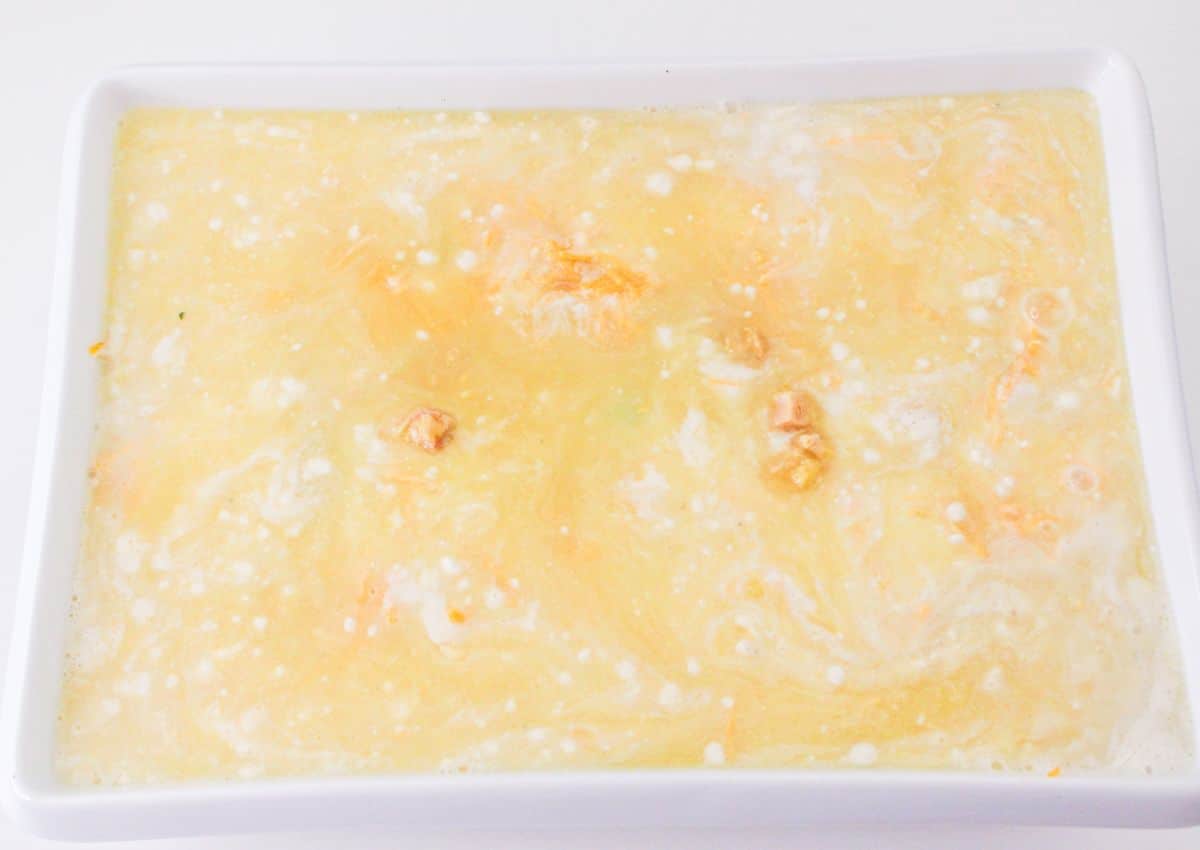
Step 5: Whisk together the chicken broth and cream and chicken soup, then pour the soup over the top of the biscuit batter. Do not mix.
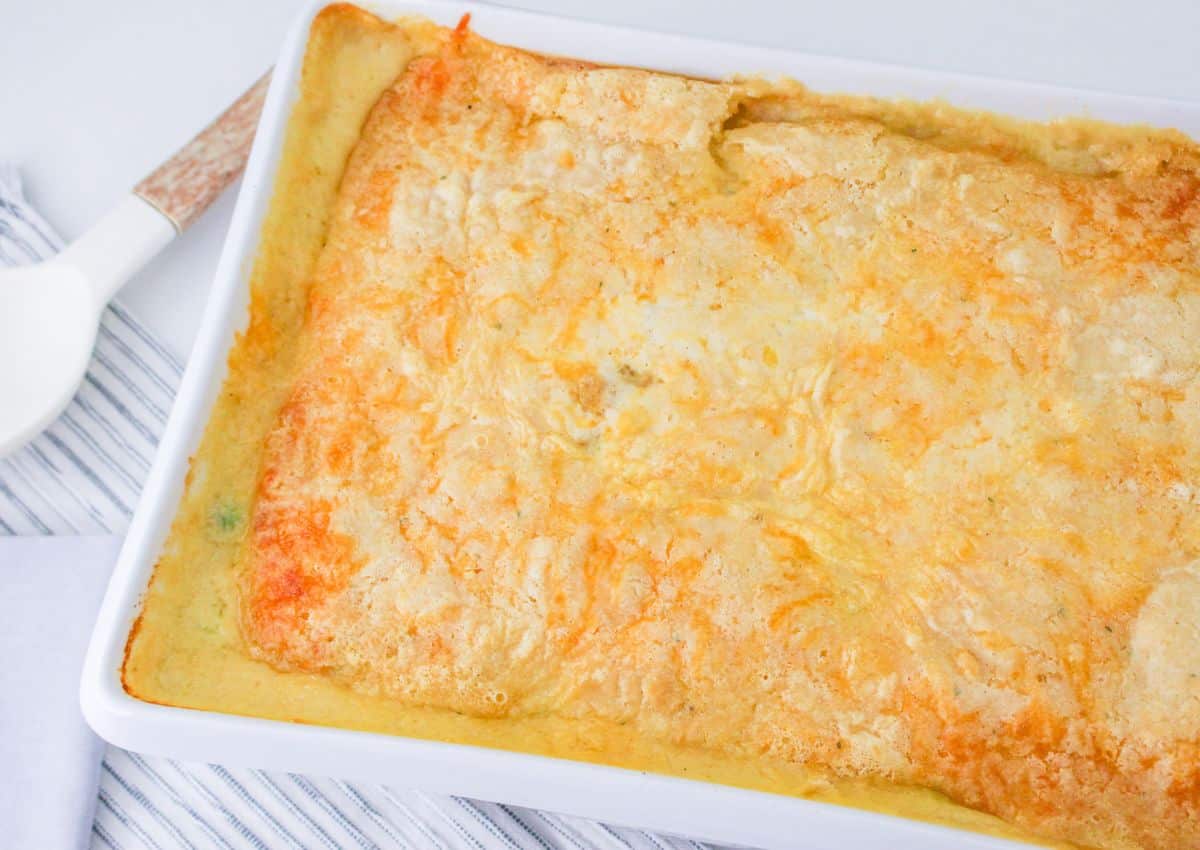
Step 6: Bake in a 350 degree preheated oven for 45 to 50 minutes or until the topping is set. Allow it to rest for 10 – 15 minutes before cutting.
Serving Suggestions
- Mashed Potatoes: Serve the creamy chicken cobbler casserole over a scoop of fluffy mashed potatoes for a truly classic comfort food meal.
- Salad: Pair the chicken cobbler with a crisp salad for a lighter, more refreshing meal.
- Veggies: Serve the chicken cobbler with a side of steamed or roasted vegetables, such as asparagus, green beans, or broccoli.
- Bread: Warm up some crusty bread or rolls to serve alongside the chicken cobbler for a hearty and filling meal.
- Rice: Spoon the chicken cobbler over a bed of rice for a flavorful and satisfying meal option.
Pro Tips
- Use bone-in, skin-on chicken thighs for maximum flavor and juiciness.
- For a deeper, richer flavor, use homemade chicken broth instead of store-bought broth.
- Try adding some fresh herbs like thyme or rosemary to the gravy for an extra layer of flavor.
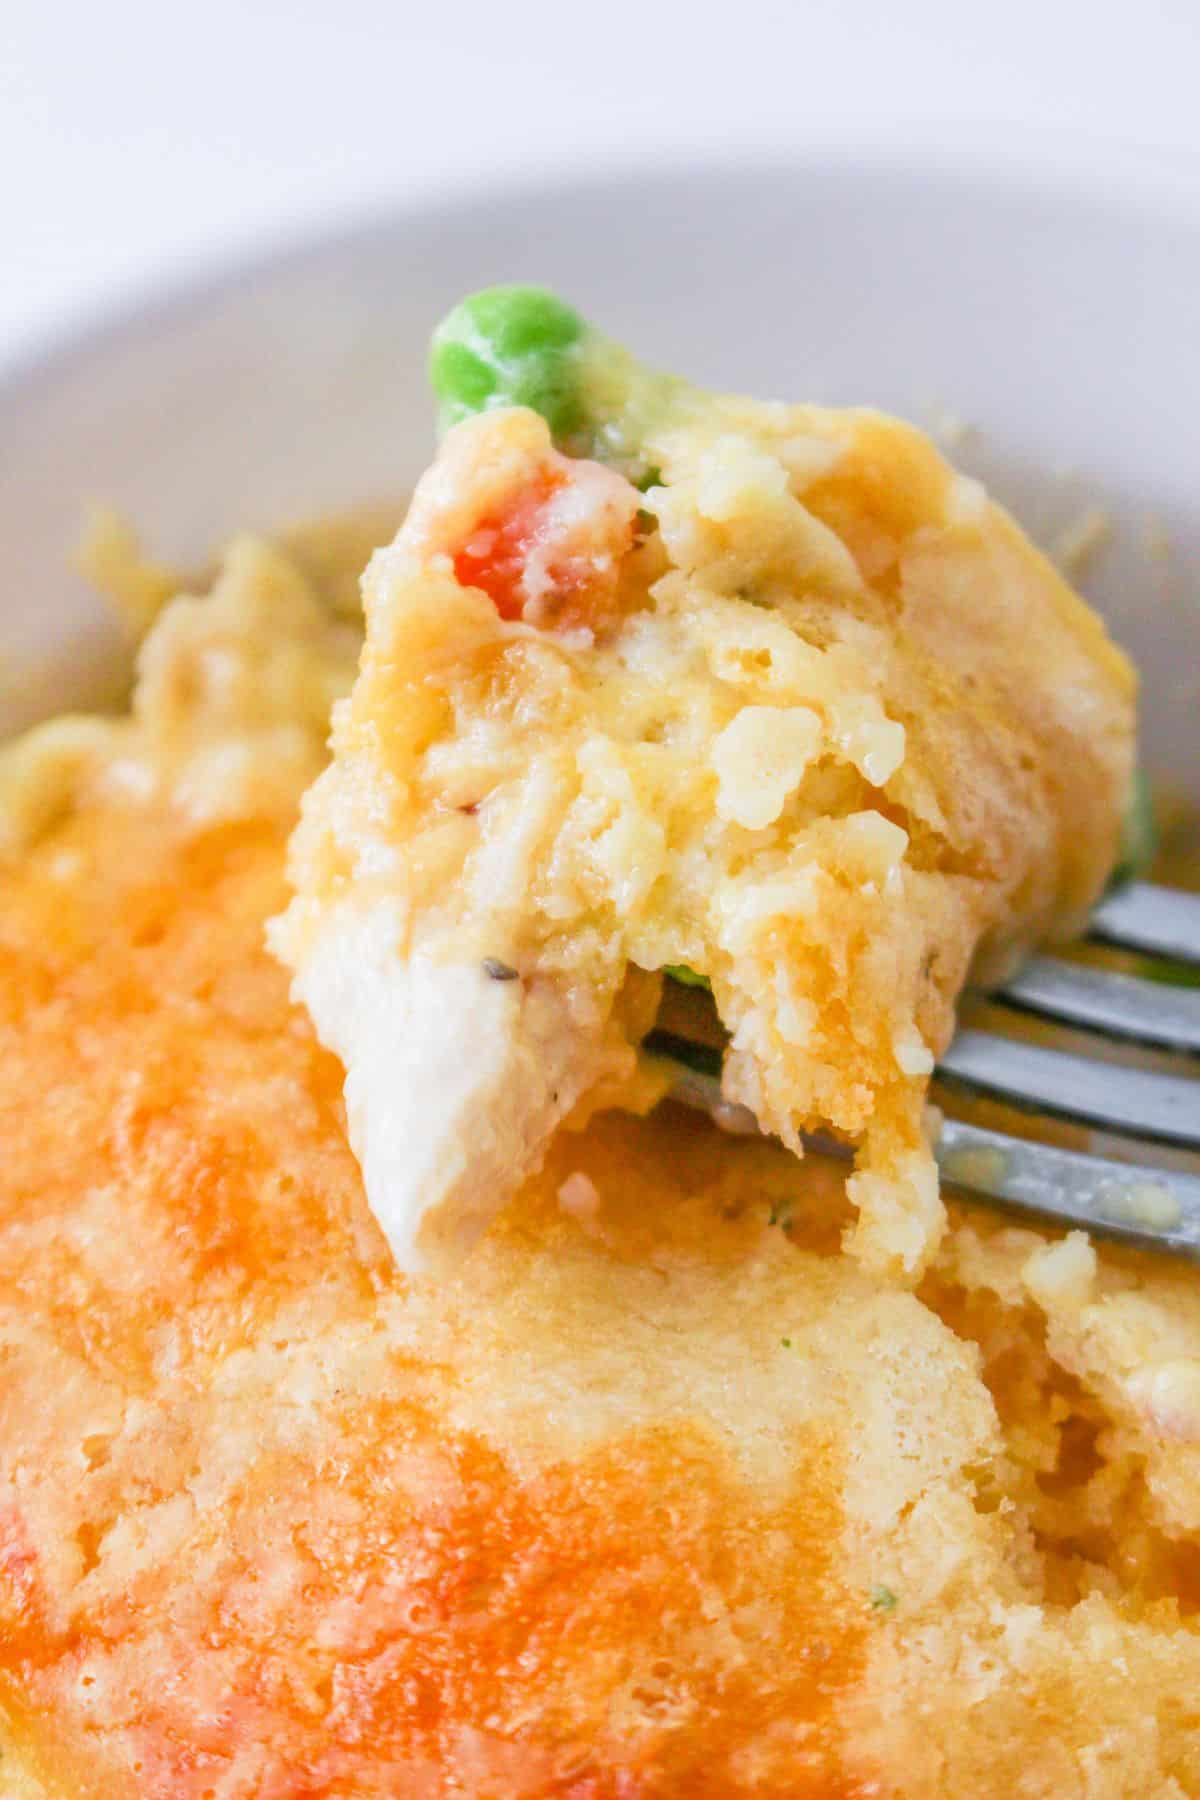
Storage
Fridge: You can store the chicken cobbler in an airtight container in the fridge for up to 3-4 days. Make sure to let it cool completely before storing.
Freezer: The chicken cobbler can also be frozen for up to 3 months. Let it cool completely, then transfer it to a freezer-safe container or bag. For best results, thaw it in the fridge overnight before reheating.
Reheating: To reheat the chicken cobbler, place it in a preheated oven at 350°F (180°C) for 15-20 minutes if reheating from chilled or 30-40 minutes if reheating from frozen. Alternatively, you can microwave it in a microwave-safe dish for 2-3 minutes on high, or until heated through.
FAQs
Do you have questions about this recipe? Here are the answers to the most commonly asked questions for this recipe.
Yes, you can use any vegetables you like such as potatoes, green beans, corn, or mushrooms. Just make sure to adjust the cooking time accordingly based on the vegetables you’re using.
Yes, you can make the chicken cobbler ahead of time and store it in the fridge for up to 3-4 days or in the freezer for up to 3 months. Just make sure to let it cool completely before storing.
Yes, you can use canned biscuits as a shortcut. Just follow the package instructions to bake them and then add them on top of the casserole
Want to make this delicious recipe? Print the recipe card below, or pin it so that you can come back to it later.

Chicken Cobbler
Equipment
- 9×13 casserole dish
- Large bowl
Ingredients
- ½ cup butter melted
- 4 cups rotisserie chicken shredded
- 12 ounces frozen peas and carrots
- 2 cups shredded cheddar cheese
- 11.36 ounces Red Lobster Cheddar Bay biscuit mix with seasoning packet
- 2 cups milk
- 2 cups chicken broth
- 10.5 ounces cream of chicken soup
Instructions
- Preheat the oven to 350 degrees.
- Put the butter into a 9×13-inch casserole dish and place in the oven to melt as it preheats.
- Over the melted butter, spread the shredded chicken into an even layer.
- Pour the frozen vegetables over the top of the chicken. Season the chicken as desired.
- Top the vegetables with shredded cheese.
- In a mixing bowl whisk together the biscuit mix along with the seasoning packet and milk.
- Pour the biscuit batter over the cheese. Do not mix.
- In the same bowl used for the biscuit mix, whisk together the chicken broth and cream of chicken soup until evenly mixed. Pour the soup over the top of the biscuit batter. Do not mix the casserole.
- Bake for 45 to 50 minutes or until the biscuit topping in the middle is set. The edges will appear loose from the gravy.
- Allow the casserole to rest for at least 10 to 15 minutes so the sauce can thicken prior to serving.
Disclaimer:
Any nutritional data I provide is an approximation and actual dietary information can vary based on ingredients and proportion sizes.

I made this for bible study and they devoured it!! I followed the recipe except I added some Italian seasoning and minced garlic. Delicious!
Hi Sheryl! I’m so glad to hear that this recipe turn out well for you! I bet the Italian seasoning was delicious in it.
I have made this 2 times in the past week – it’s a HIT!!!
This turned out delicious. My son in law keep saying this is so good about every couple bites.
Hi Valerie! I’m so glad to that you enjoyed it! This is always a favorite in my house also. Thank you so much for taking the time to leave me a coomment! I appreciate you!
I am hoping it turns out! It’s baking, but there was too much to fit in the pan. 🤞🏻
I hope it turned out well for you!