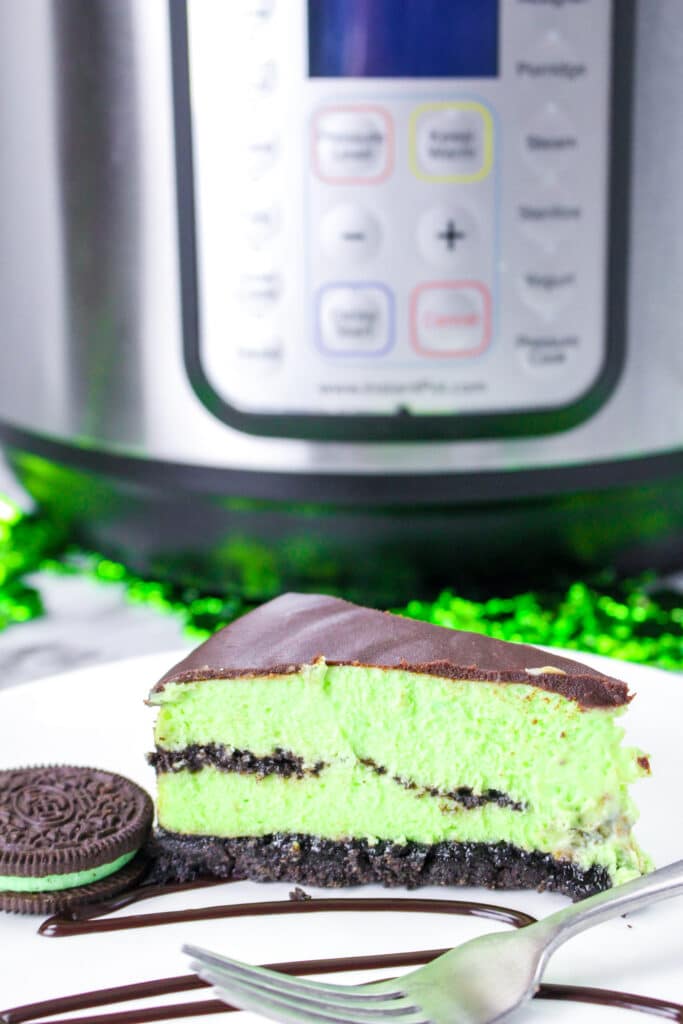
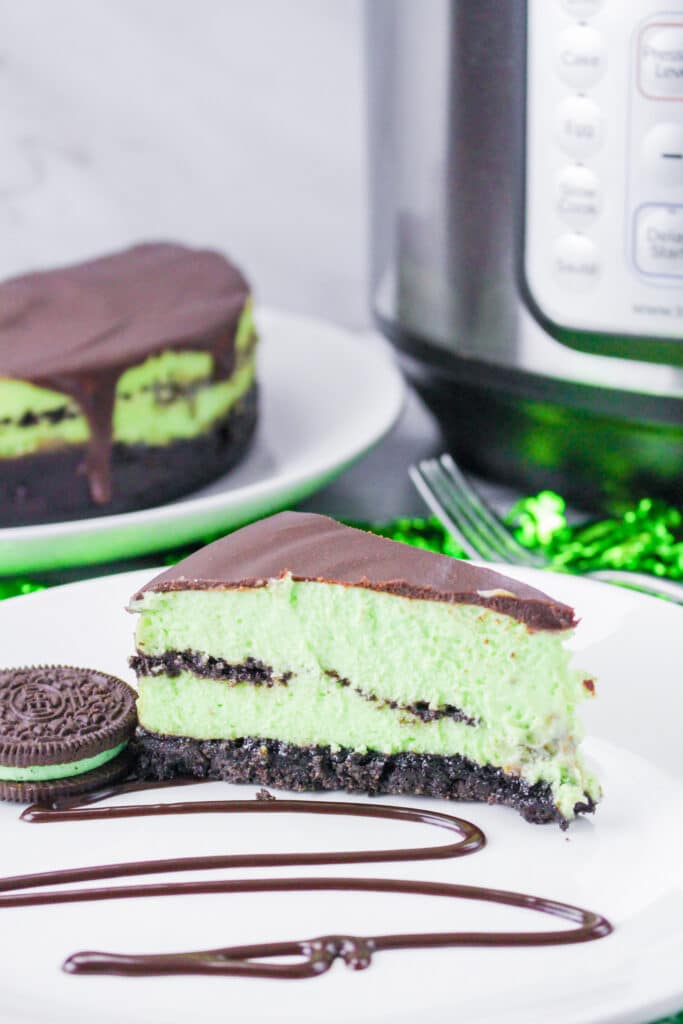
Instant Pot Mint Cheesecake is a delicious and easy to make dessert that will wow your guests! This recipe is perfect for the holidays or any special occasion. This dessert is a rich creamy cheesecake with a sweet minty flavor.


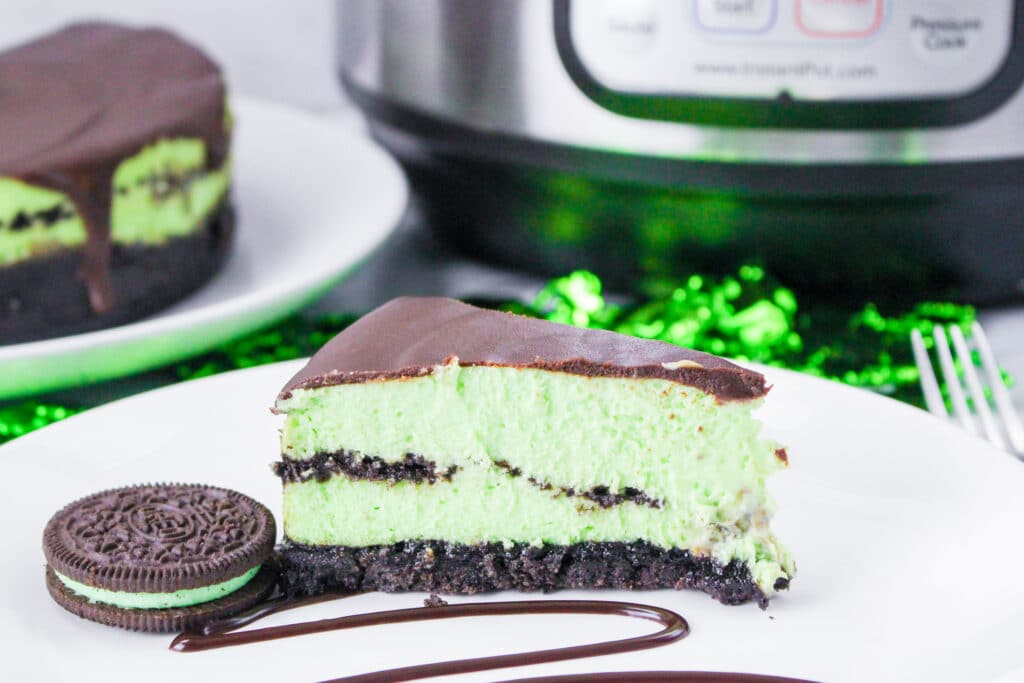
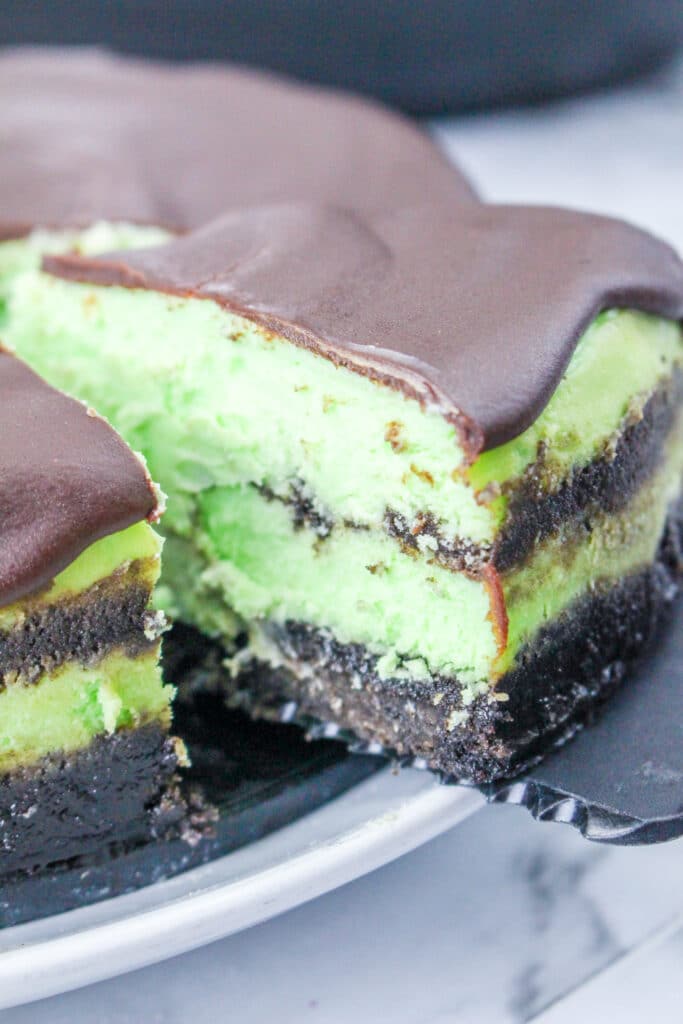
This Instant Pot Mint Cheesecake Recipe is a rich creamy cheesecake with a sweet minty flavor. The cream cheese base makes the consistency so smooth and light while adding sweetness and tanginess to balance out the richness. When paired with its crust of crushed Oreos dipped in butter, it’s an irresistible combination of flavors and textures.
I have to admit that this is the perfect cheesecake with a delicious Oreo crust that is made from mint Oreos.
Jump to:

❤️ Why You’ll Love This Recipe
If you’re looking for the perfect dessert to wow your guests, look no further than this Instant Pot Mint Cheesecake recipe!
- This cheesecake is creamy and delicious, with a sweet minty flavor that will tantalize your taste buds.
- This recipe is easy to make and can be customized to your liking, making it the perfect dessert for any occasion.
- It’s very light and refreshing, not too heavy for an after dinner dessert.
🛒Ingredients
The following are affiliate links. We are a participant in the Amazon Services LLC Associates Program, an affiliate advertising program designed to provide a means for us to earn fees by linking to Amazon.com and affiliated sites.
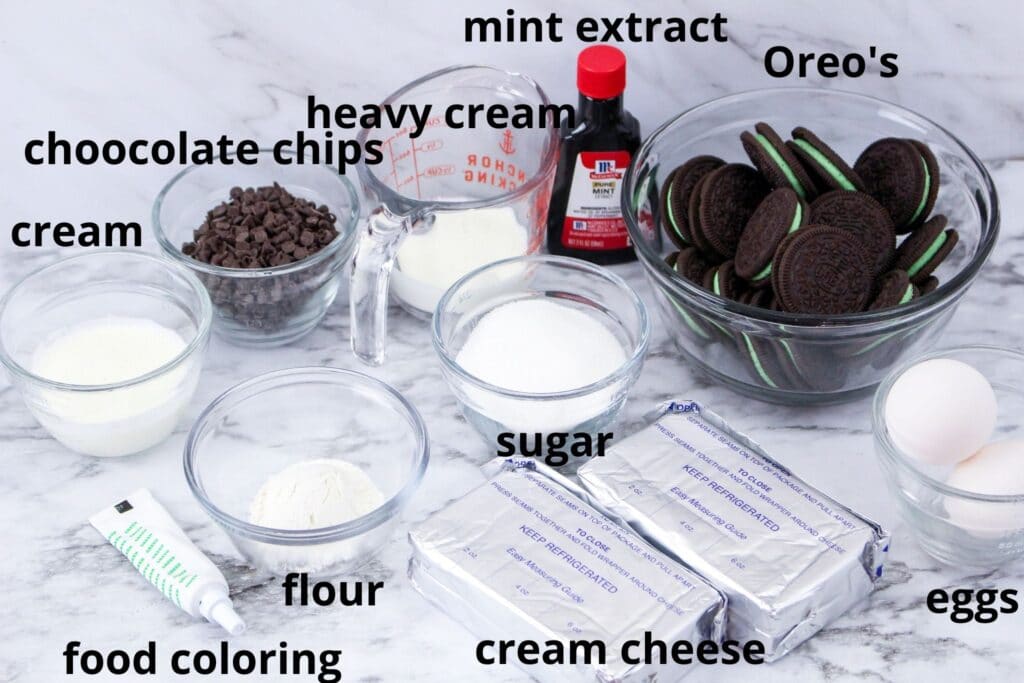
- mint-flavored Oreo cookies, divided
- butter, melted
- cream cheese, room temperature
- granulated sugar
- large eggs, room temperature
- all purpose flour
- heavy cream
- mint extract
- green food coloring gel
For the ganache:
- semi-sweet chocolate morsels
- heavy cream
See the recipe card below for quantities.
🔪 How to Make Instant Pot Mint Cheesecake
Step 1: Prepare the springform pan.
Prepare a 7.5-inch springform pan with non-stick cooking spray.
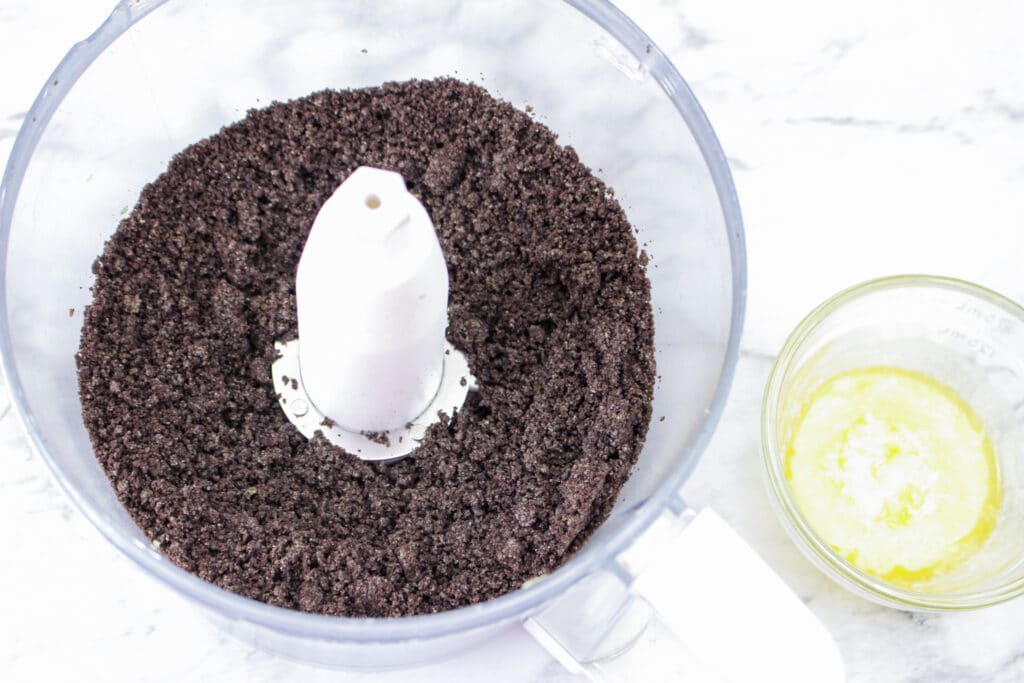
Step 2: Make the crust
In a food processor, place the Oreo cookies and pulse until it makes fine crumbs. Slowly add the melted butter and pulse until the cookies come together into a ball. Remove 2 tablespoons of the cookie crumbs for the ribbon in the middle.
Step 3: Press the crust into the springform pan
Press the remaining cookie crumbs into the bottom of the pan to make the oreo crust. Place in the freezer for 10 minutes while the batter is prepared.
Step 4: Add the trivet and water to your instant pot.
Place a trivet in the bottom of the electric pressure cooker liner. Add the minimum required amount of water according to the manufacturer’s instructions. At least one to two cups of water.
Step 5: Wrap springform pan in foil
Prepare a 7.5 inch springform pan by wrapping aluminum foil around the bottom of the springform pan to protect from water seepage.
Step 6: Cream the cheese and sugar together
In a medium bowl, beat cream cheese until soft and creamy. Add the sugar and continue beating until fluffy, about 2 minutes.
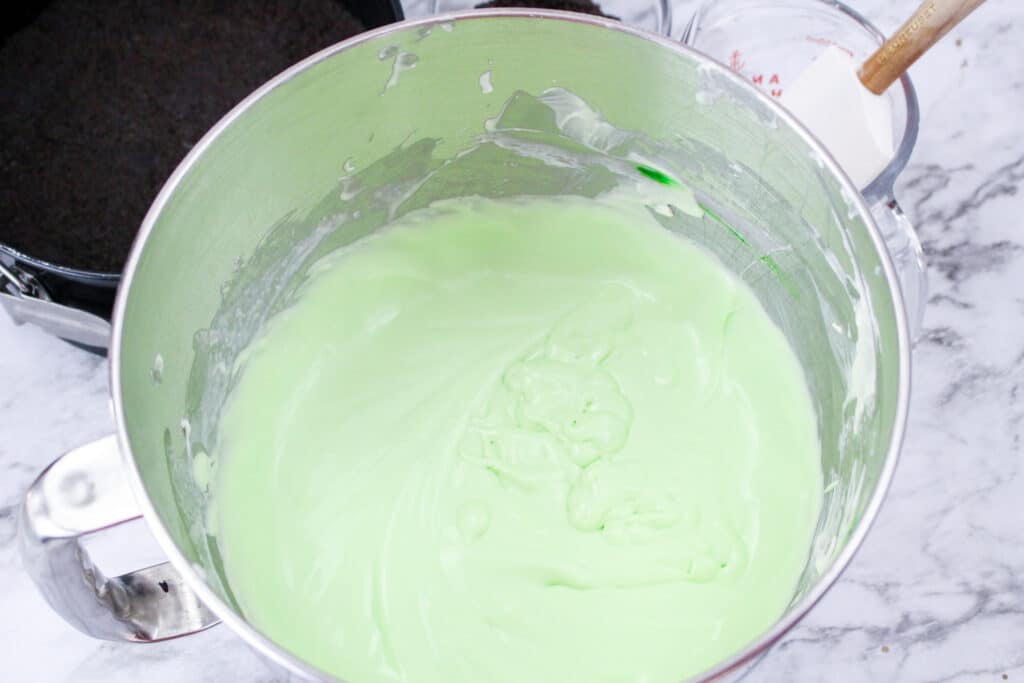
Step 7: Add in remaining ingredients
Add the eggs, heavy cream, flour, and extract and beat just until combined. Once combined drop in green food coloring until you get the colored desired.
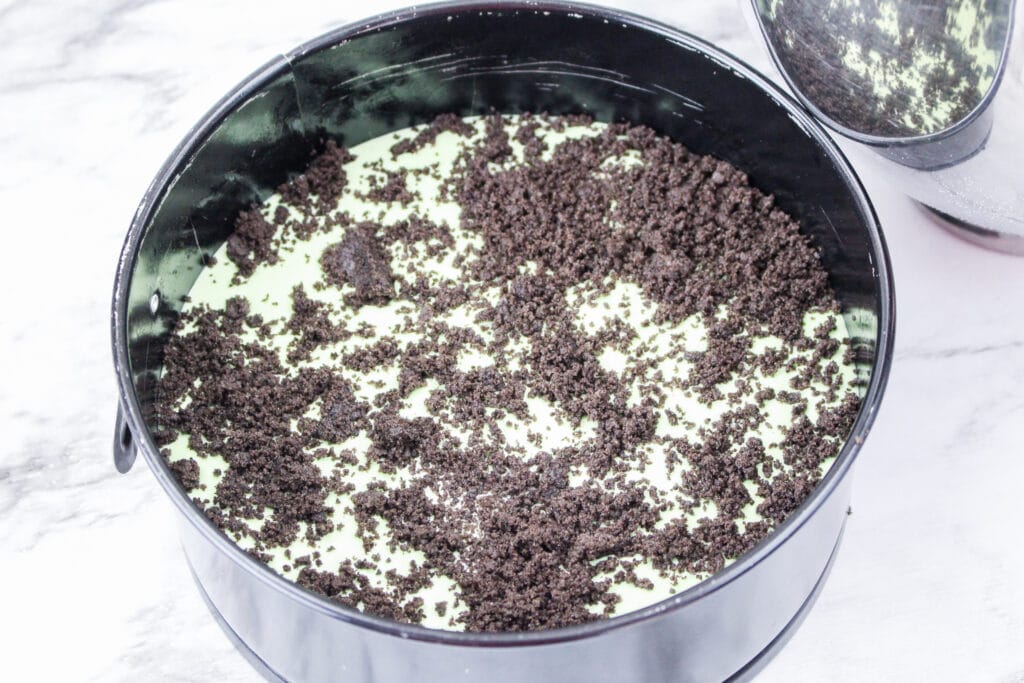
Step 8: Add the cream cheese mixture to the springform
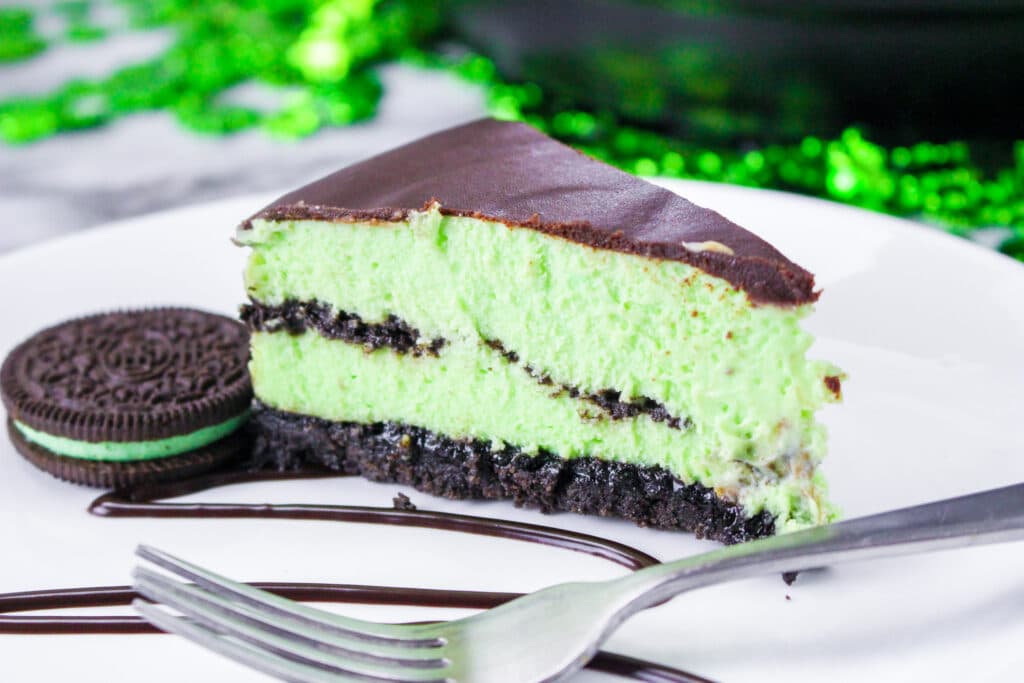
Transfer half of the cheesecake filling mixture to the springform pan and spread evenly. Sprinkle with the reserved cookie crumbs. Top with the remaining cream cheese batter.
Step 9: Cover the cheesecake tightly with foil
Cover the springform pan to avoid water dripping onto the cheesecake.
Step 10: Cook the cheesecake
Cover the electric pressure cooker and set the valve to sealing. Program for manual or “pressure cook” for 35 minutes.
Step 11: Do a natural pressure release
When the cooking cycle is complete, allow the electric pressure cooker to naturally release the pressure until the pressure pin drops. About 20 – 25 minutes.
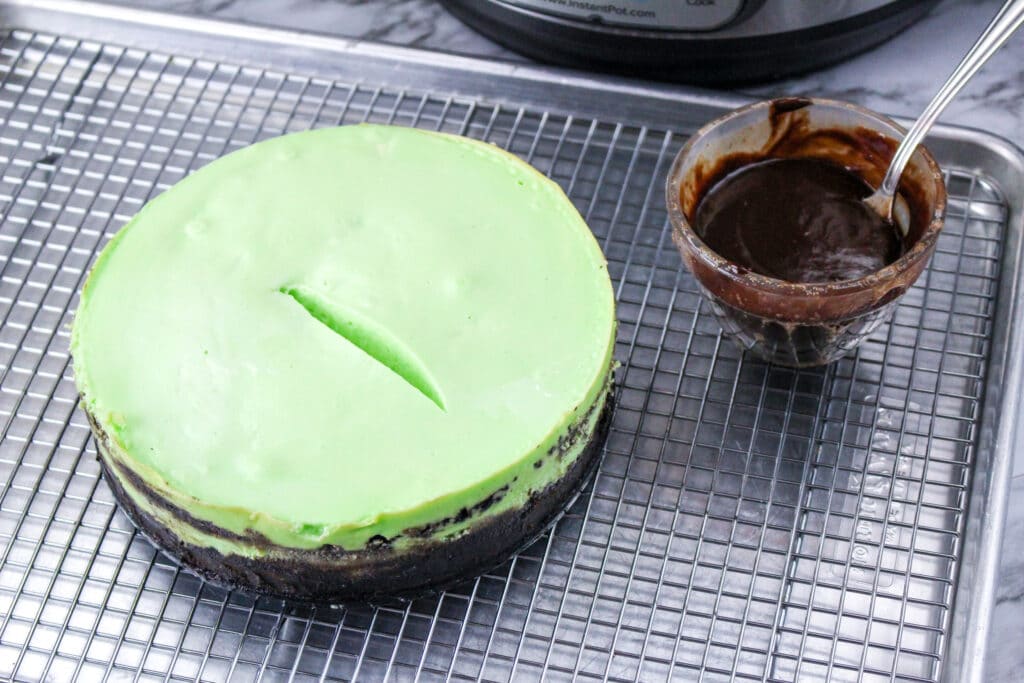
Step 12: Remove the lid
Remove the lid and allow the cheesecake to continue cooling inside the pressure cooker for 20 minutes before removing. It’s okay if your cheesecake cracks like mine did, that’s just more chocolatey goodness in the center.
Step 13: Chill the cheesecake
Replace the aluminum foil with plastic wrap and refrigerate the cheesecake until cool.
Step 14: Make the ganache
To make the ganache, place the chocolate morsels and heavy cream in a microwave-safe container. Heat, stirring every 30 seconds until the ganache is smooth.

Step 15: Spread the ganache on top of the cheesecake
Spread the chocolate ganache over the top of the cheesecake.
Step 16: Chill the cheesecake again
Return the cheesecake to the refrigerator until ready to serve.
Hint: You can use any type of springform pan, you do not have to use an Instant Pot brand pan.
Next time give this Instant Pot Pineapple Upside Down Cake Cheesecake Recipe a try!
📝Variations
Do you want to change up this recipe and make it your own? Here are some ways that you can do that! This recipe is perfect for any occasion and can be customized to your liking!
- Oreos – Fold in crushed Oreos to the batter of this cheesecake before you cook it.
- Add candy on top – You can also add chopped peppermint candy or Andes mints for a more intense mint flavor.
- Add a layer of cool whip on top – If you want to make the cheesecake extra creamy, you can add a layer of Cool Whip or whipped cream on top.
Check out this Grasshopper Poke Cake for another “minty” and fun dessert.
🥄 Equipment
- 7.5 inch springform pan
- Small bowl
- Large bowl
- Food processor
- Aluminum foil
- Instant Pot
- Microwave Safe bowl
- Mixing bowl
- Electric mixer
- Measuring cups and spoons
- Silicone sling or foil sling – optional
🥫 Storage
Cover the cheesecake with an airtight lid or aluminum foil to preserve its moisture in the fridge for up to one week.
💭 Tips
- Imperfect is perfect. Cracks on the surface of your cheesecake are perfectly normal. The cracks will disappear as the cheesecake cools and contracts, so it’s best to leave them as they are.
- Make sure that your ingredients are at room temperature before starting this recipe. Cold ingredients will clump together and not give you a smooth cheesecake.
- Don’t leave the cheesecake at room temperature for too long or it will start to sweat.
- Be sure to stir the chocolate often you are melting it so that it doesn’t scorch.
- The pressure cooker acts as a natural water bath, helping to take the stress out of cheesecake.
- For easy cheesecake removal, you can line the bottom of your pan with a piece of parchment paper.
- You can also make the chocolate ganache with white chocolate chips if you prefer.
- If you are making this for the holiday season top with peppermint bark or crushed candy canes for a festive flair.
- Tone down the mint flavor by using chocolate graham crackers to make the crust instead of mint Oreo’s.
⁉️ FAQ
Do you have questions about this recipe? Here are the answers to the most commonly asked questions.
Cook the cheesecake in the pressure cooker for up to 35 minutes.
A 7.5 inch springform pan is typically used for cheesecakes, while 9 inch springform pans can be used for thicker batters and pies.
Yes, you can make this cheesecake ahead of time. Just store it in the fridge for a day or two before serving.
When pressure cooking a natural release is allowing the pressure to release itself. You can tell the pressure has released when the pin drops down.
No, they are different. If you use peppermint extract, you will not get the green color.
🍽 More Cheesecake Recipes
Do you enjoy cheesecake recipes? Try these delicious recipes:
- No-Bake Red Velvet Oreo Cheesecake
- Instant Pot Sugar Cookie Cheesecake
- Instant Pot Carrot Cake Cheesecake
🧾Grasshopper Cheesecake
Want to make this delicious pressure cooker cheesecake recipe? Print the recipe card below, or toggle on Cook Mode to prevent your screen from going dark. Not ready to cook this recipe yet? Pin this recipe so you can find it later.
Want to pin this recipe from your cell phone? Turn your phone horizontally and a red Pin and blue Facebook button will appear on the left-hand side of the screen. How easy is that?

Instant Pot Mint Cheesecake
Ingredients
- 20 mint-flavored Oreo cookies divided
- 2 tablespoons butter melted
- 16 ounces cream cheese room temperature
- ½ cup granulated sugar
- 2 large eggs room temperature
- 1 tablespoon all purpose flour
- ¼ cup heavy cream
- ¼ to ½ teaspoon mint extract
- green food coloring gel
For the ganache
- ½ cup semi-sweet chocolate morsels
- 4 tablespoons heavy cream
Instructions
- Prepare a 7.5 inch springform pan with non-stick cooking spray.
- In a food processor, place the Oreo cookies and pulse until it makes fine crumbs. Slowly add the melted butter and pulse until the cookies come together into a ball. Remove 2 tablespoons of the cookie crumbs for the ribbon in the middle.
- Press the remaining cookie crumbs into the springform pan. Place in the freezer for 10 minutes while the batter is prepared.
- Place a trivet in the bottom of the electric pressure cooker liner. Add the minimum required amount of water according to the manufacturer’s instructions.
- Prepare a 7.5 inch springform pan by wrapping aluminum foil around the bottom to protect from water seepage.
- In a medium bowl, beat cream cheese until soft and creamy. Add the sugar and continue beating until fluffy, about 2 minutes.
- Add the eggs, heavy cream, flour, and extract and beat just until combined. Once combined add green food coloring until you get the color desired.
- Transfer half of the mixture to the springform pan and spread evenly. Sprinkle with the reserved cookie crumbs. Top with the remaining cream cheese batter. Cover the springform pan to avoid water dripping onto the cheesecake.
- Cover the electric pressure cooker and set the valve to sealing. Program for manual or “pressure cook” for 35 minutes.
- When the cooking cycle is complete, allow the electric pressure cooker to naturally release the pressure until the pressure pin drops. Remove the lid and allow the cheesecake to continue cooling inside the pressure cooker for 20 minutes before removing.
- Replace the aluminum foil with plastic wrap and refrigerate the cheesecake until cool.
- To make the ganache, place the chocolate morsels and heavy cream in a microwave-safe container. Heat, stirring every 30 seconds, until the ganache is smooth.
- Spread the ganache over the top of the cheesecake.
- Return the cheesecake to the refrigerator until ready to serve.
Nutrition