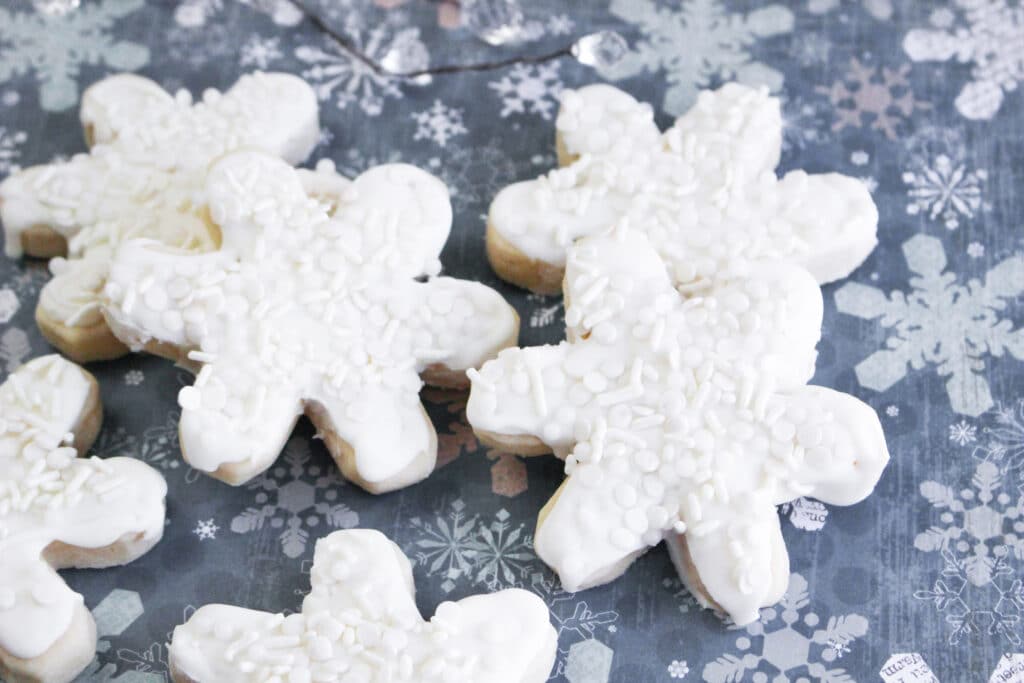
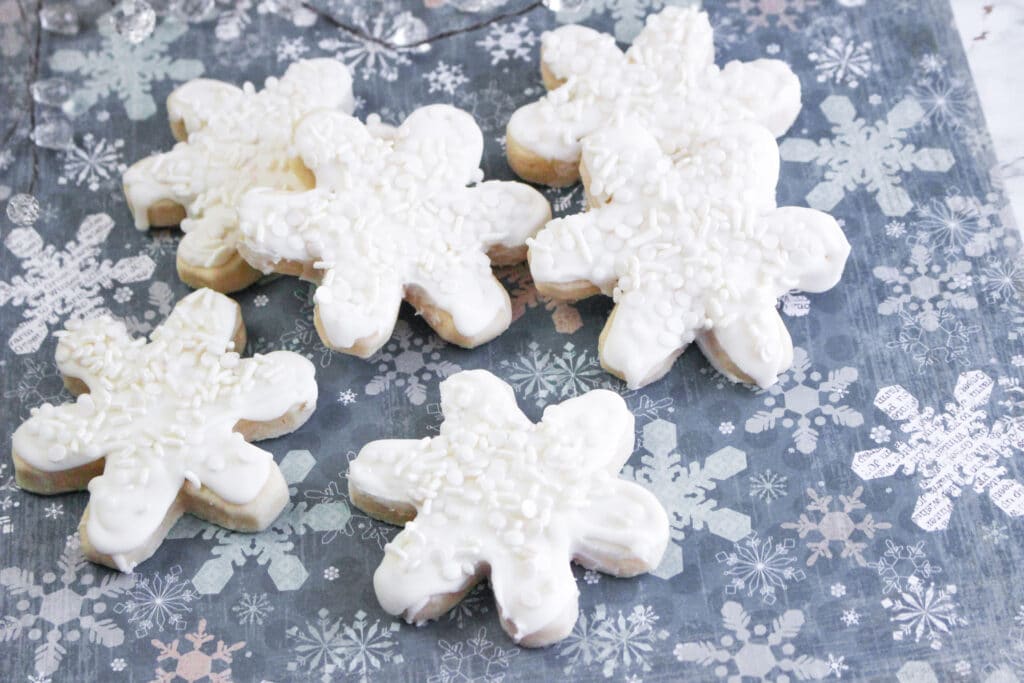
Snowflakes are beautiful, but these Snowflake Cookies are pretty and tasty! This is the perfect dessert to make around the upcoming holidays! Gather your friends and family for making these unique cookies!

When you see a snowflake fall, it not only reminds you of winter, but it reminds you of the upcoming holidays! Snowflake Cookies are the best cookies to make when that cold weather hits!
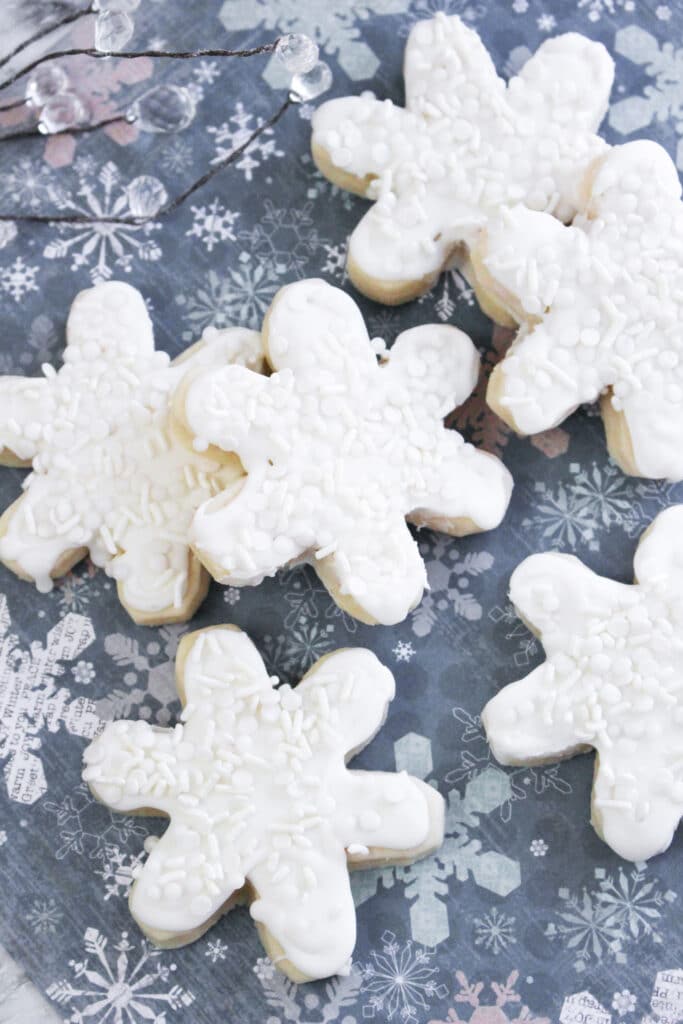
Snowflake Cookies
It’s Christmas cookie season and that means that it’s time for cookie exchanges and holiday parties. These Snowflake cookies are made from a cream cheese cookie dough that is perfect for your next cookie exchange or holiday party. Soft and chewy these cookies are the perfect sugar cookie. You can never go wrong with a cream cheese sugar cookie.
Jump to:

Why you want to make these cookies
Soft and Chewy – Perfectly soft and chewy these cookies are always a hit.
Melt In Your Mouth – The cream cheese in these cookies make them melt in your mouth soft.
Kid-Friendly – The kid will have a great time making these cookies. They can help you mix, roll out, and even decorate. A great time in the kitchen with the kids.
Ingredients
Are you ready to make these festive holiday cookies? If so, gather the following ingredients and get ready to make some chewy and delicious cookies.


- sugar
- unsalted butter, room temperature
- cream cheese, room temperature
- egg, room temperature
- almond extract
- vanilla extract
- flour
- baking powder
- salt
- vanilla frosting
- white sprinkles
See the recipe card for quantities.
How to Make Snowflake Cookies
Are you ready to make snowflake Christmas cookies? Gather the kids and family in the kitchen and follow these steps and you will have some delicious cream cheese sugar cookies in the shape of snowflakes. While you are making snowflake cookies turn on some Christmas music and really get into the spirit.
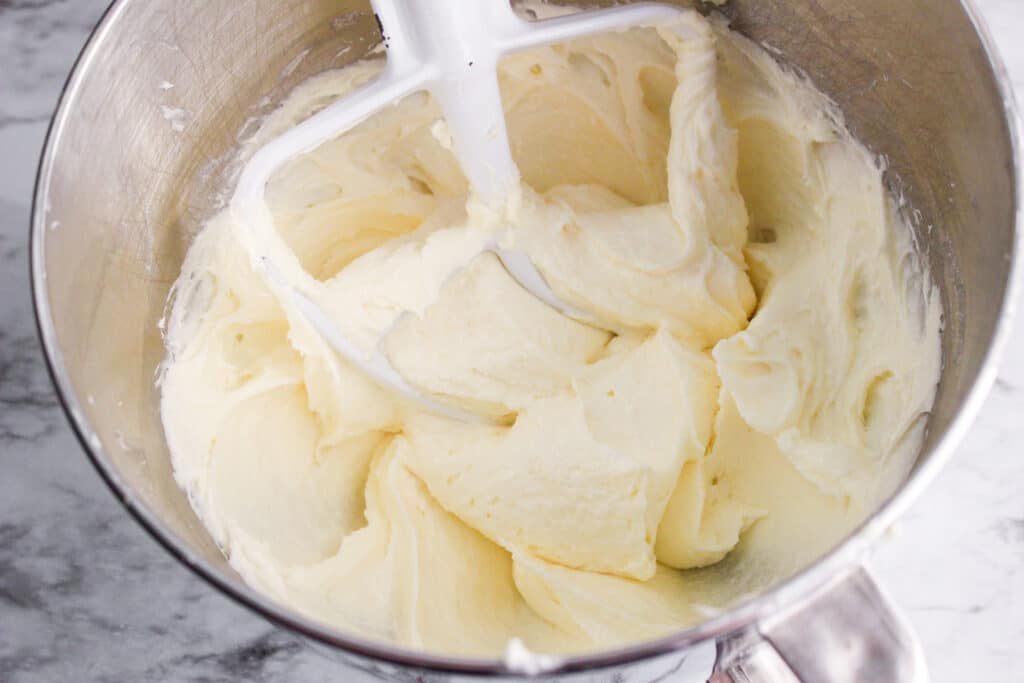
Beat the butter and cream cheese at medium speed until mixed and fluffy, about 5 minutes. Scrape down the sides of the bowl.
Add the egg, almond extract, and vanilla extract. Beat again until smooth and creamy, about 5 additional minutes.
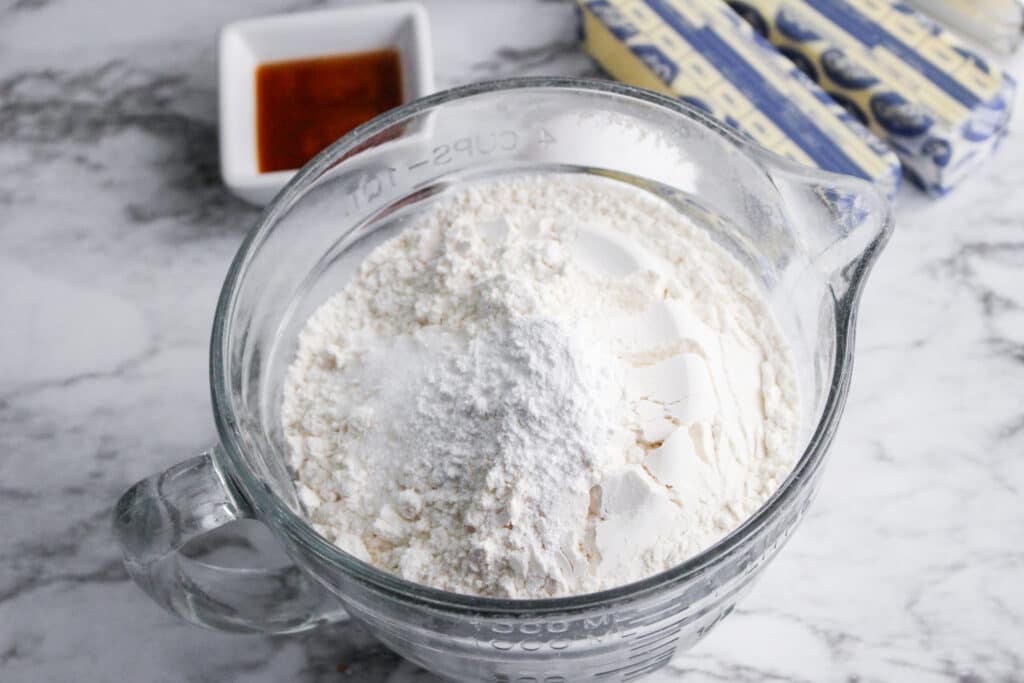
In a medium bowl, stir together the flour, baking powder, and salt. Add the flour mixture to the butter mixture, about ½ cup at a time, just until mixed.
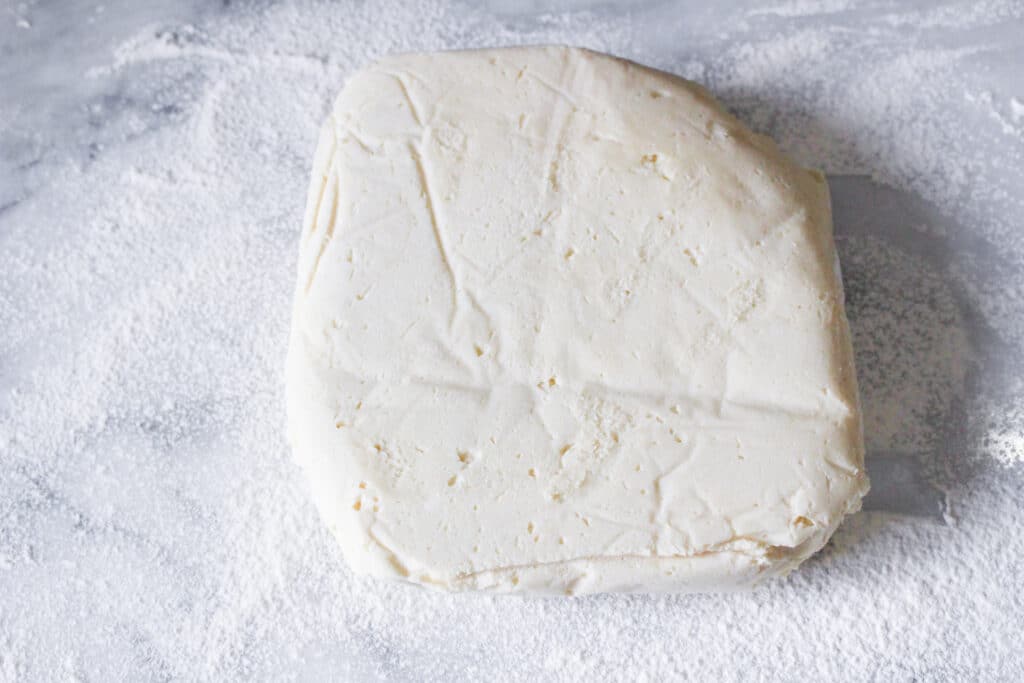
Shape the dough into a rectangle and wrap with plastic wrap. Refrigerate overnight.
When ready to bake, preheat the oven to 375 degrees. Prepare two or three large rimmed, baking sheets with parchment paper.
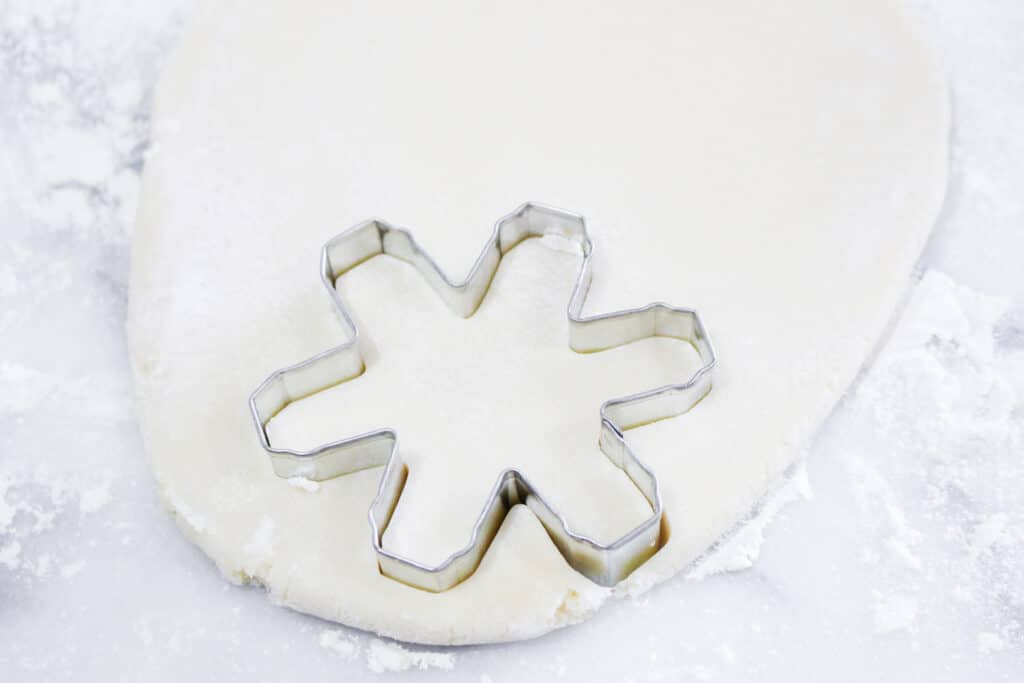
Then, roll out the cookie dough to ½ inch thick. Cut with cookie cutters and transfer to the baking sheet.
Bake for 8 to 10 minutes or just until the edges are set and the cookies are puffed.
Allow the cookies to cool completely on the baking sheets. Decorate as desired.
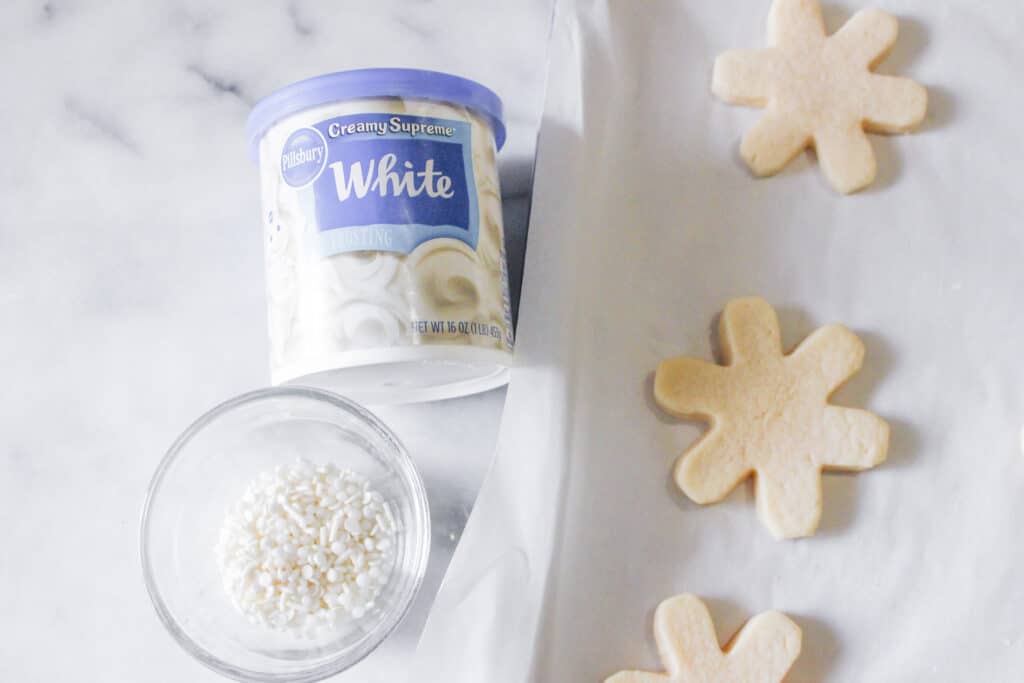
Open a can of frosting and remove the foil label completely.
Place in the microwave and heat for 30 seconds. Stir well. Repeat in 15-second increments if needed. Heat until the icing is either pourable or pipeable.
Allow the icing to cool slightly before frosting the cookies.
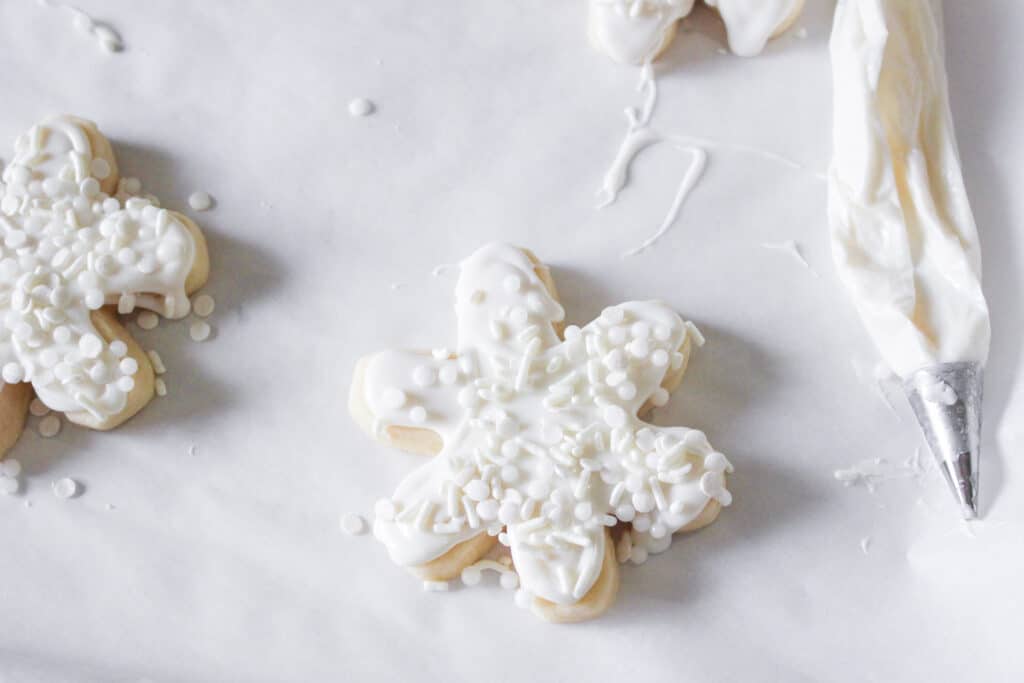
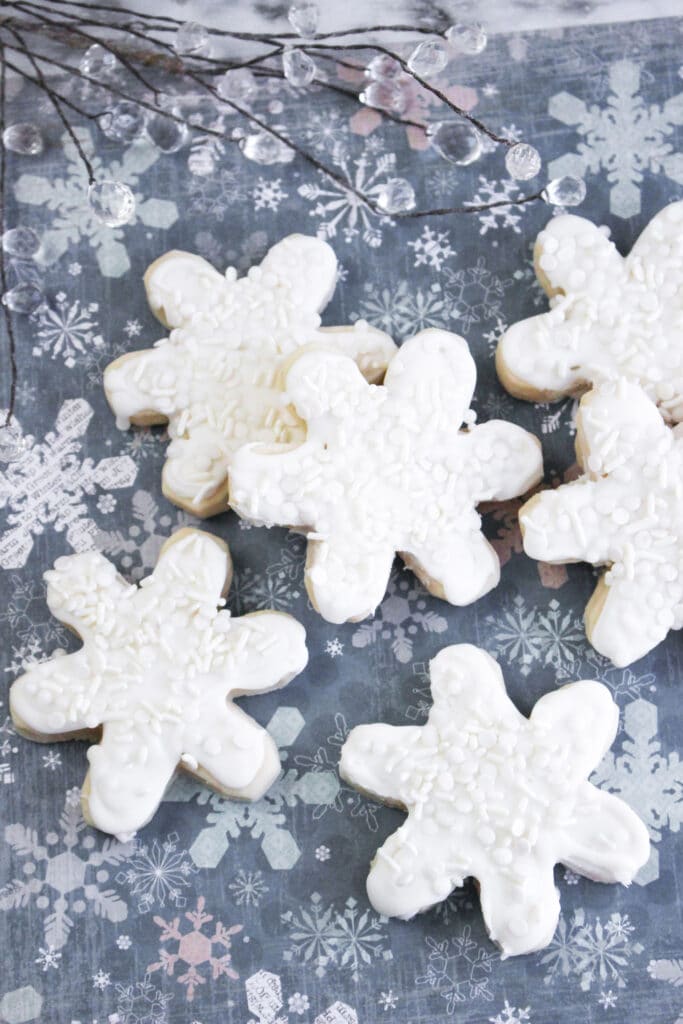
Pipe or pour the frosting into your cookies. While the frosting is still wet apply the sprinkles to the cookie. Allow the frosting to dry and harden before storing in an airtight container.
Substitutions
Don’t have everything you need on hand to make this recipe? Here are some great options or substitutions. Sometimes you just have to use what you have on hand!
Frosting: Don’t have store-bought frosting on hand? You can whip up a batch of this homemade royal icing and use it instead.
Butter: Out of unsalted butter? Salted butter would work instead.
Almond Extract: If you don’t have almond extract just use additional vanilla extract instead.
Variations
You can use this recipe as a base for any kind of holiday cookie. If you’d like you can make Christmas, Halloween, or even Easter cookies out of this cookie recipe!
Equipment
You only need a few kitchen tools to help you make these delicious Christmas cookies gather these tools and get ready to make these tasty morsels. You will be so glad that you did.
- mixing bowl
- mixer
- baking sheets
- snowflake-shaped cookie cutter
Storage
With an airtight container, you can easily store these Snowflake Cookies on your counter. Place the cookies inside and close the lid. You can store the cookies in the container for 3-5 days before they go stale.
You can easily freeze these cookies! Also, the dough freezes very well!
Tips
Make these with a cup of hot chocolate or coffee and you’ll be in heaven! You can make dozens of these cookies at one time and they make the perfect holiday treat! Make a double batch of the dough and freeze it for later.
FAQ
Do you have questions about this recipe? Here are the answers to the most commonly asked questions.
You’ll want to make sure the icing is dry before you store these cookies in an airtight container.
Yes, these cookies are freezable, just make sure they are in an airtight container!
These cookies are versatile, so you can add your own designs as you’d like!
More Christmas Cookie Recipes
Do you enjoy Christmas cookies? Try these delicious recipes:
- Cherry Cinnamon Cookies
- Red Velvet Crinkle Cookies
- Whipped Shortbread Cookies
- Candy Cane Shortbread Cookies
Snowflake Cookies
Want to make this delicious recipe? Print the recipe card below, or toggle on Cook Mode to prevent your screen from going dark. Not ready to cook this recipe yet? Pin this recipe so you can find it later.
Want to pin this recipe from your cell phone? Turn your phone horizontally and a red Pin and blue Facebook button will appear on the left-hand side of the screen. How easy is that?

Snowflake Cookies
Equipment
- Mixing Bowl
- mixer
- baking sheets
- snowflake-shaped cookie cutter
Ingredients
- 1 ½ cup sugar
- 1 cup unsalted butter room temperature
- 8 ounces cream cheese room temperature
- 1 egg room temperature
- ½ teaspoon almond extract
- 1 teaspoon vanilla extract
- 3 ½ cups flour
- 1 teaspoon baking powder
- ½ teaspoon salt
Instructions
- Beat the butter and cream cheese at medium speed until mixed and fluffy, about 5 minutes. Scrape down the sides of the bowl.
- Add the egg, almond extract, and vanilla extract. Beat again until smooth and creamy, about 5 additional minutes.
- In a medium bowl, stir together the flour, baking powder, and salt. Add the flour mixture to the butter mixture, about ½ cup at a time, just until mixed.
- Shape the dough into a rectangle and wrap with plastic wrap. Refrigerate overnight.
- When ready to bake, preheat the oven 375 degrees. Prepare two or three large rimmed, baking sheets with parchment paper.
- Roll out the cookie dough to ½ inch thick. Cut with cookie cutters and transfer to the baking sheet. Bake for 8 to 10 minutes or just until the edges are set and the cookies are puffed.
- Allow the cookies to cool completely on the baking sheets. Decorate as desired.
To Decorate
- Place the cookies on a cooling rack on top of a baking sheet
- Open a can of frosting and remove the foil label completely.
- Place in the microwave and heat for 30 seconds. Stir well. Repeat in 15 second increments if needed.
- Continue microwaving until the frosting is pourable or easily spread.
- Allow the icing to cool slightly before frosting the cookies.
- Slowly pour or spoon the frosting on top of the cooled cookies.
- While the frosting is still wet, apply desired sprinkles.
- Allow icing to completely dry before storing in an airtight container.
Notes
- It is very important to make sure that your butter and cream cheese is completely at room temperature. Having cold butter or cream cheese will affect the texture of your cookie dough and cookies.
- I used canned frosting to make a store-bought royal icing. You can use this royal icing recipe to make your own if you prefer.
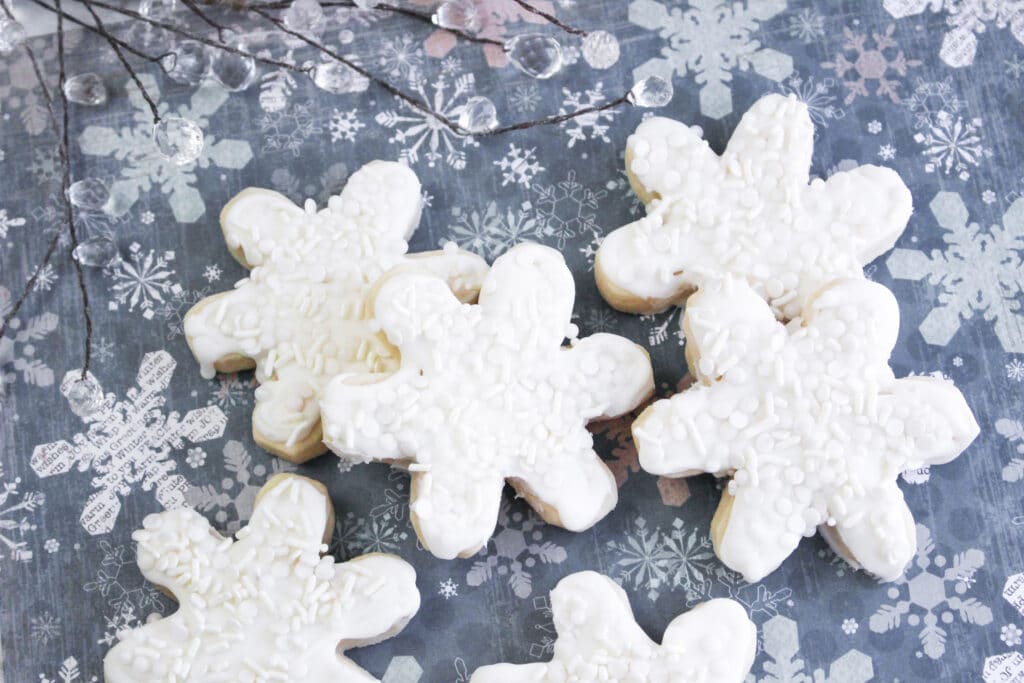
- Use any type of sprinkles that you enjoy. I liked the white sprinkles. Edible glitter would also look amazing on these cookies.
- Cookie dough can store in the fridge for up to 24 hours. Or, can be stored in the freezer for up to 6 months. If freezing before to store in a freezer-safe and airtight container.
- This recipe would also work great with other shapes. Use your favorite cookie cutter or get creative and shape your own cookies.
Nutrition